

|
|
 |
 |
 |

|
 |
BMW Garage | BMW Meets | Register | Search | Today's Posts | Mark Forums Read |
 |

|
BMW 3-Series (E90 E92) Forum
>
My Audio Build Thread (6er but I do have Logic7)
|
 |
| 04-24-2014, 04:51 AM | #1 |
|
Enlisted Member
 1
Rep 38
Posts |
My Audio Build Thread (6er but I do have Logic7)
I know not a 3 series but the Logic7 stuff applies......posted on the 6 series forum I go to also
So I have never really been satisfied with the stock Logic7 stereo so I am finally going to do something about it. This will probably go slow as i want to document it with lots of pics and the mail has been extra slow lately but i hope to get god results in the end. So my plan.... I have a Convertible so some of the speaker locations are different from the Coupe. 1. Replace the Tweets and Mids in both front doors 2. Replace the tweets and mids near the rear seats. 3. Replace the factory subs under the rear seat armrests. 4. Add a Sub in the trunk that doesn't get in the way of the top folding and closing Not really concerned with the center speaker or the speakers under the rear window. They will just remain unhooked. (maybe) So on to some goodies I just got. First is the Cache COE8 Line converter. 8 in 8 out. Also has a remote volume for the sub channel. Great unit and Good Ol Ebay had it for $80 or best offer. Offered $40 plus shipping and it was mine.  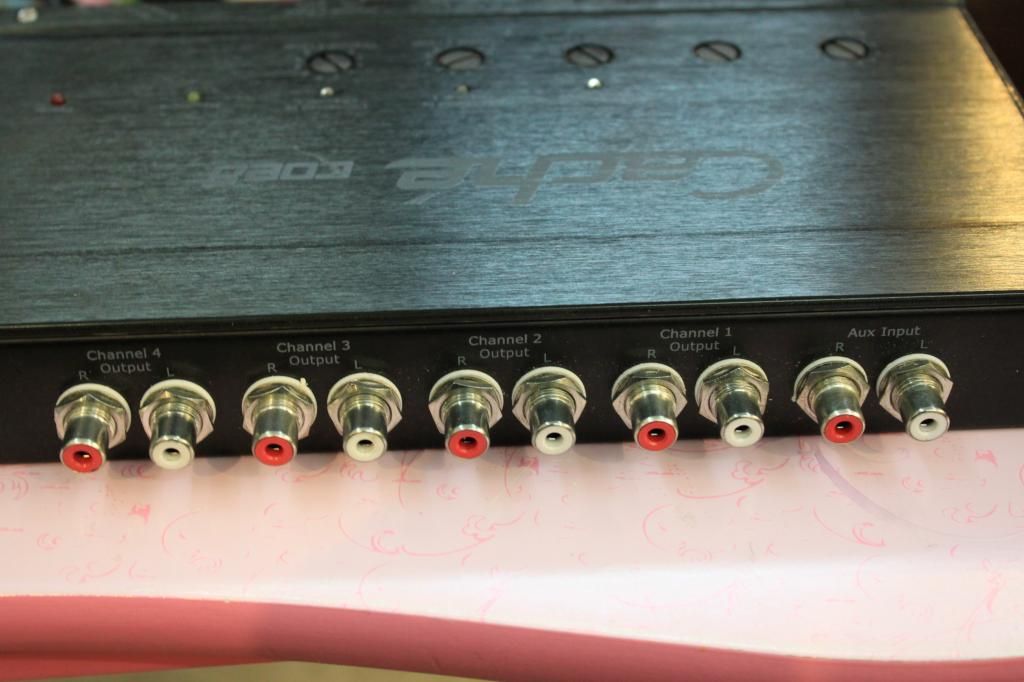 Then I picked up a Technic Wiring harness to make the whole process easy and if need be...reversible. It plugs in between the factory harness and the logic7 amp. In it's current configuration you can simply add the trunk sub and amp or you can also put an amp on the factory subs with the included connector. All the other speaker signals simply pass thru.  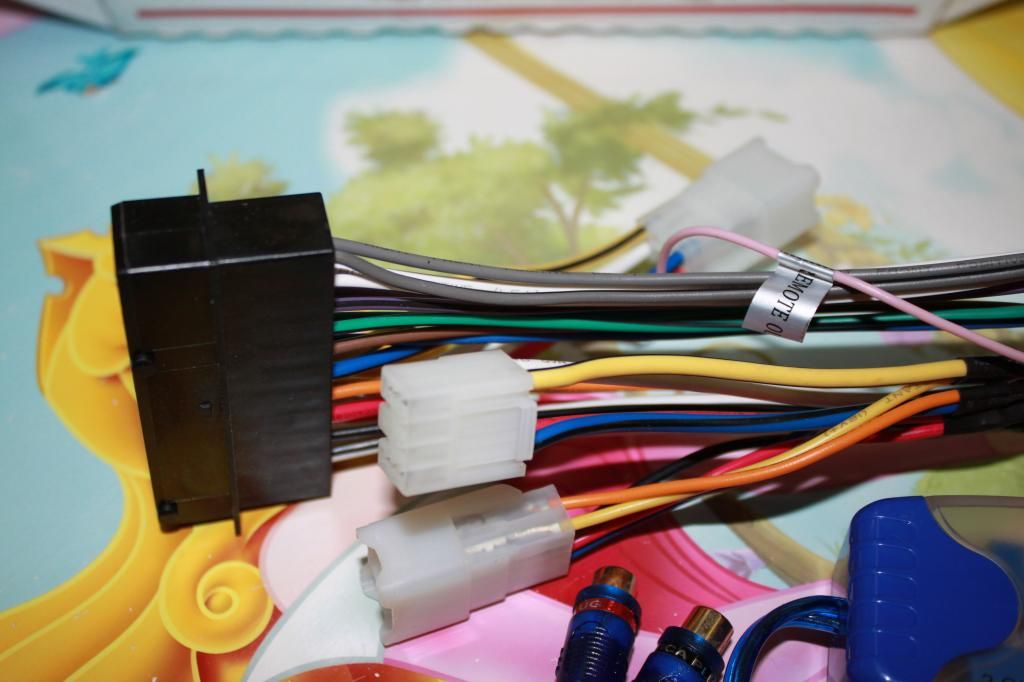  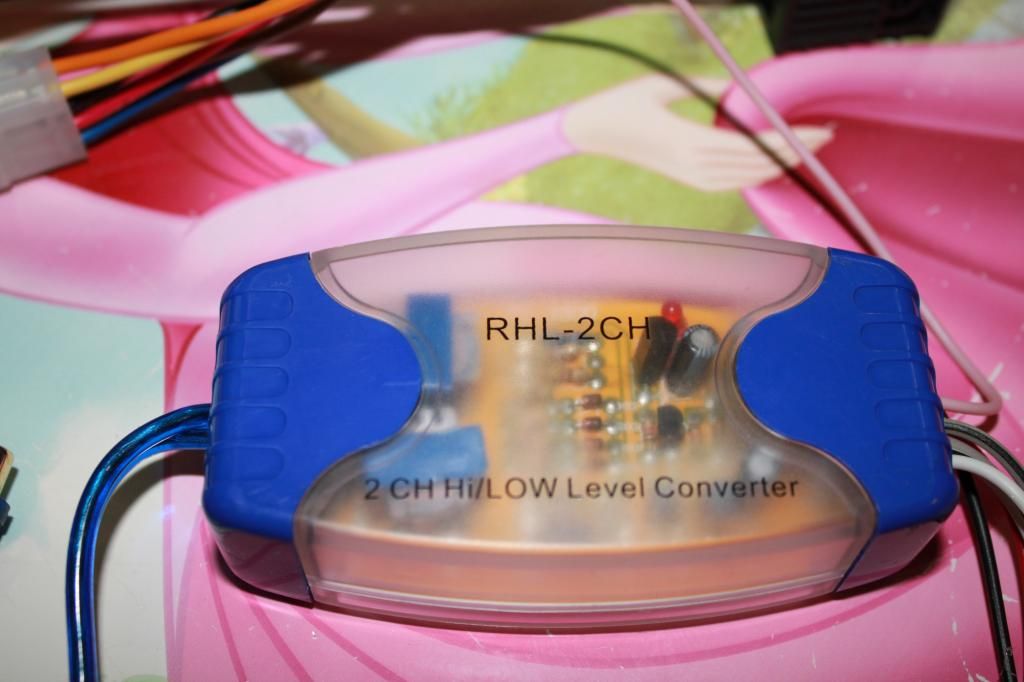 It cost me $85 including shipping. Since I didn't want to use up the whole trunk I decided to go 8"subs but they had to be VERY good subs. These Sundown Audio 8"subs are little Monsters. If you have never heard them they beat harder than most 10s and 12s. They take crazy power and really get low and loud. I plan to put 500 watts RMS on this bad boy. 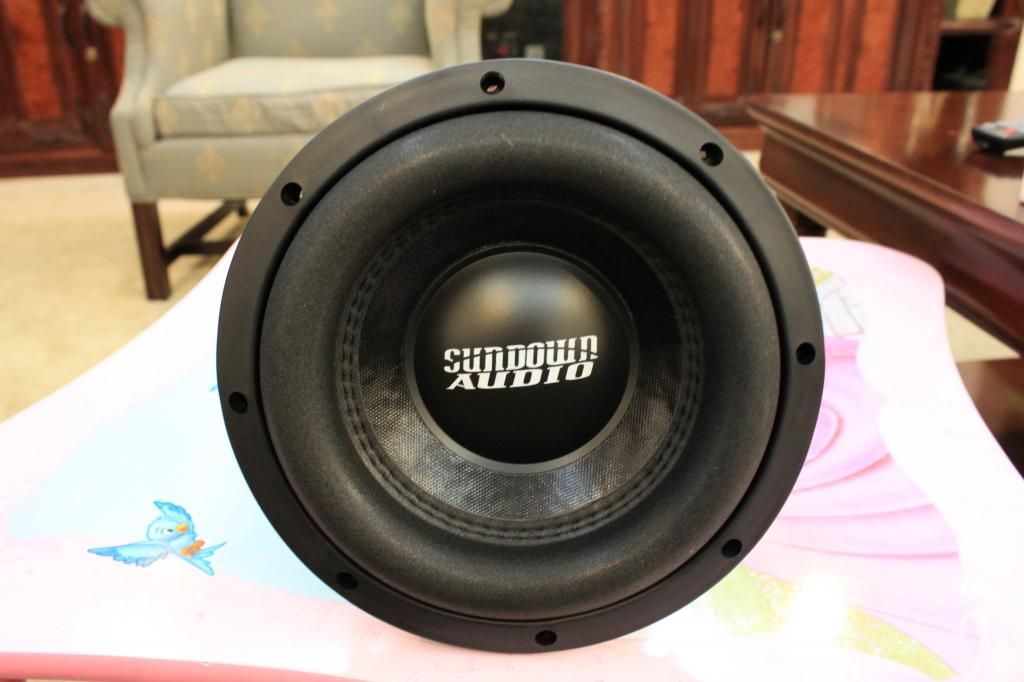 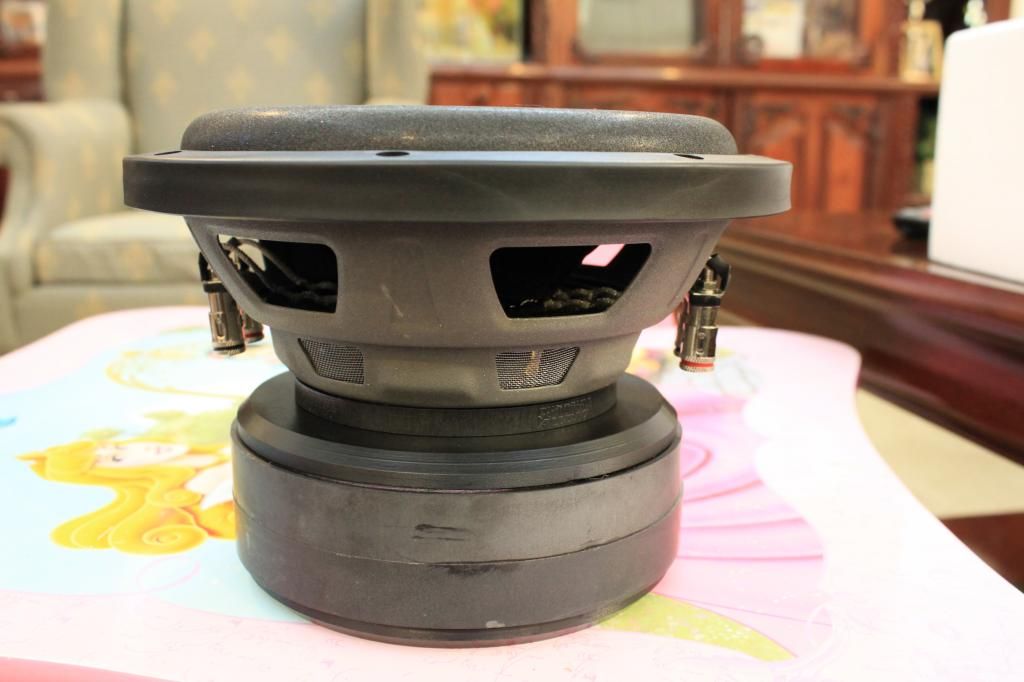  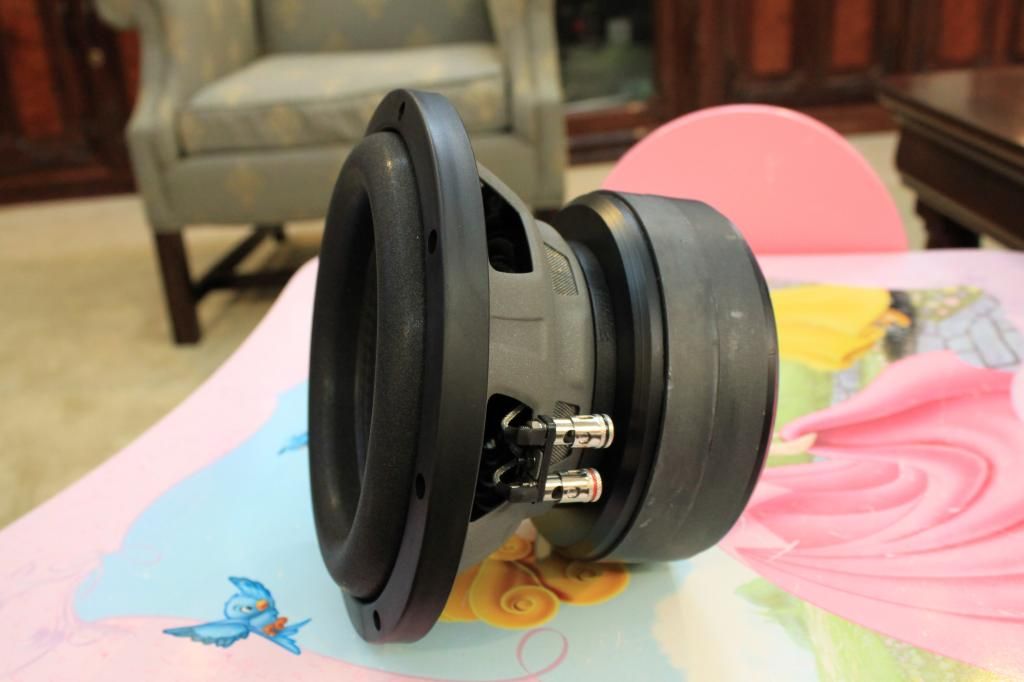 Picked up a pre-fab box that was built to the specs of this speaker and tuned to 34Hz. This is gonna beat HARD.  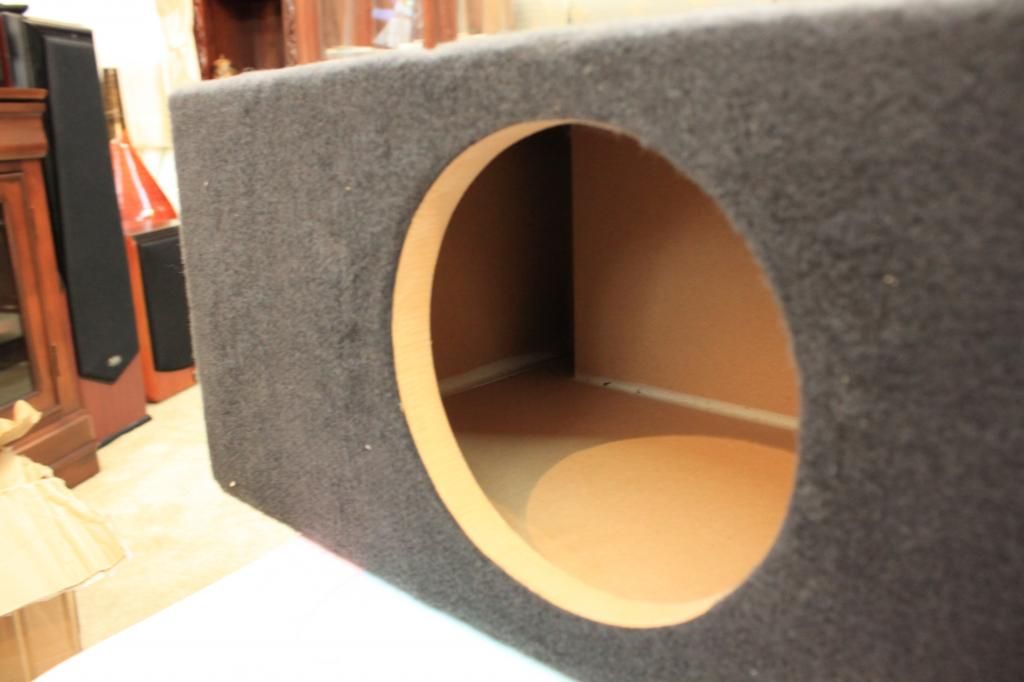 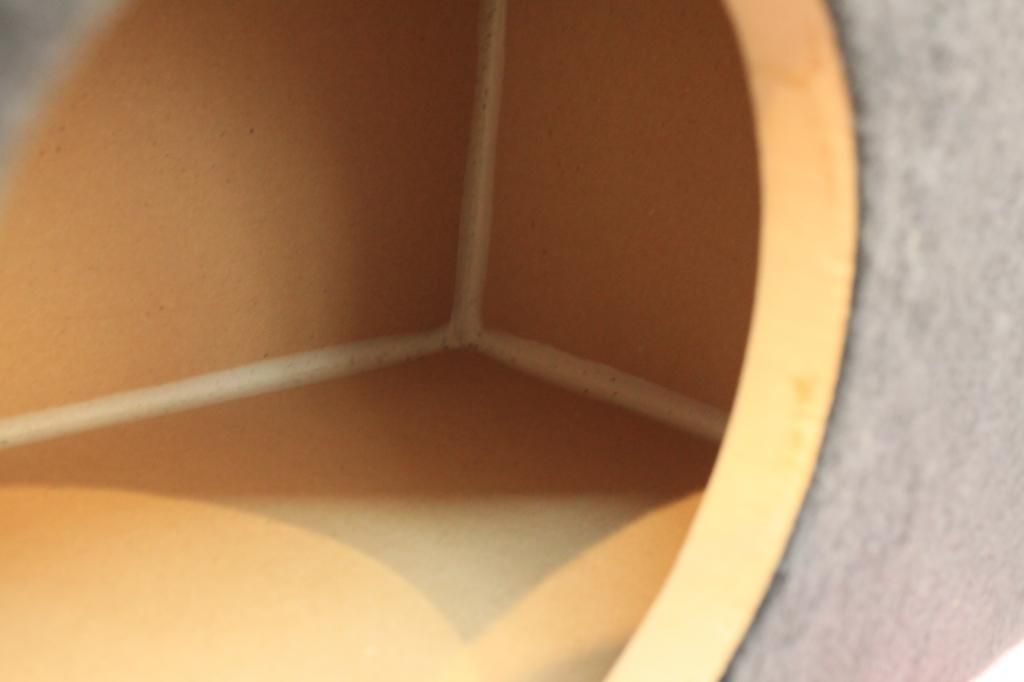 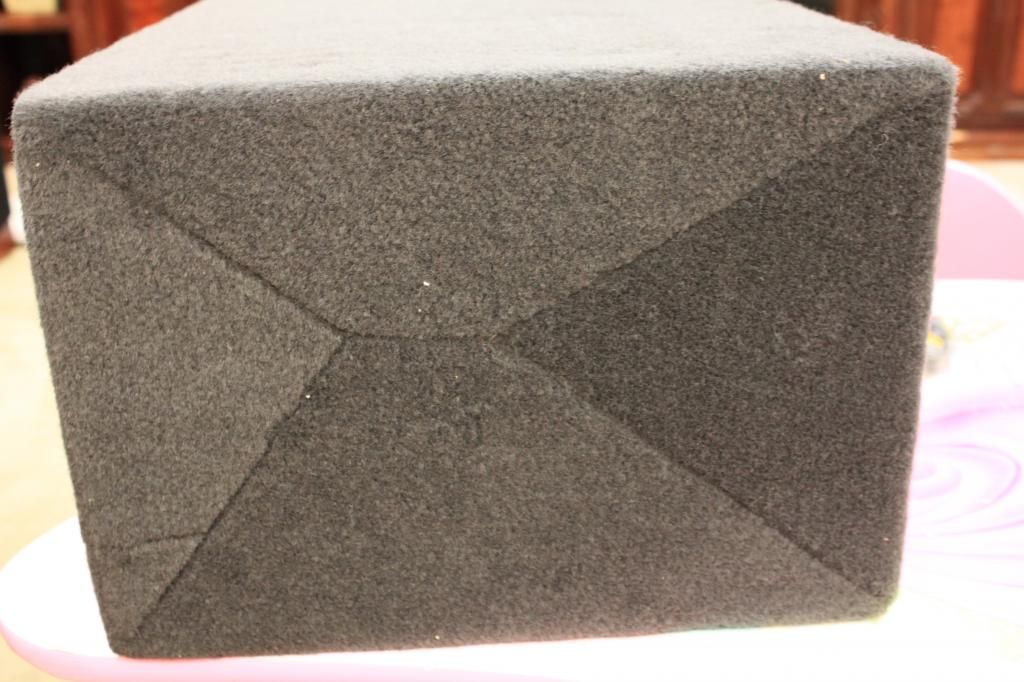  Well....this should be fun. Still waiting on both sets of components and my amps plus wire and heat shrink. that's all for now. |
| 04-24-2014, 04:54 AM | #2 |
|
Enlisted Member
 1
Rep 38
Posts |
First thing I wanted to do was install the Technic Harness and make sure it works.
 At the rear of the trunk is a plastic cover that needs to be removed first. 2 plastic clips need to be turned 1/2 way and then they can be popped out.    Next there are 4 Phillips Head screws that need to be removed. 2 on each side. 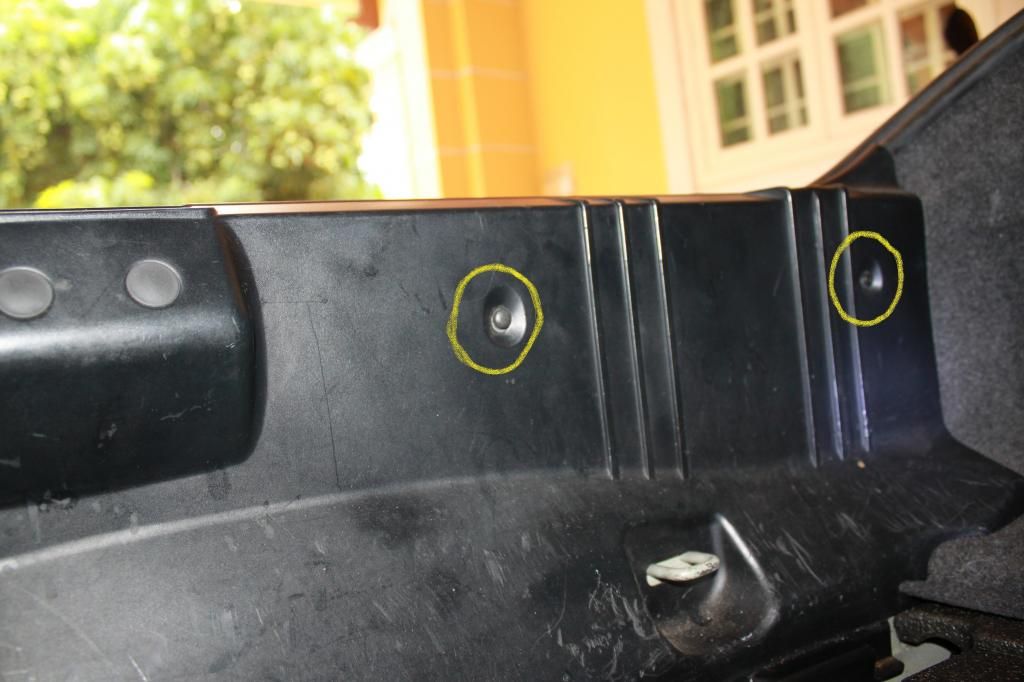 Each has a rubber cap that can be popped off with a flathead screwdriver. 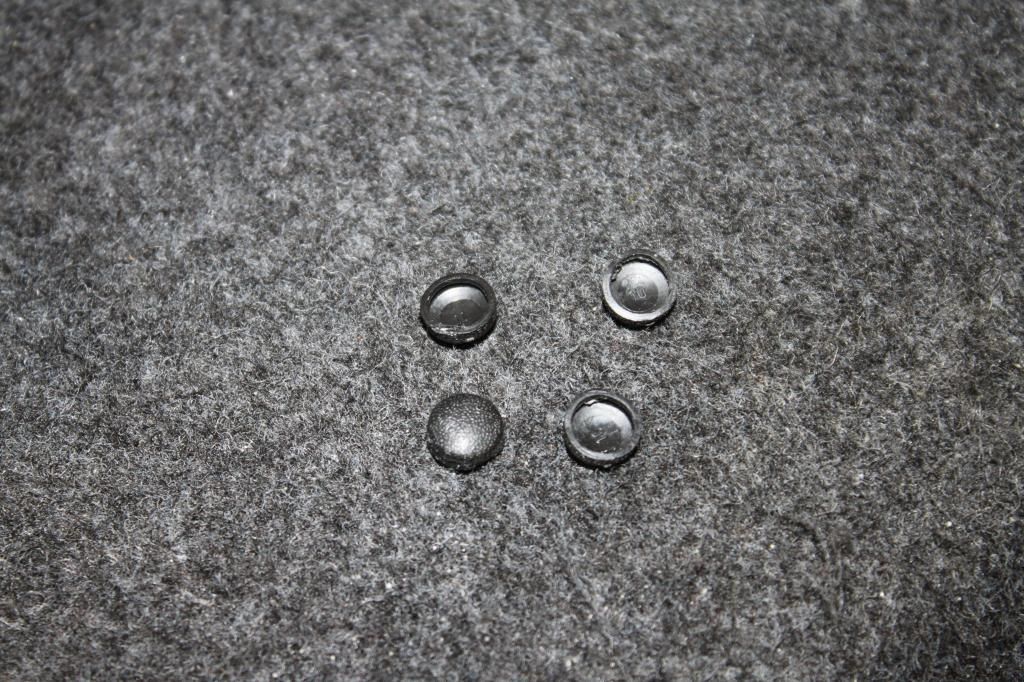 Remove those and the whole thing pops out. 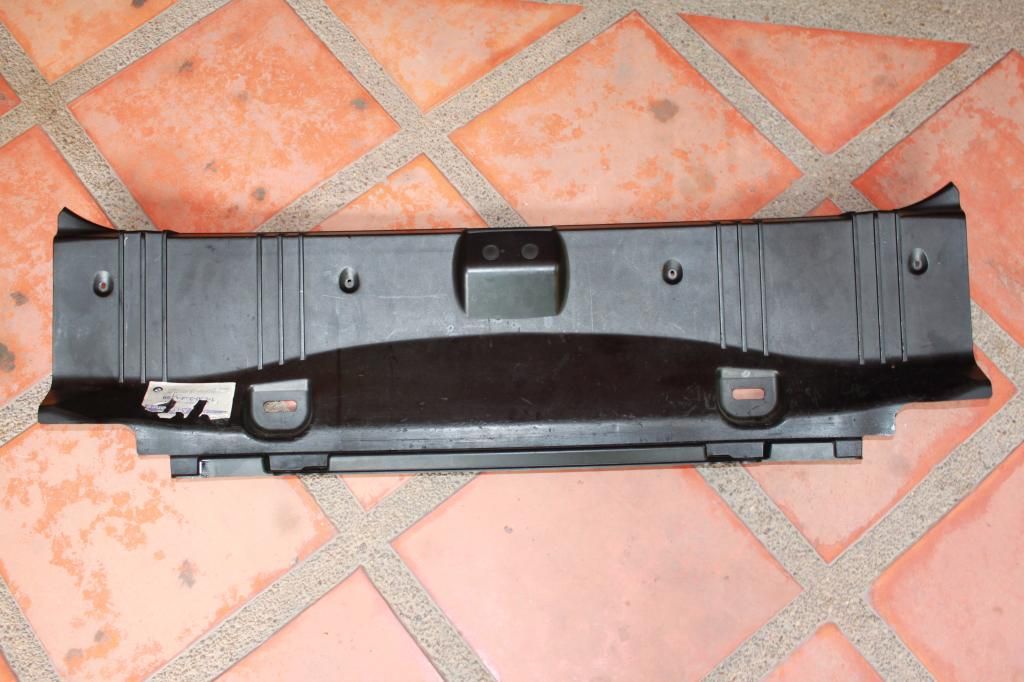 So back in the trunk you need to remove the carpeted cover to access the Logic7 amp. First there are 3 round clips that need to come out. They are in the top left hand side. 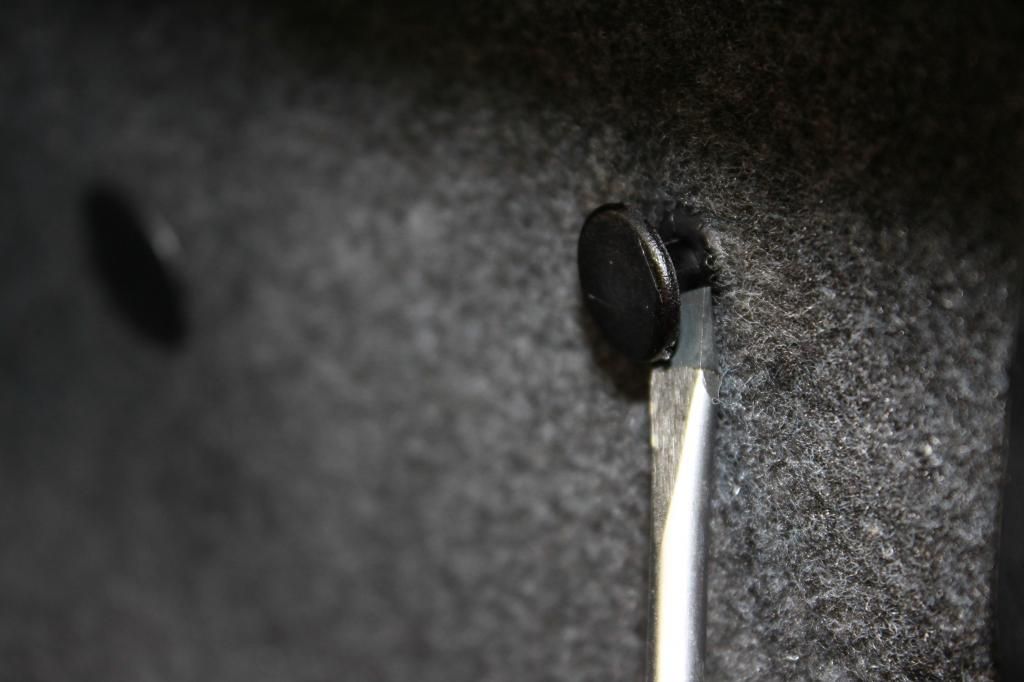 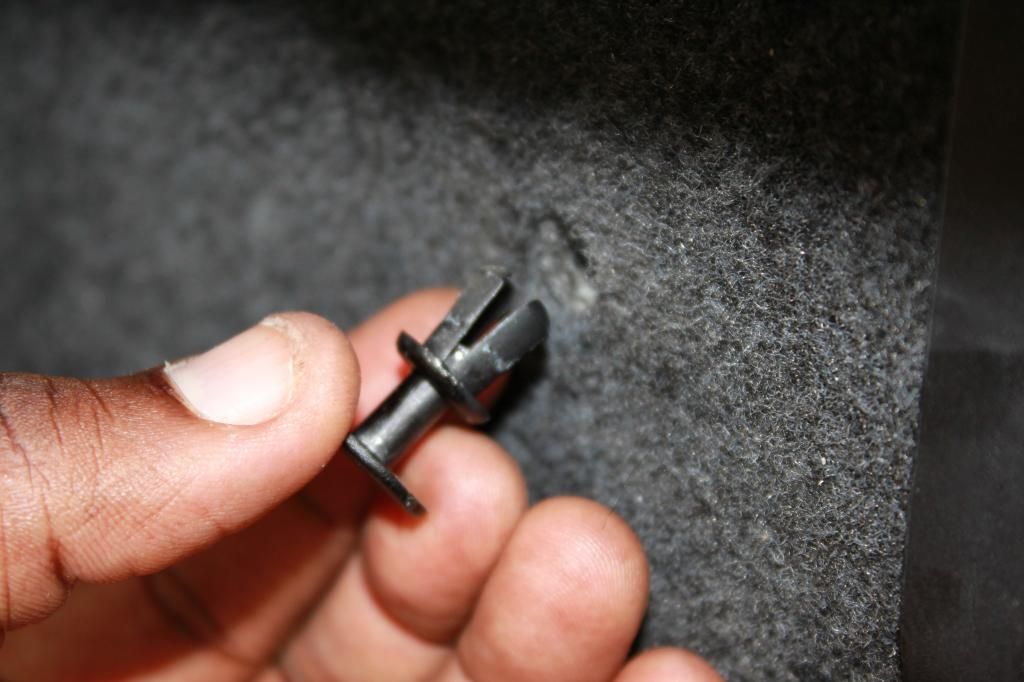 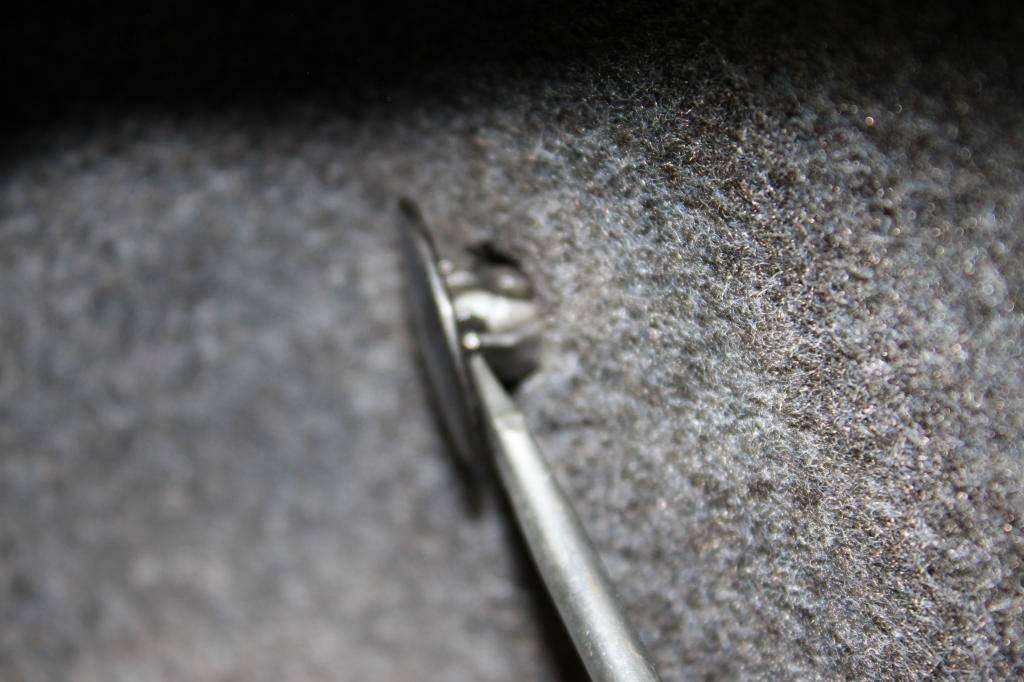 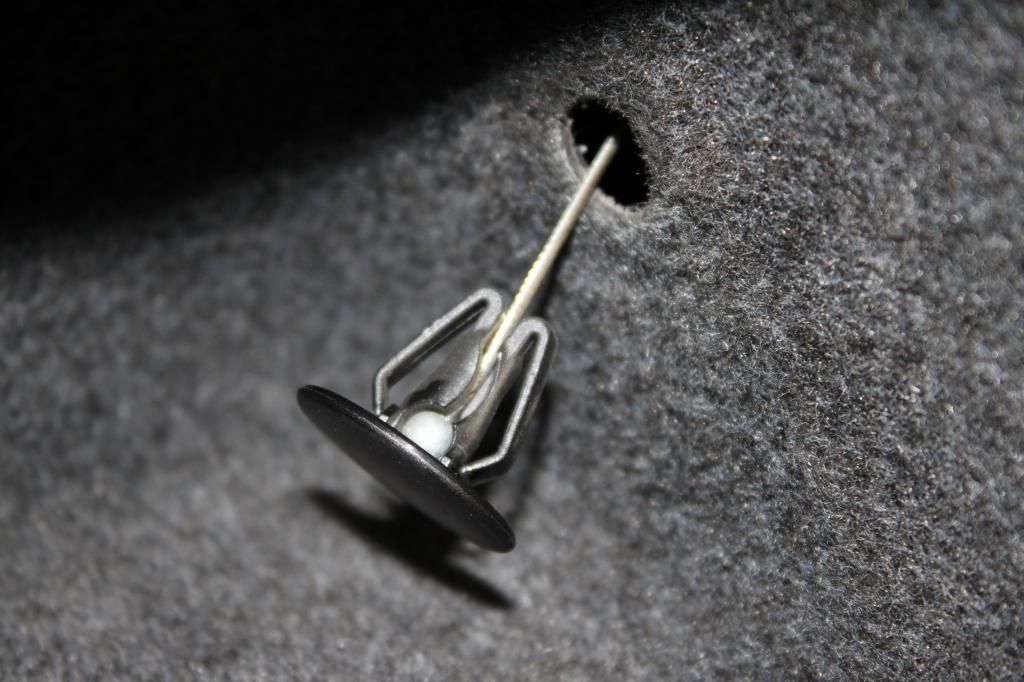 Just remove the cable and it will be reinstalled when you put the carpet liner back in. Just remember you will get a Top-Not-Locked error message and the top won't work until this is put back in place.  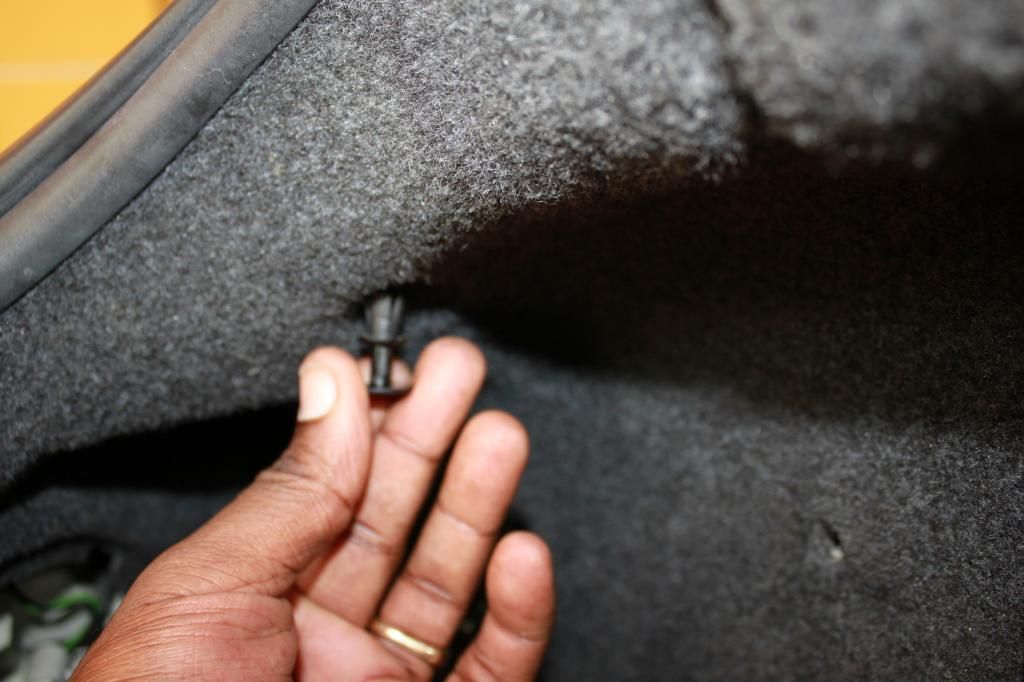 Next is what seems like a pop out clip but it is actually threaded and you will have to unscrew it all the way.  Lastly you have to remove the hold down bracket. Use a T40 male Torx bit to remove the center screw. You will then have to turn it an 1/8 of a turn and it will slide straight up and out.   Pull back the trunk seal (doesn't have to be removed just bend edge back) and the entire panel comes out in one piece. 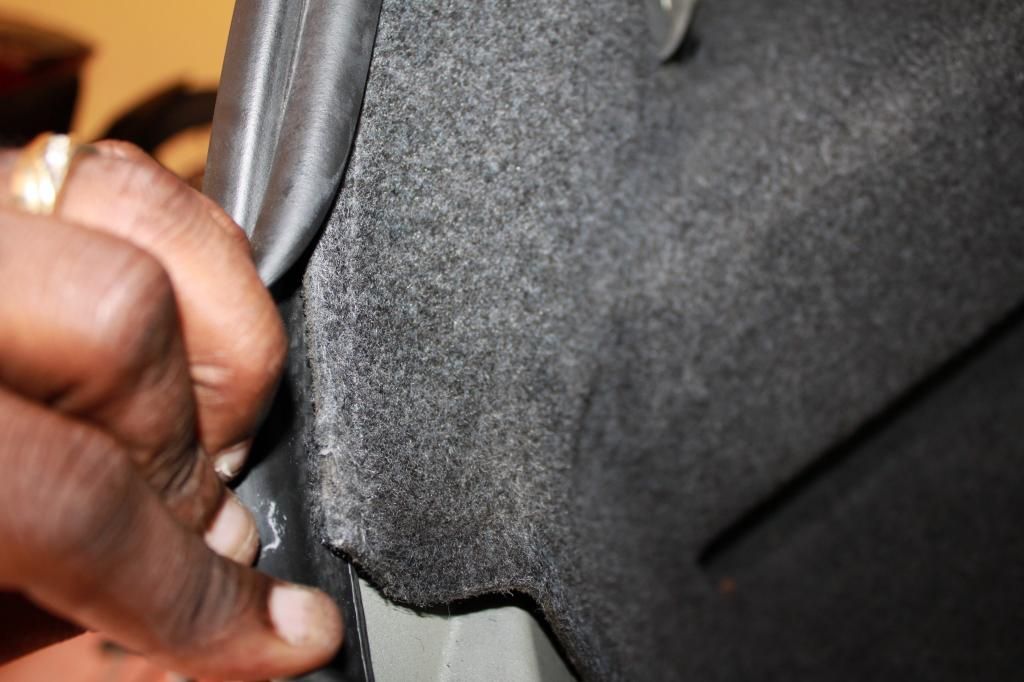 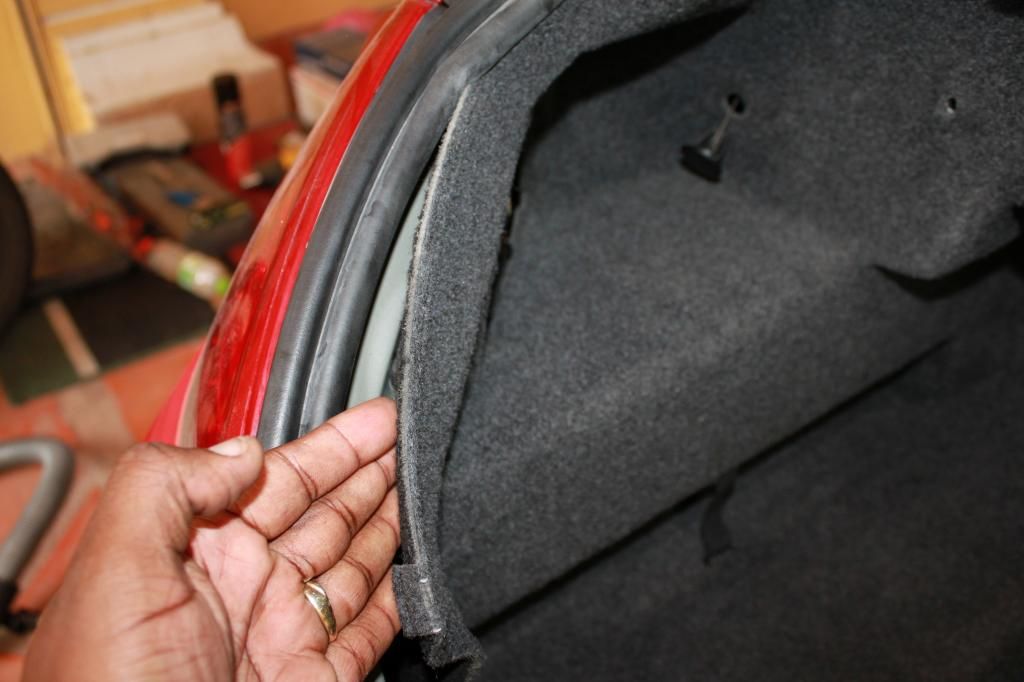 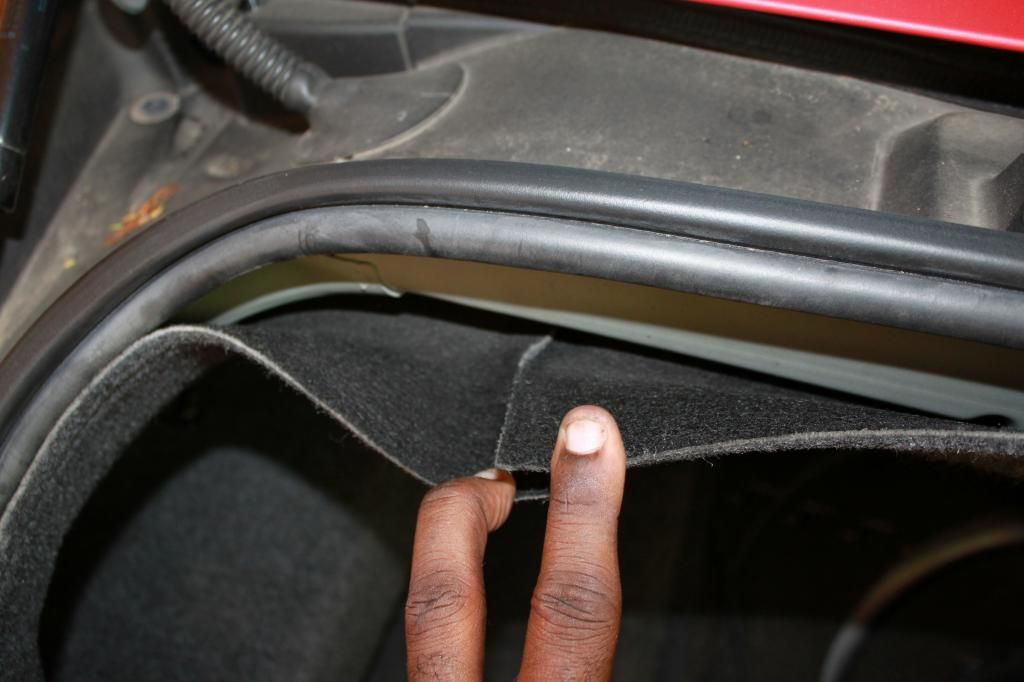  Here is the Amp.  Next I removed a bracket over the amp as I will be mounting some hardware to it. 3 screws and it pops right out.  Next I installed the harness. First you have to pull the harness clamp to the right to release it. Takes some force but you have to wiggle it forward till it is removed.  The harness only plugs in one wayso you can't mess it up. Make sure you have them all the way clamped in also.  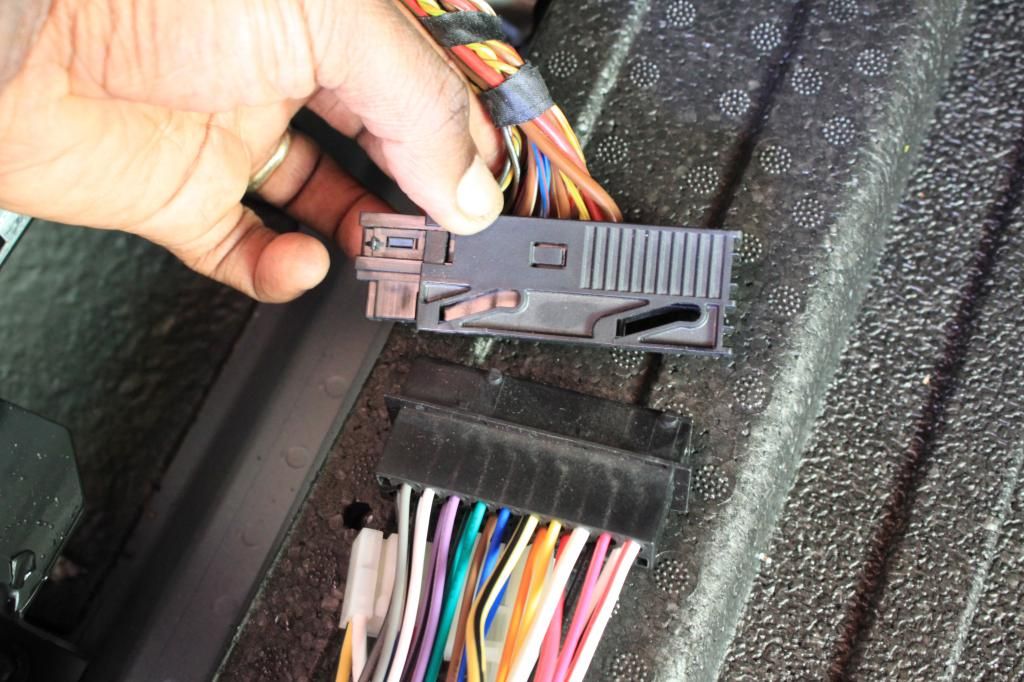  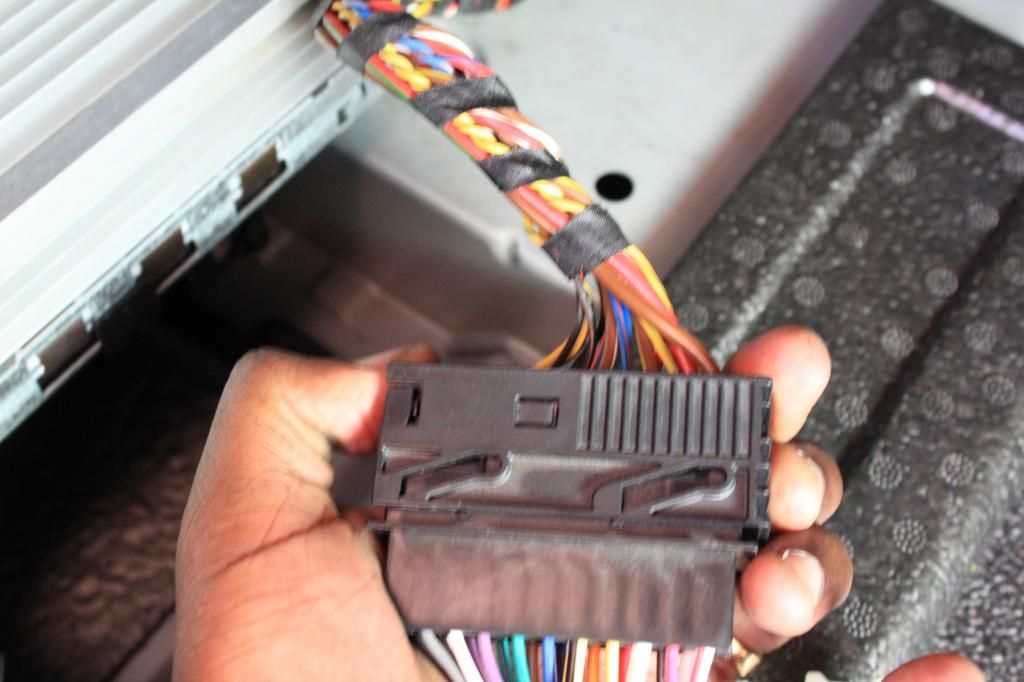 Finally the other end of the harness gets plugged directly into the Amp.  Harness works perfectly. Started the car and the stereo sounded like normal except the Subs were not playing. As in the included diagram you have to plug harness jack #1 into #2 and the subs play as normal. So it is installed and waiting for me to start phase 2. Whenever CDT gets off their butts and send me my speakers. Next i will be cutting this harness and wiring it into my Cache COE8 but for those just adding a sub. Plug in the LOC and you're ready. That's all for now. |
|
Appreciate
0
|
| 04-24-2014, 04:55 AM | #3 |
|
Enlisted Member
 1
Rep 38
Posts |
OK.......so my Sub amp came in today. Sexy little amp.
I chose these (got 2 more coming in) amps because they are really small and they are good amps. Very good build quality and the prices are very reasonable too. Gonna put 400 watts on the sub for now and I will just hook up the one sub using the harness so people can see how it is done. Well here is what I have been waiting for.....  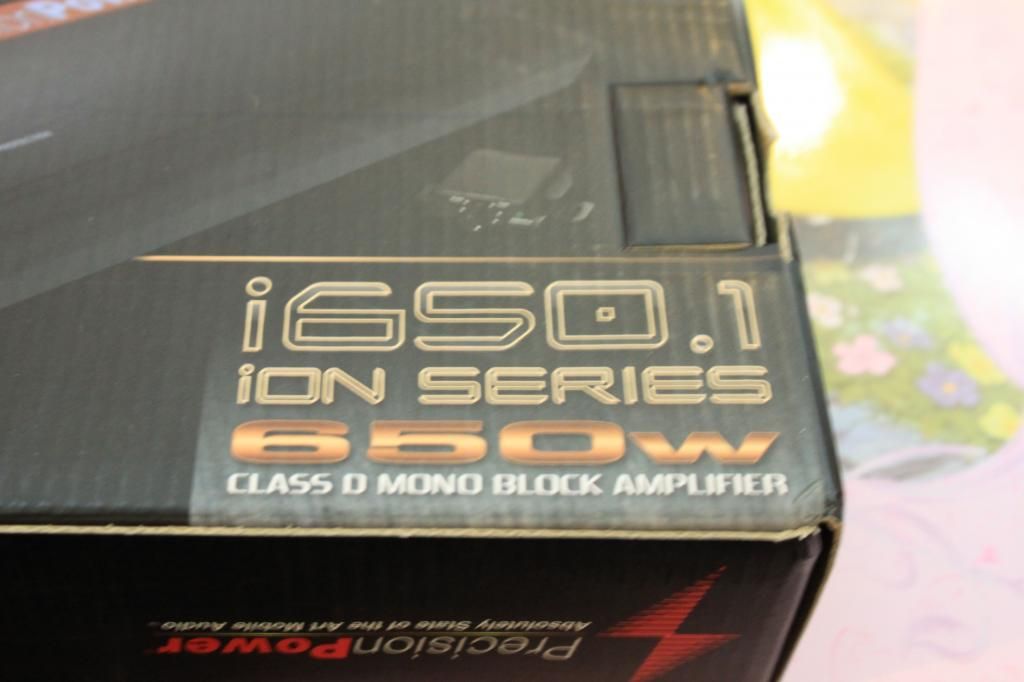   Such a small amp also. It is only 9" long. 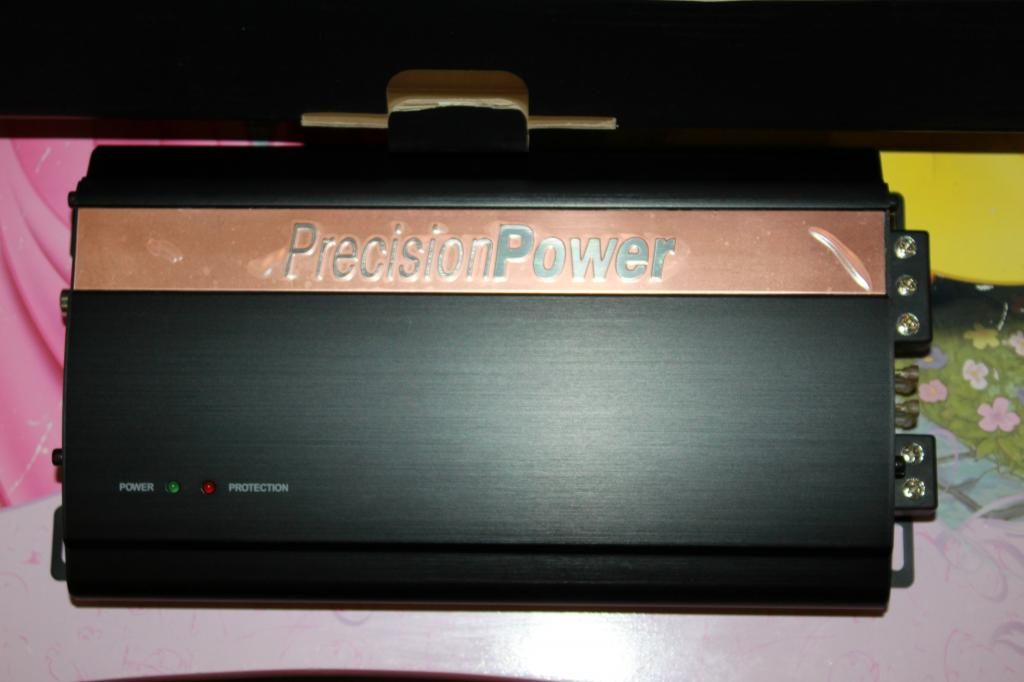 For perspective. Here is the amp with a Standard BluRay case. 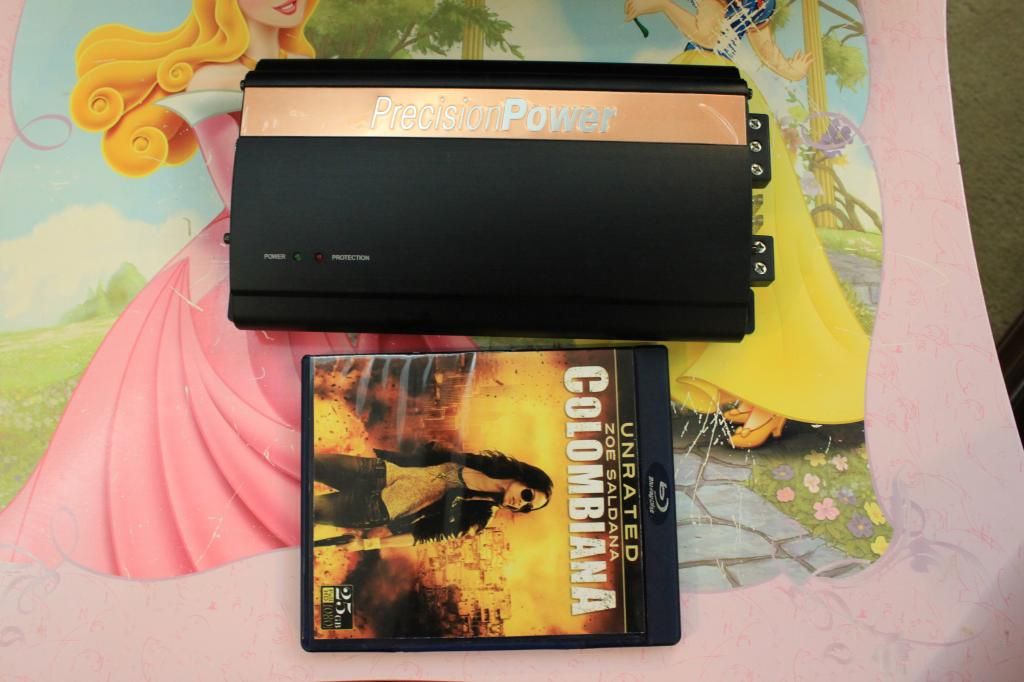  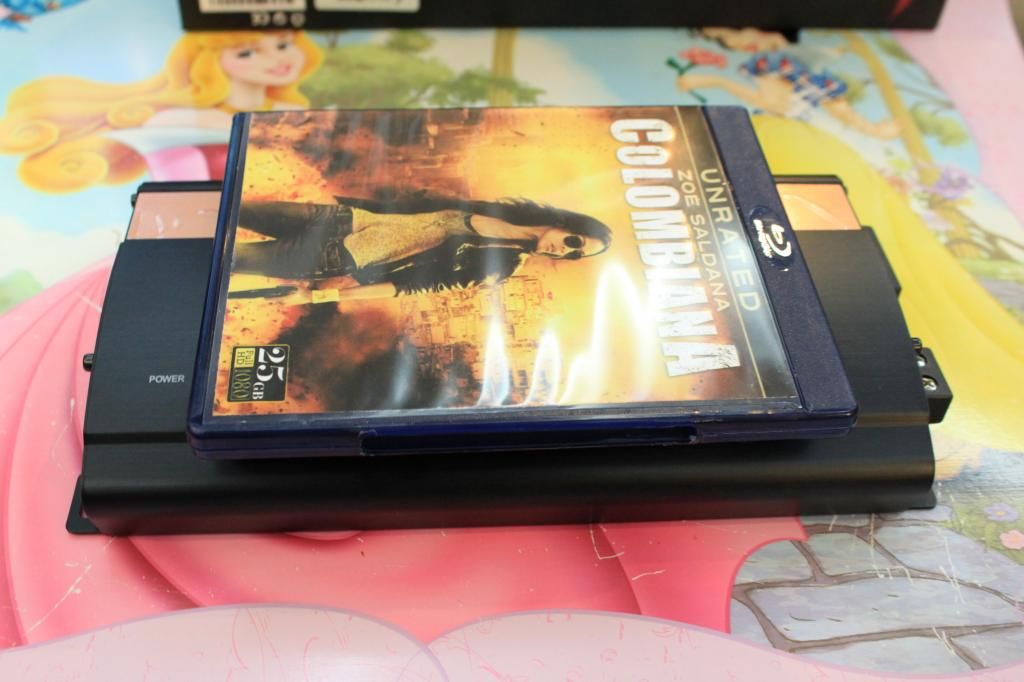 .....and the business ends of the amp.  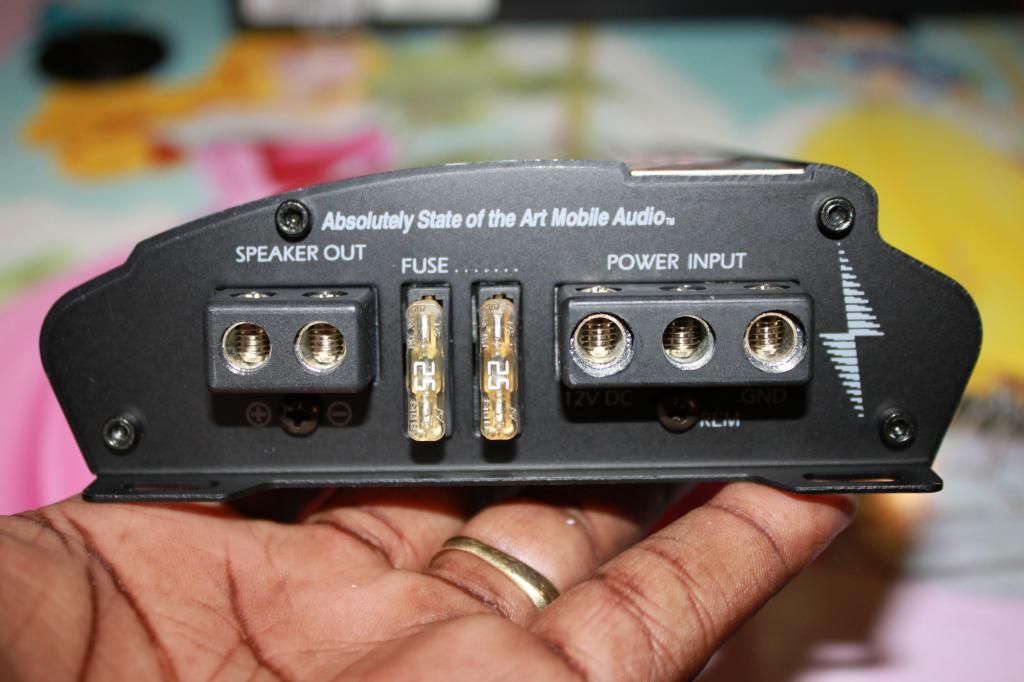  To top it off the best part. Amp Guts. Let's see what this amp is made of.   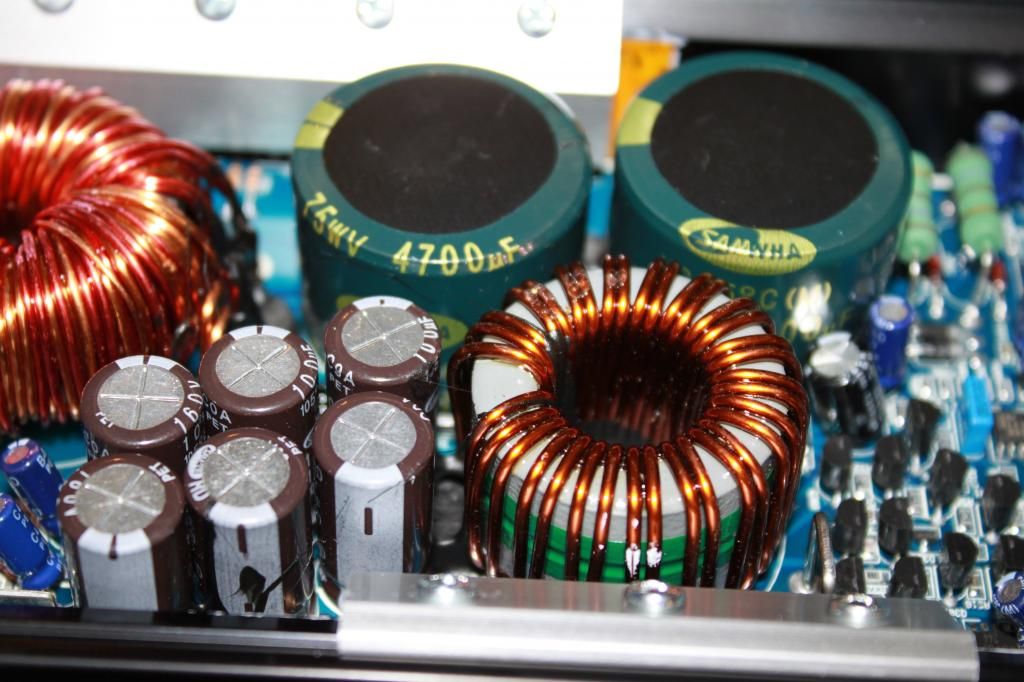 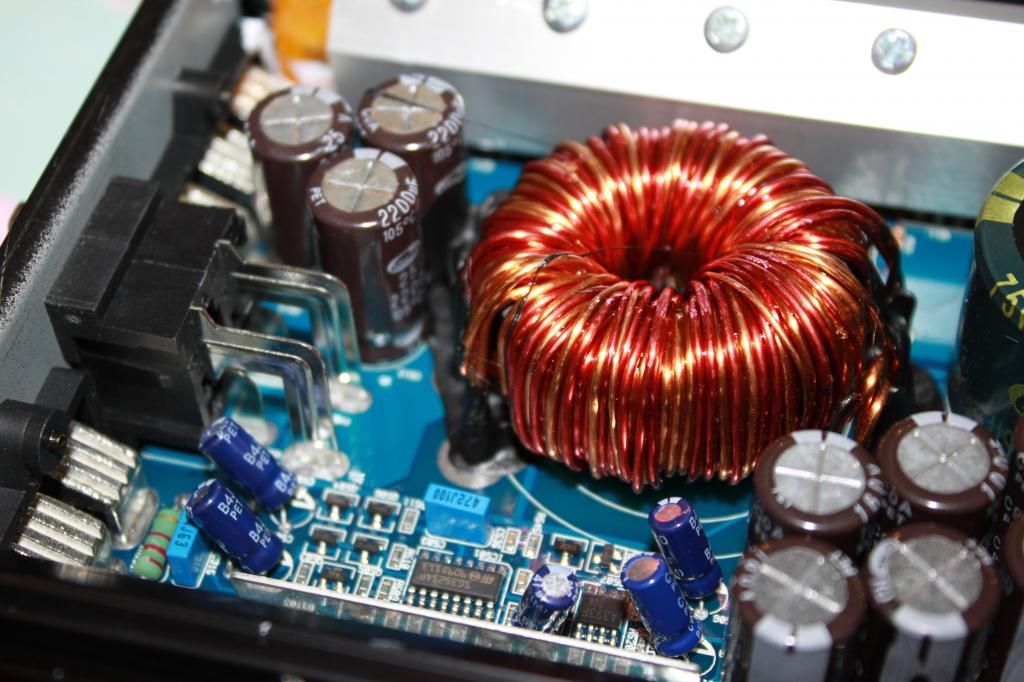 Got more pics of other things but I'm tired today. I'll jump on the car Saturday morning. |
|
Appreciate
0
|
| 04-24-2014, 04:56 AM | #4 |
|
Enlisted Member
 1
Rep 38
Posts |
So let the games begin.
Got up this morning and the wife had a hair appointment so I had to watch my little girl so I wanted to get as much done as I could. I decided to install the amp and all the wiring so I could essentially plug it all in once my wife got home. Gotta remain productive. So here is what I came up with. First I pulled the right side trunk liner before the wife left so I could keep working while my baby repeatedly asked me "What's this Daddy?" 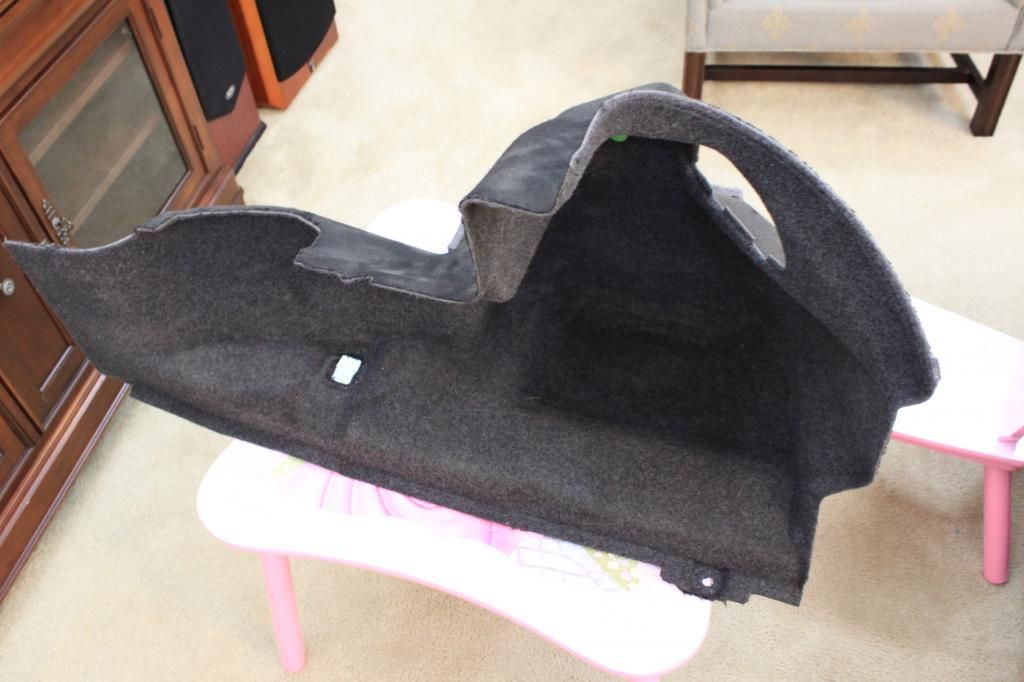  Hmmmmm.......looks like a perfect spot for the amp.   Just enough room on the left side  Just a little more on the right side 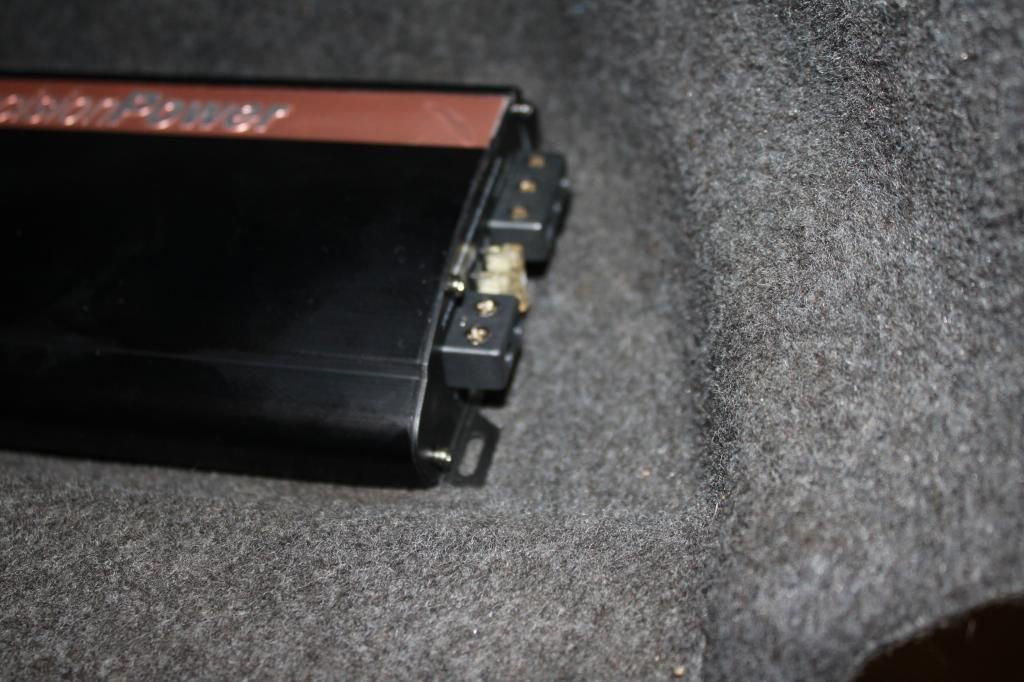 Yeah this will work just fine.    Next I marked the mounting holes on the brackets.   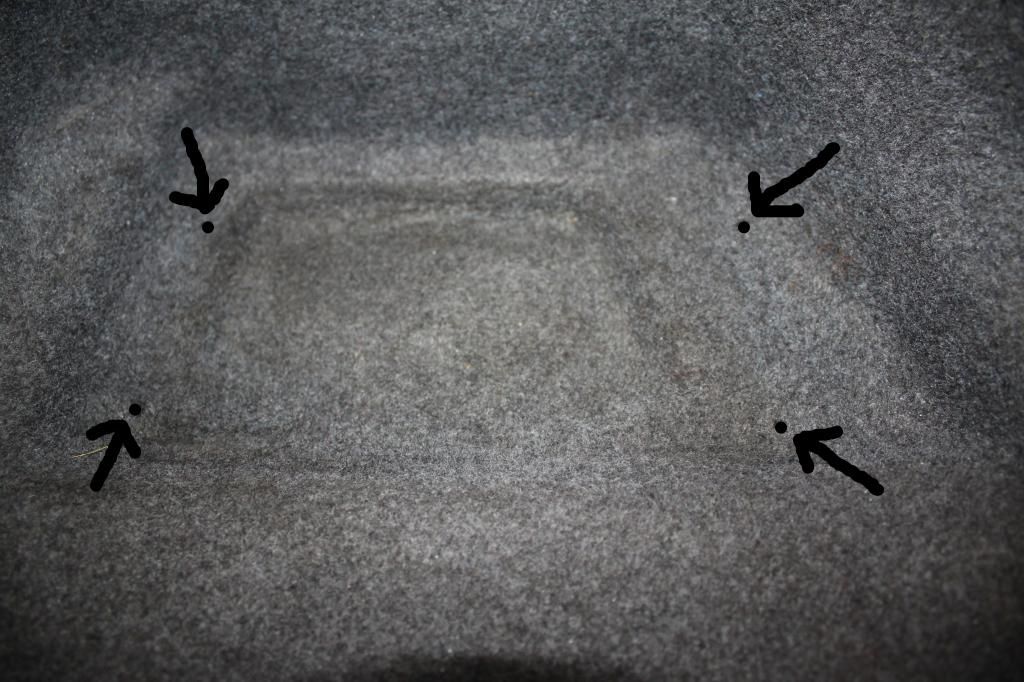 I ran in the screws then decided what to do about the wires. I didn't want the wires to just be laid out in the open so I decided to try and hide them as much as I could. Running the wires behing the panel was my only option in order to keep it (IMO) clean. Here I have marked the hole for the Power/Remote/Ground and Speaker wires.  This side is for the RCA wires and the remote knob cable. 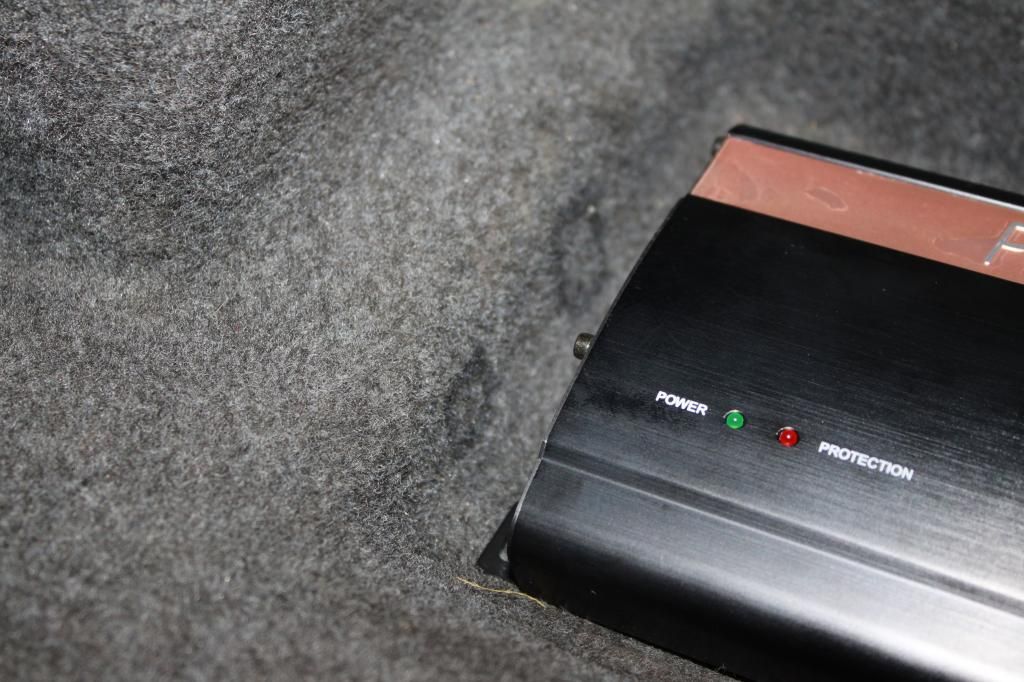 1 minute later with a Dremel and we have a pass thru.  I made sure I didn't make the holes wrong and set the amp in place just to confirm. 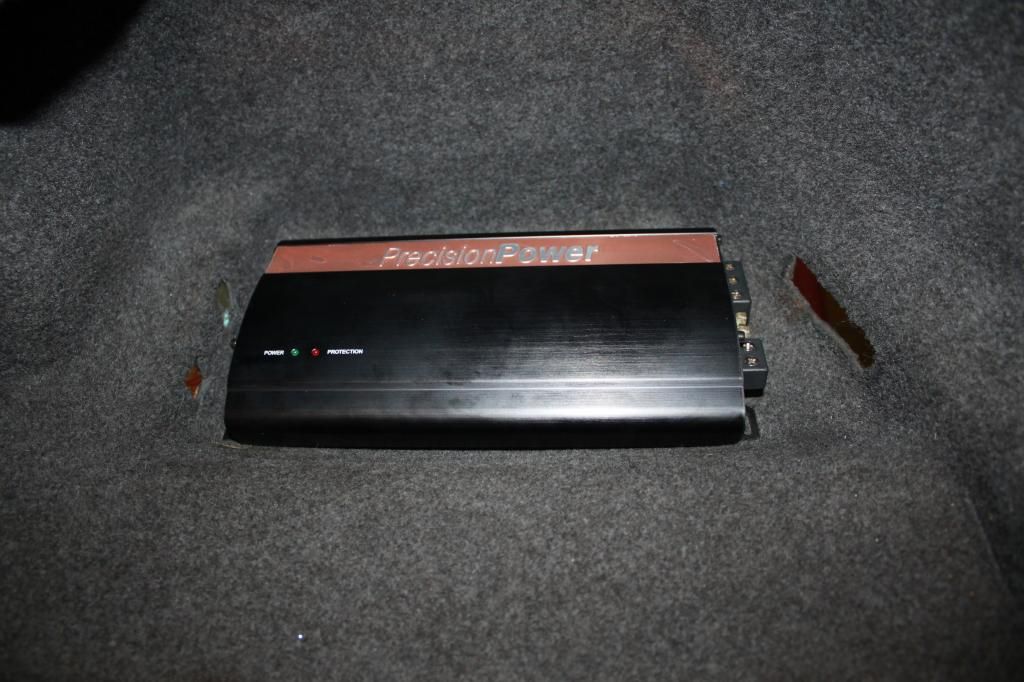 |
|
Appreciate
0
|
| 04-24-2014, 05:00 AM | #5 |
|
Enlisted Member
 1
Rep 38
Posts |
I then hooked up all the wires BEFORE mounting the amp as it would be difficult to do afterwards. I also used 14ga wire for the speaker terminals and 4ga for the Power and Ground.
 I then fed the wires thru the holes on each end.  Here they are coming out the sides for when I re-install the panel into the trunk. 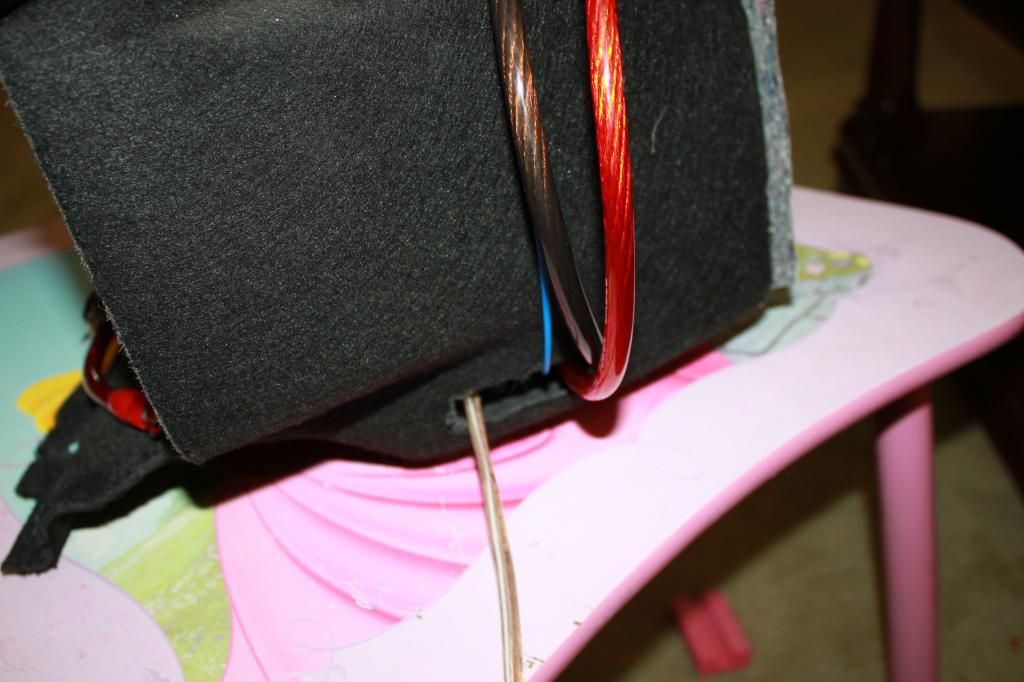 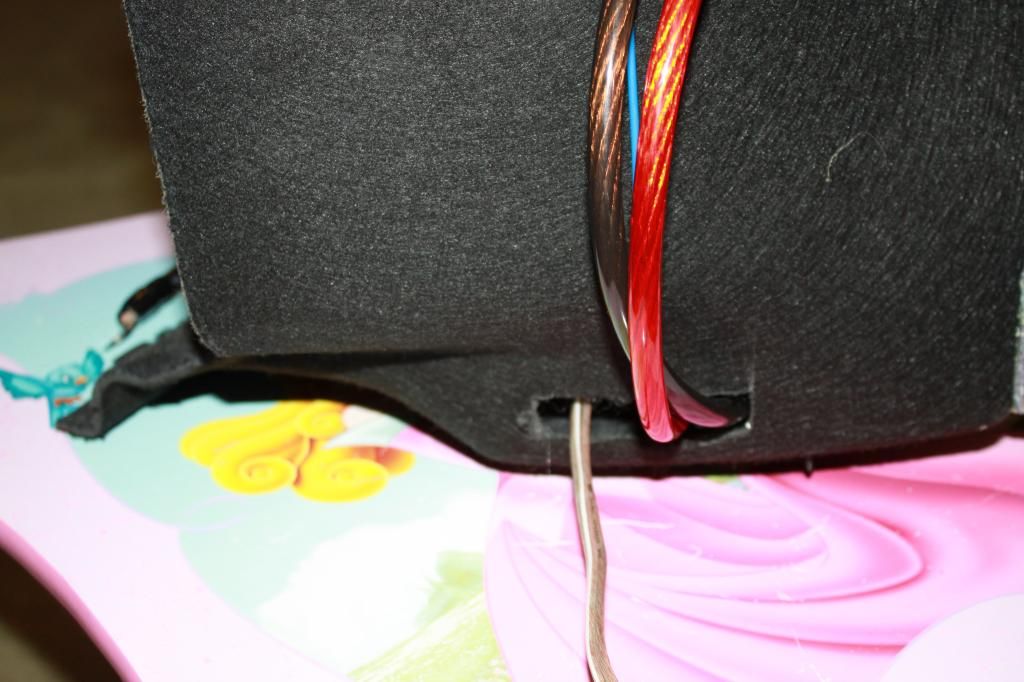 Since the speaker wires would need to be routed all the way back and over to the other side I taped them to the panel with some tape. 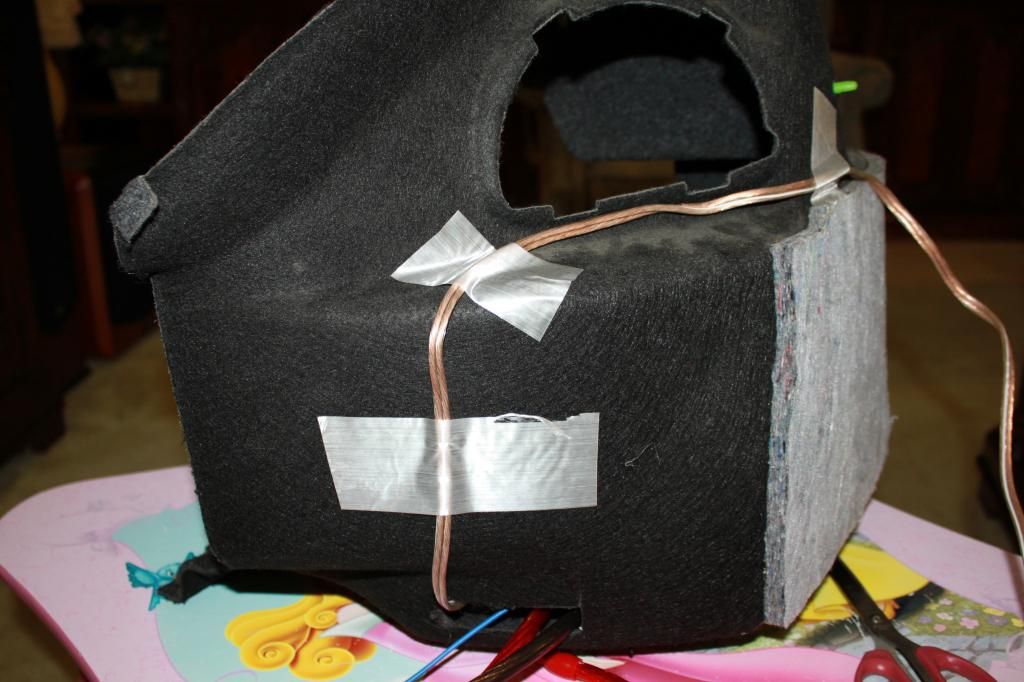 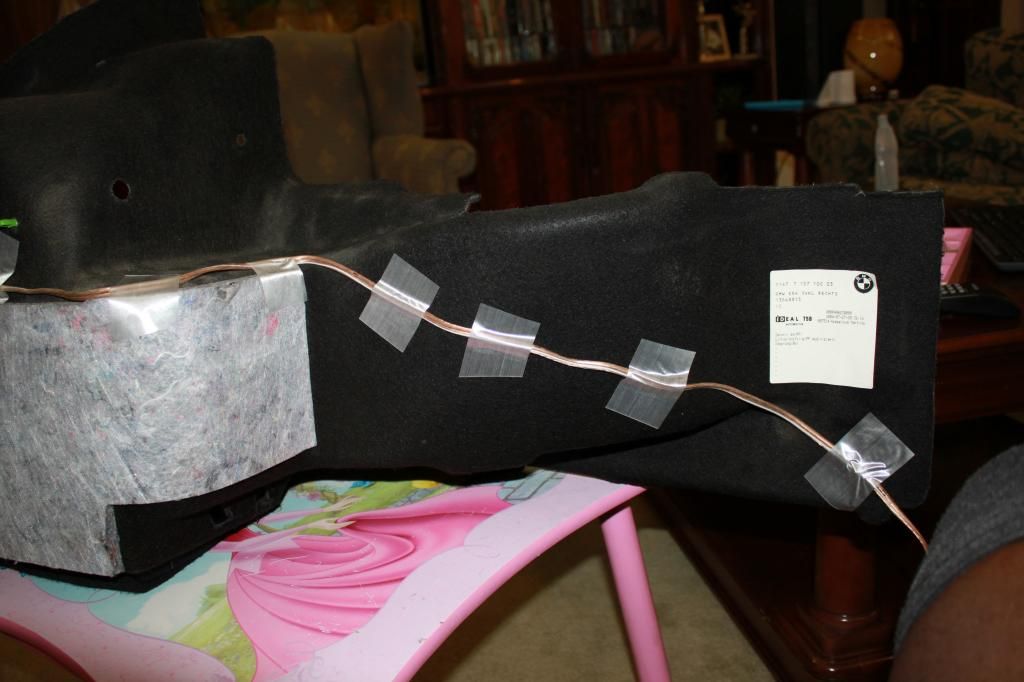 Here is where the RCA cables come in from the left side.. They were also taped to the rear of the panel since they also get routed to the other side of the trunk. 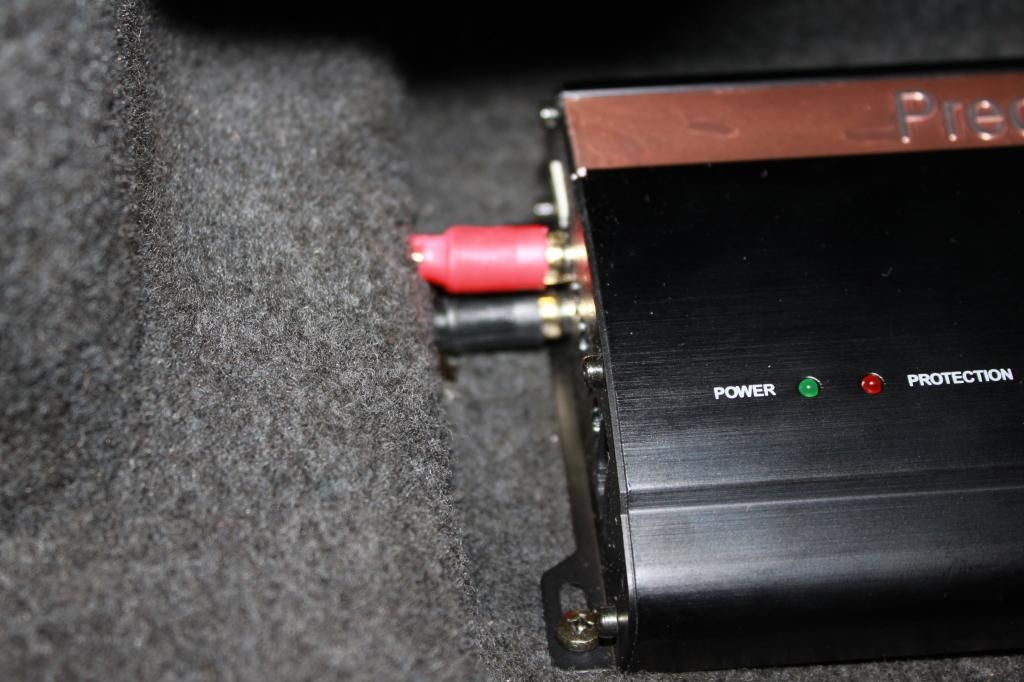  Here is the remote knob for the amp itself. Haven't decided where to mount it in the cabin yet.  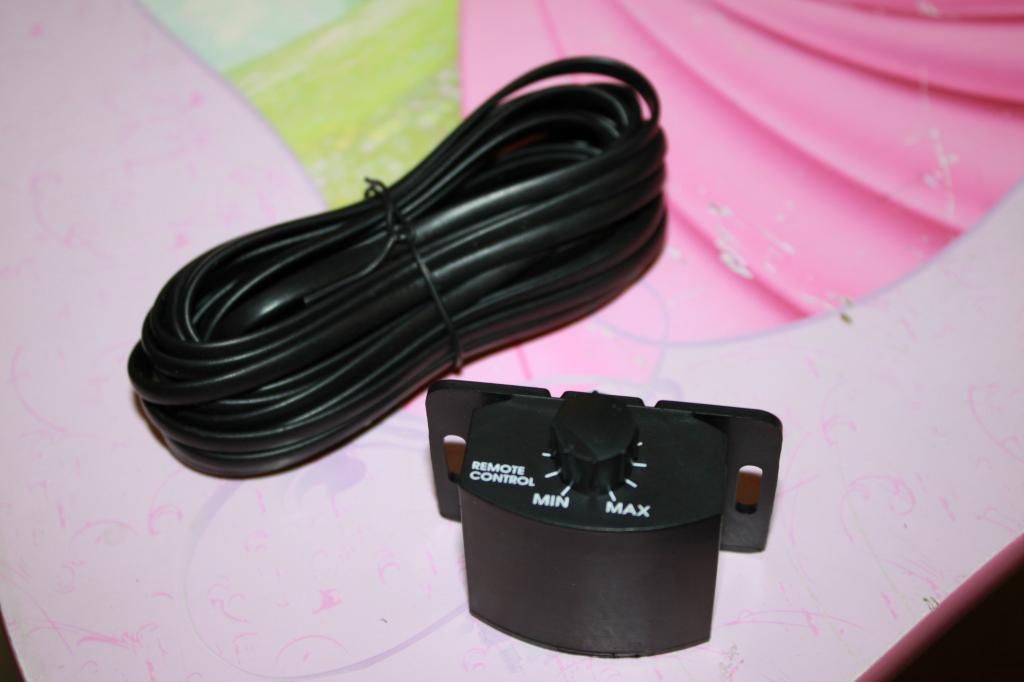 I then hung all the wiring over the sides so I could carry the panel out to the car when my wife returned.  Next I hooked up the LOC provided with the Technic Harness. It simply plugs into the only remaining plug. 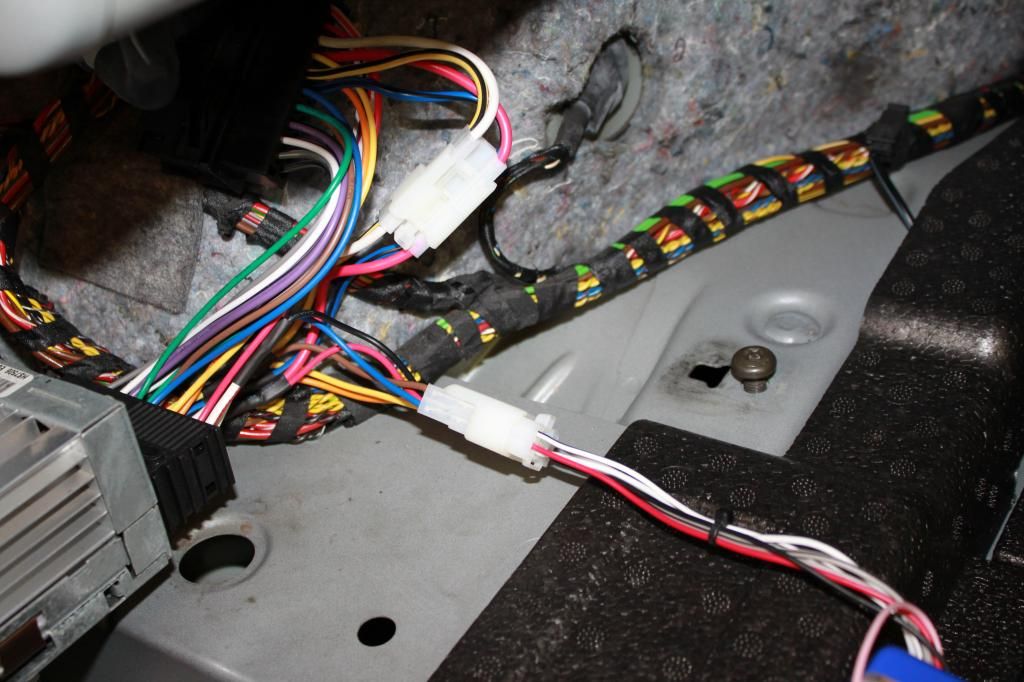  Here is the remote turn on wire. It is automatically sensed with the LOC so no need to find a factory wire to try and hook it into.  Time to wire up the box. 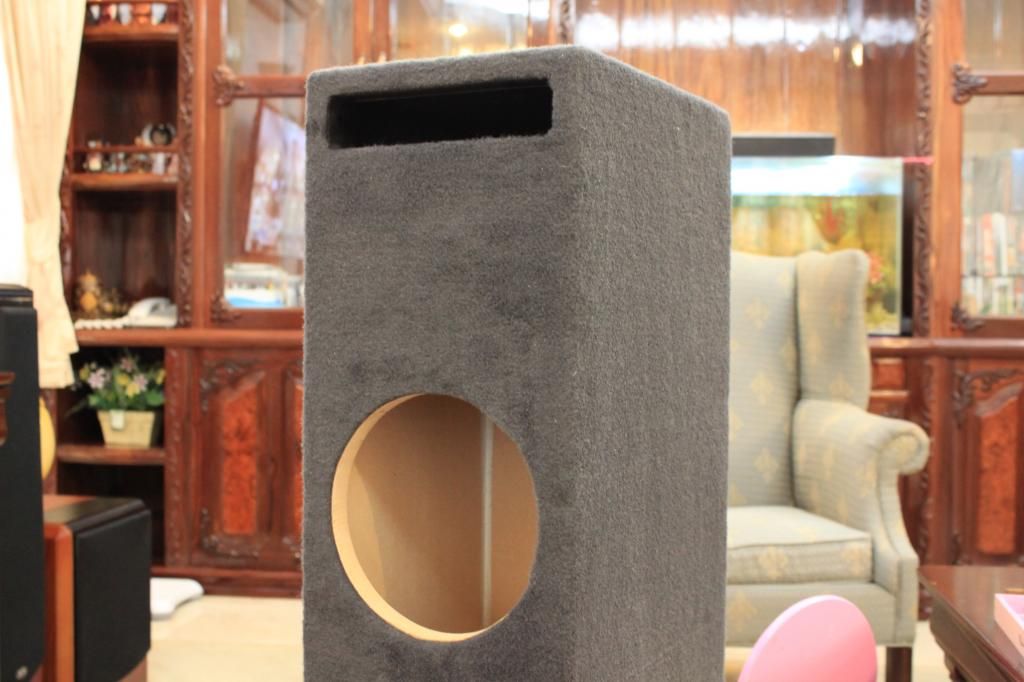 I pulled out the connection for the box and used 14ga wire to wire the subs up. 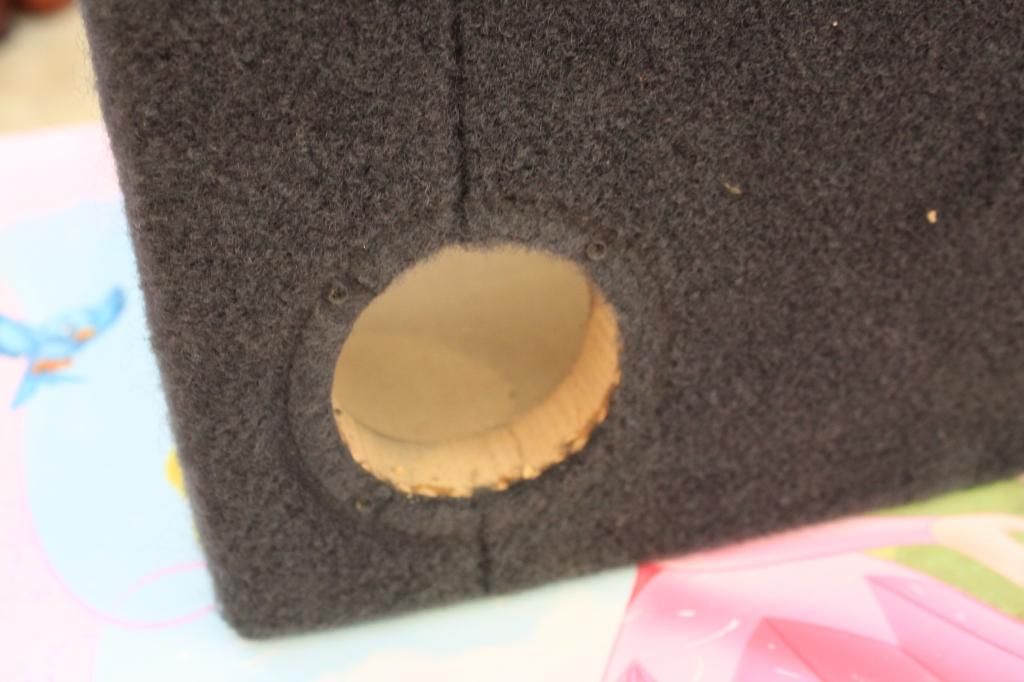  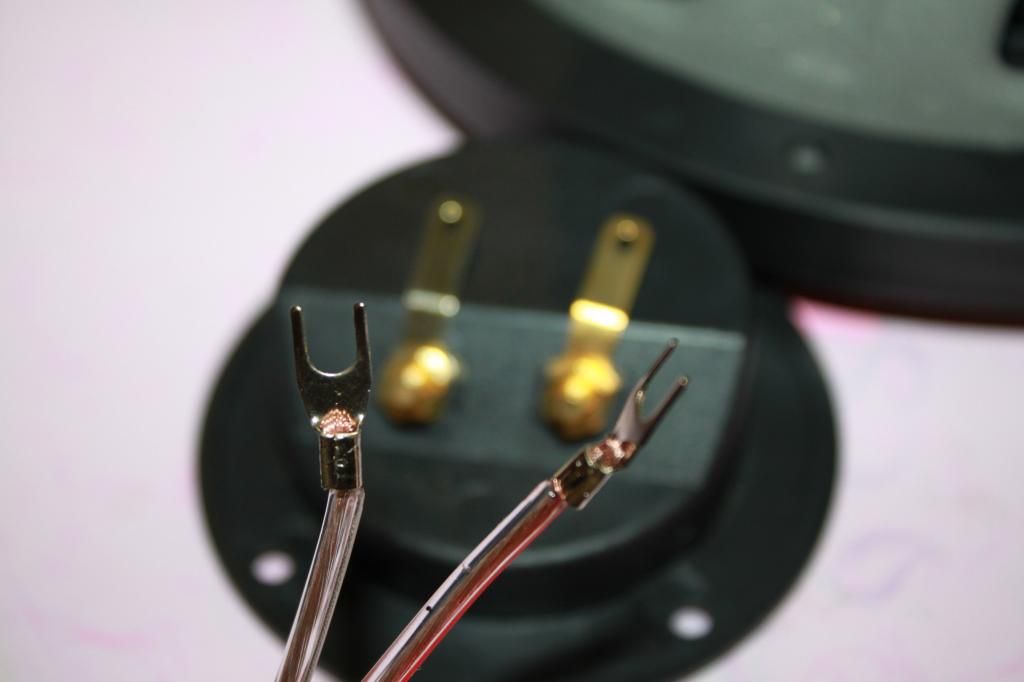 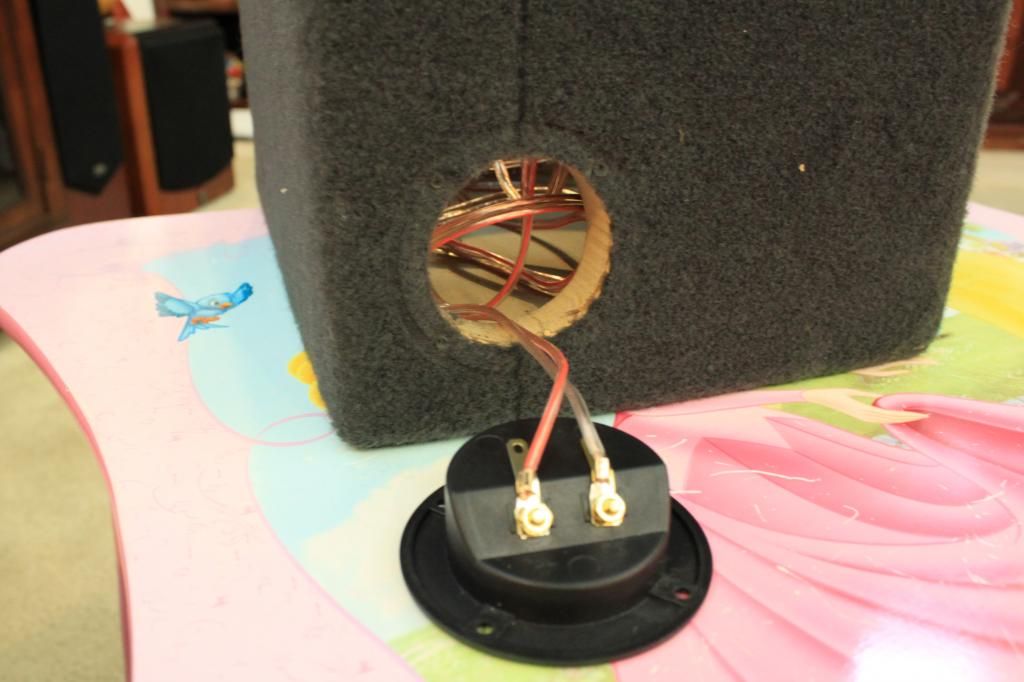 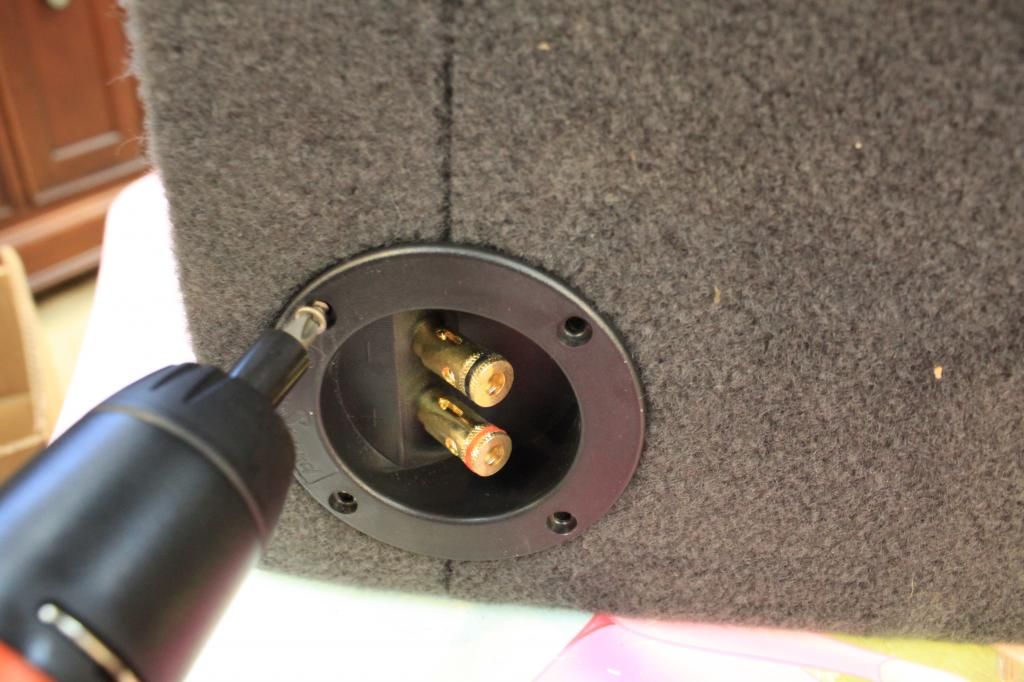 The sub is a DVC 2 OHM so I wired it up to get 4 Ohms. Positive on one coil to negative on the other coil, then remaining positive and negative to the connection terminal.  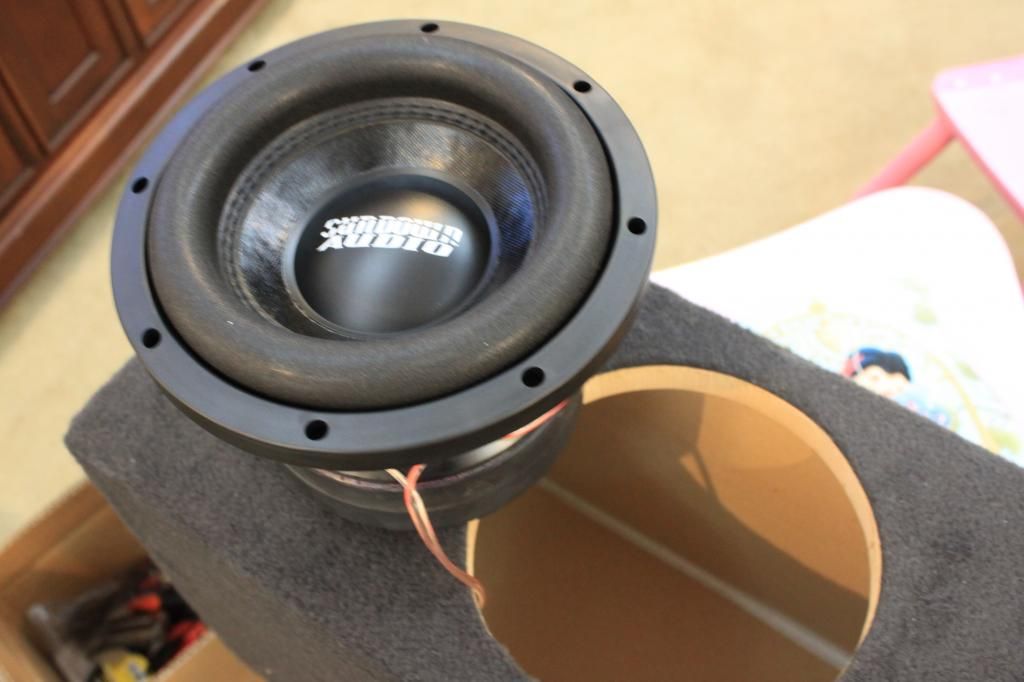 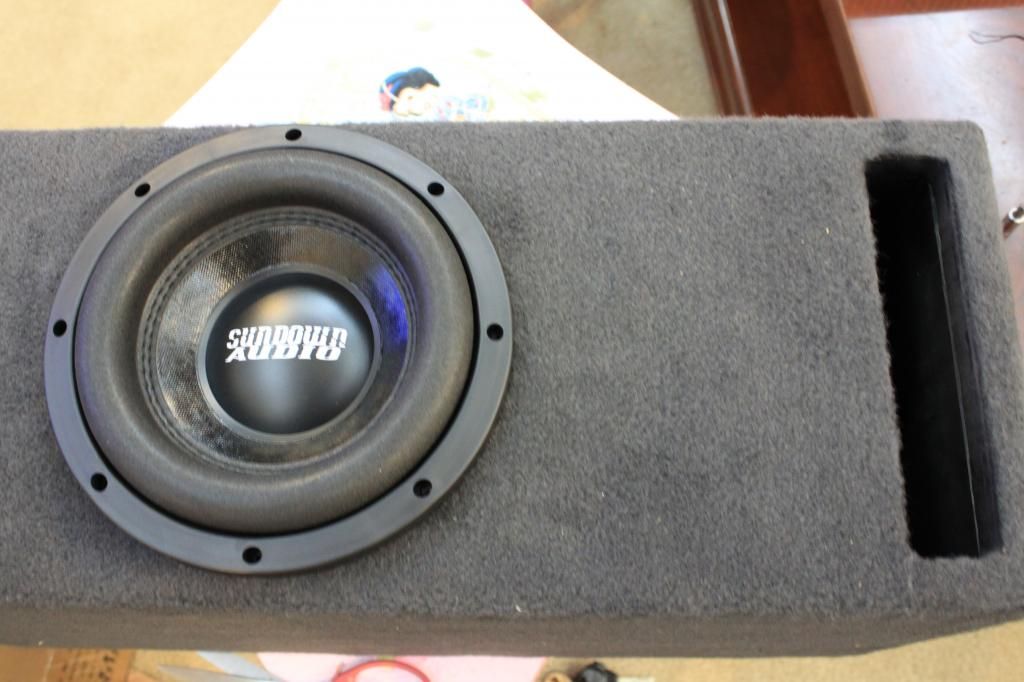  Now to install the amp and panel into the trunk. 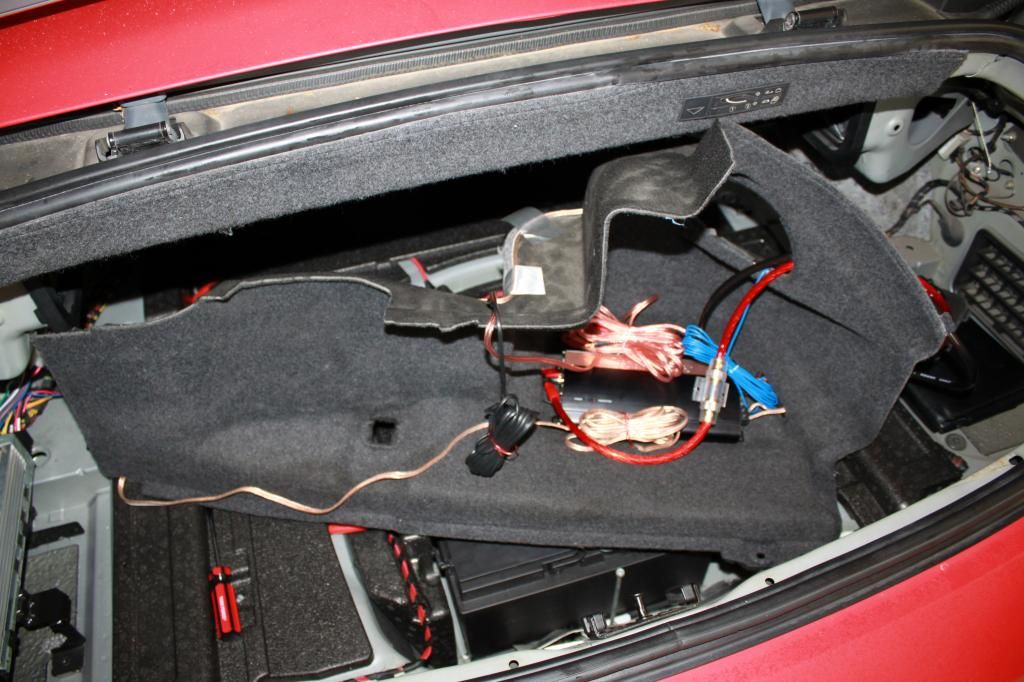 I tried to slide it in but this styrofoam panel kept getting stuck on the screws holding in the amp so I removed it then put it back after the panel was in place.  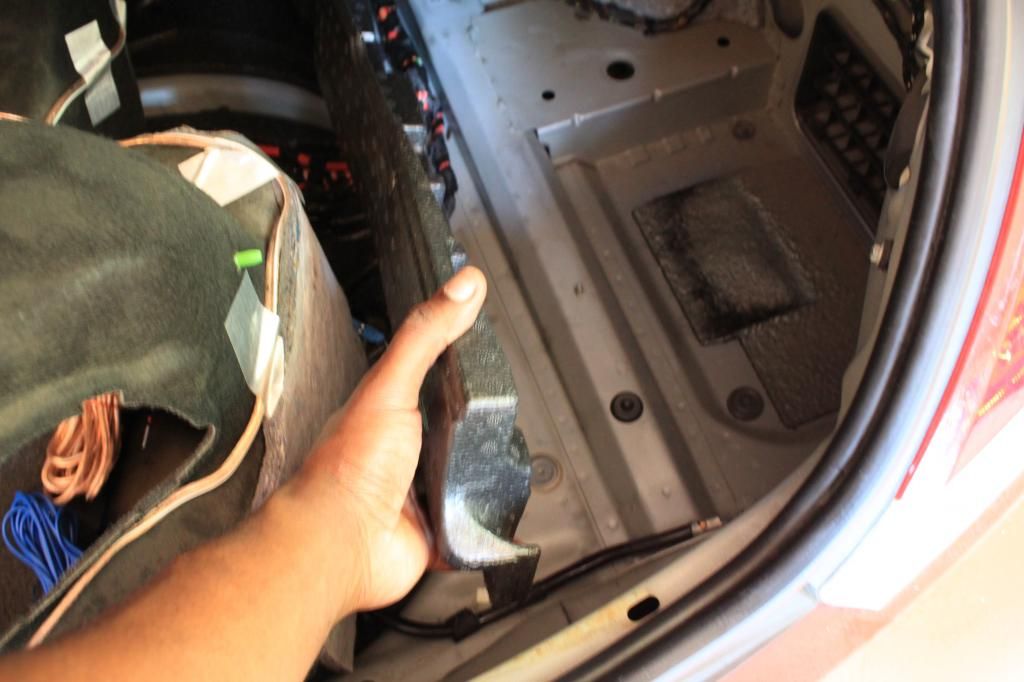 Success.......  I routed the Power/Remote/Ground wires under the styrofoam piece but found my battery terminal didn't want to get tight so I rerouted the Ground to afactory ground location right behing the panel. 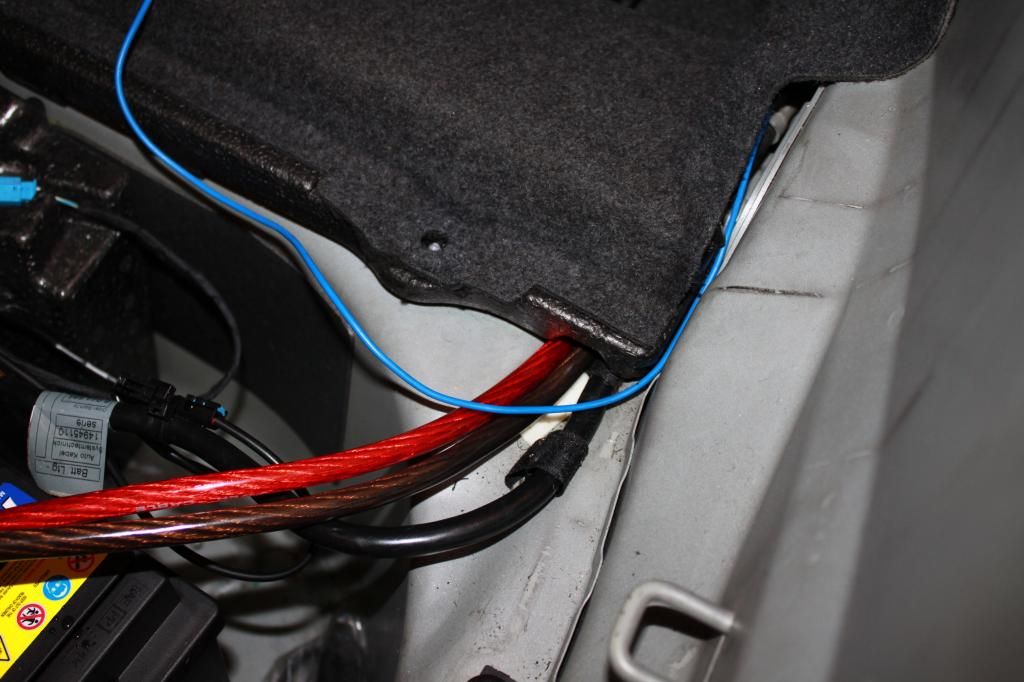 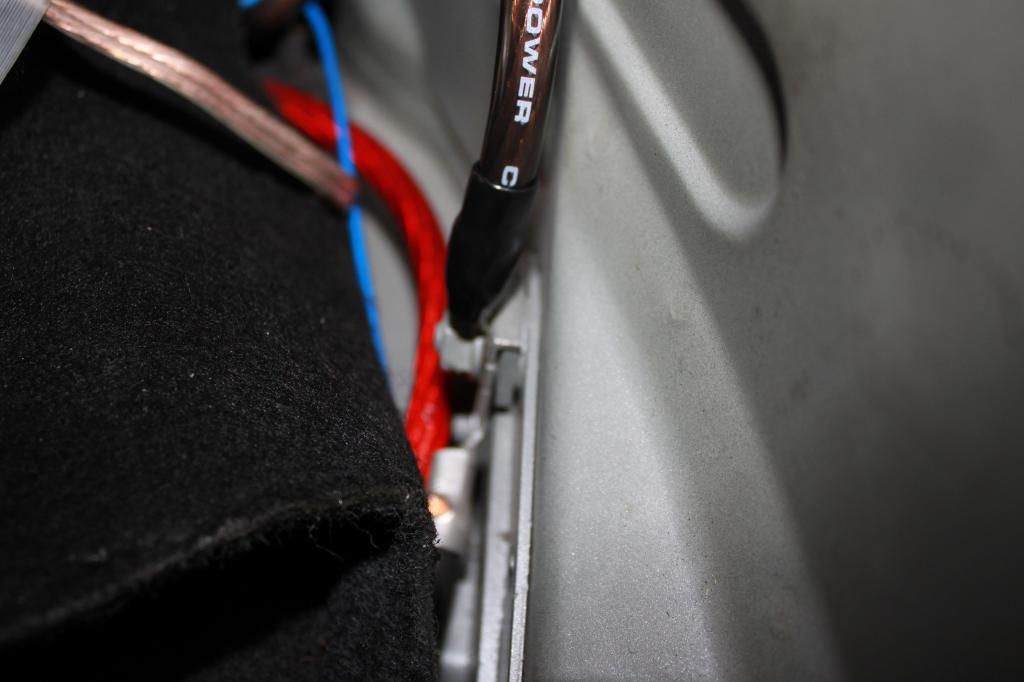 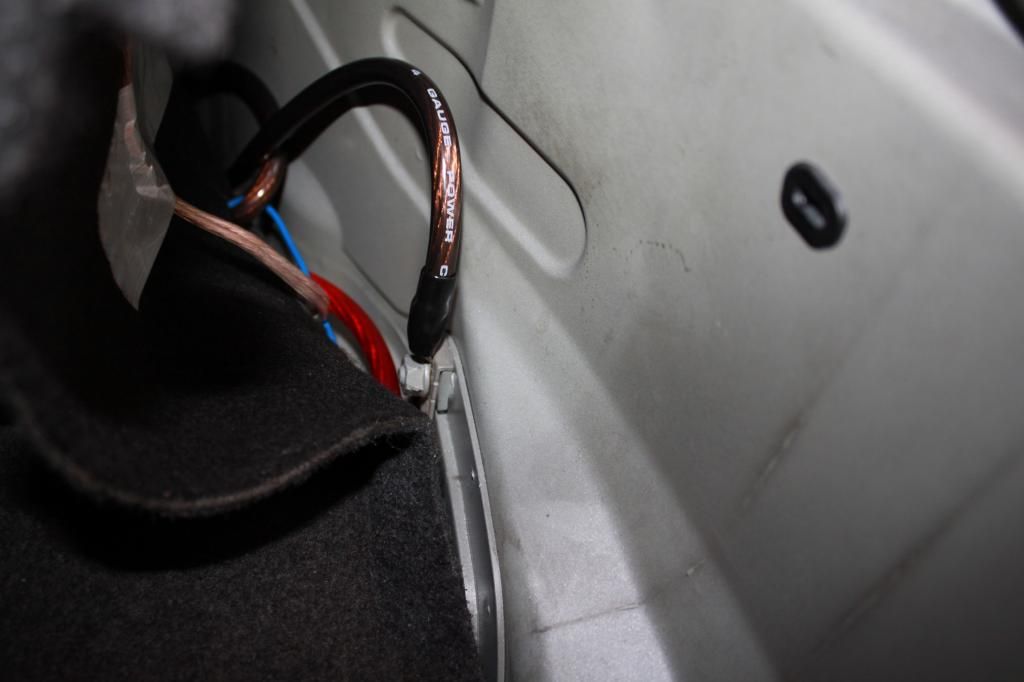 |
|
Appreciate
0
|
| 04-24-2014, 05:01 AM | #6 |
|
Enlisted Member
 1
Rep 38
Posts |
The remote wire was routed under the edge of the panel and acroos the car to the other side.
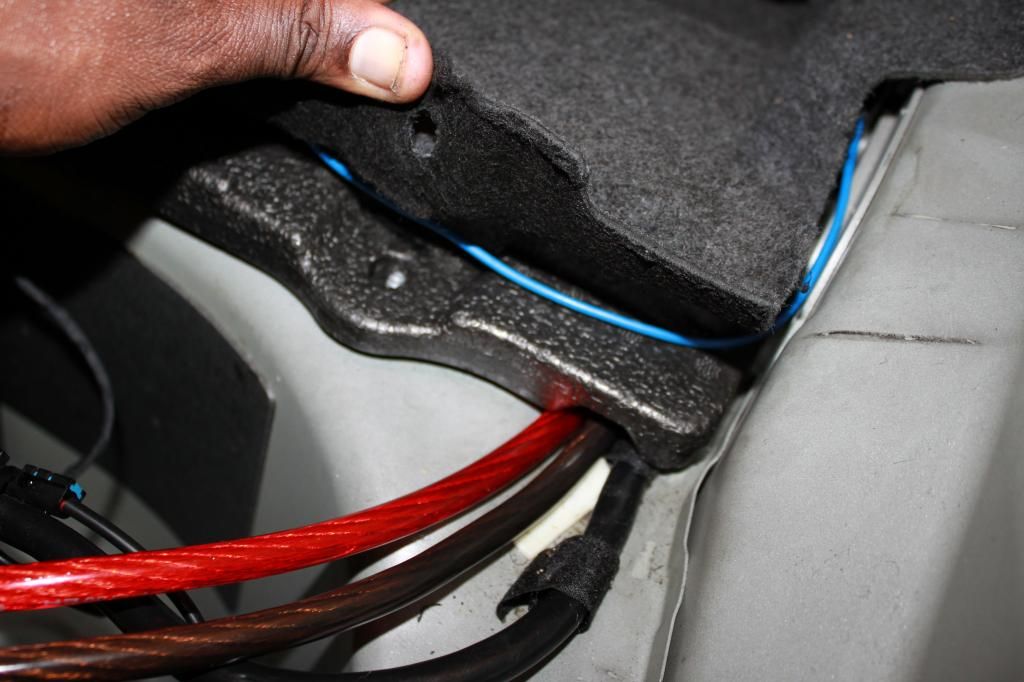     Here I joined the remote wire with the remote wire from the LOC.  Back to the rear of the trunk I tucked the speaker wires, RCA cables and amp remote wires under the trim and routed it over to the other side of the trunk.   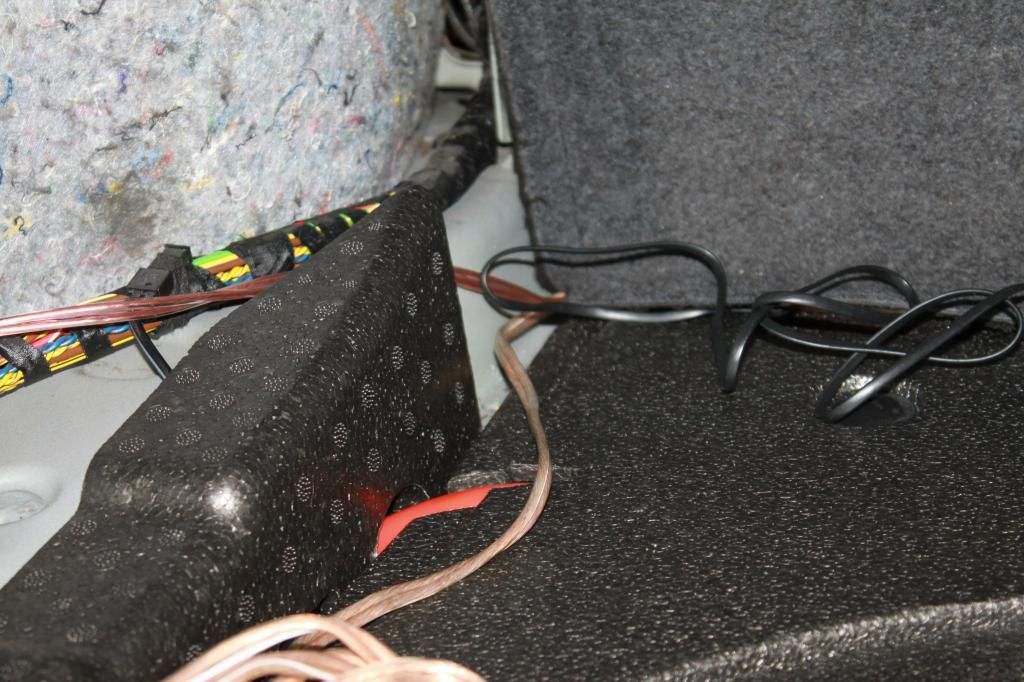 RCA cables also get routed all the way over to the LOC and plugged in. I put some tape on the LOC to hold it in place temporarily.   |
|
Appreciate
0
|
| 04-24-2014, 05:02 AM | #7 |
|
Enlisted Member
 1
Rep 38
Posts |
Factory toolkit re-installed.
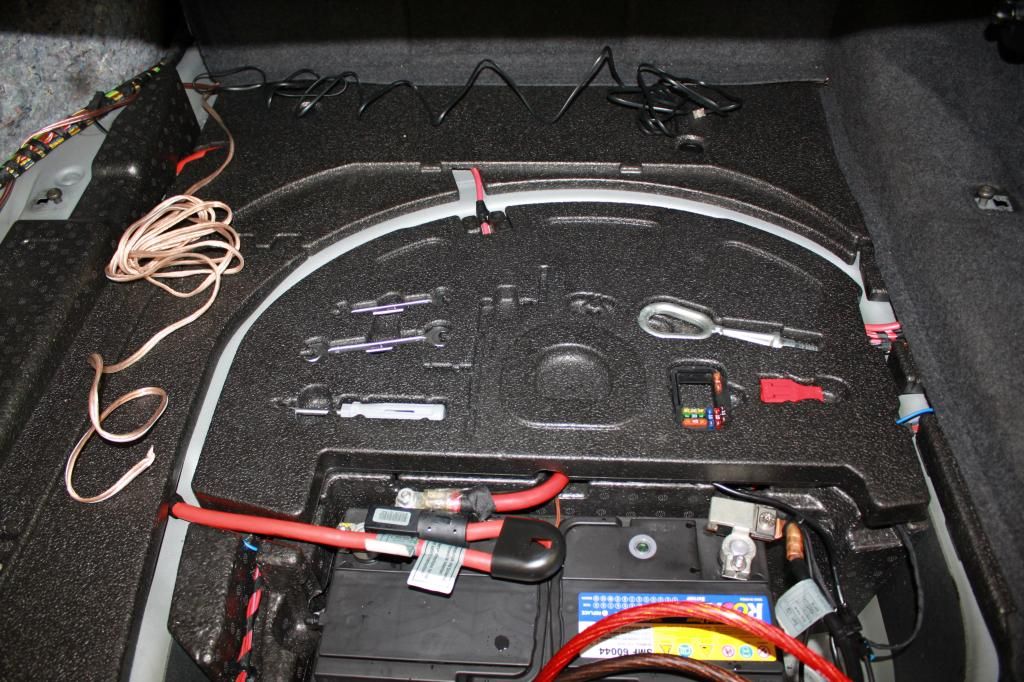 Don't forget to re-attach the cable going to the convertible top and the feul shutoff cable also.  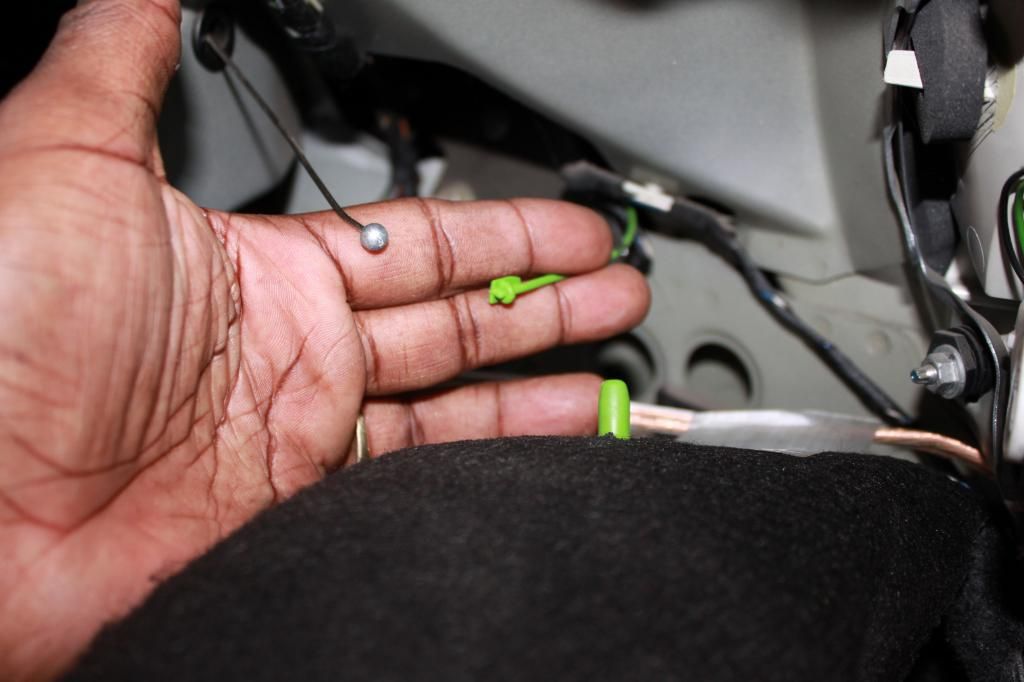 Now time to hook up the Amp power cable. 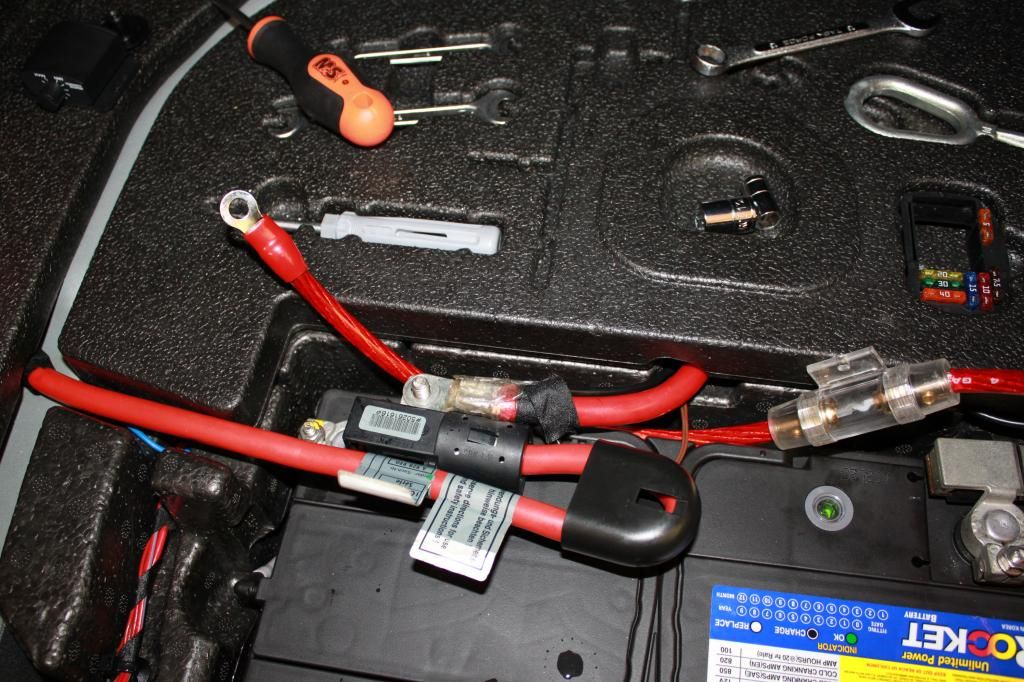  I used an 80amp fuse and I always tape the ends on these types of fuses to ensure they don't move and lose contact. 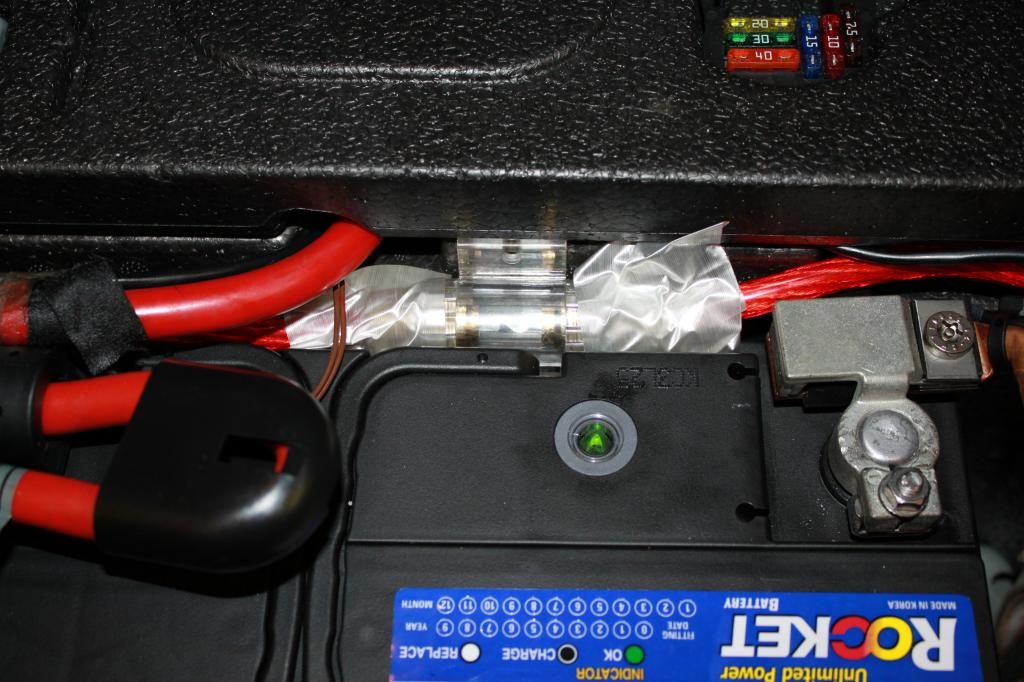 I started a thread a week ago about my battery taking a dump so I picked up a new battery this morning also. $85 and brand new.  Getting closer now. 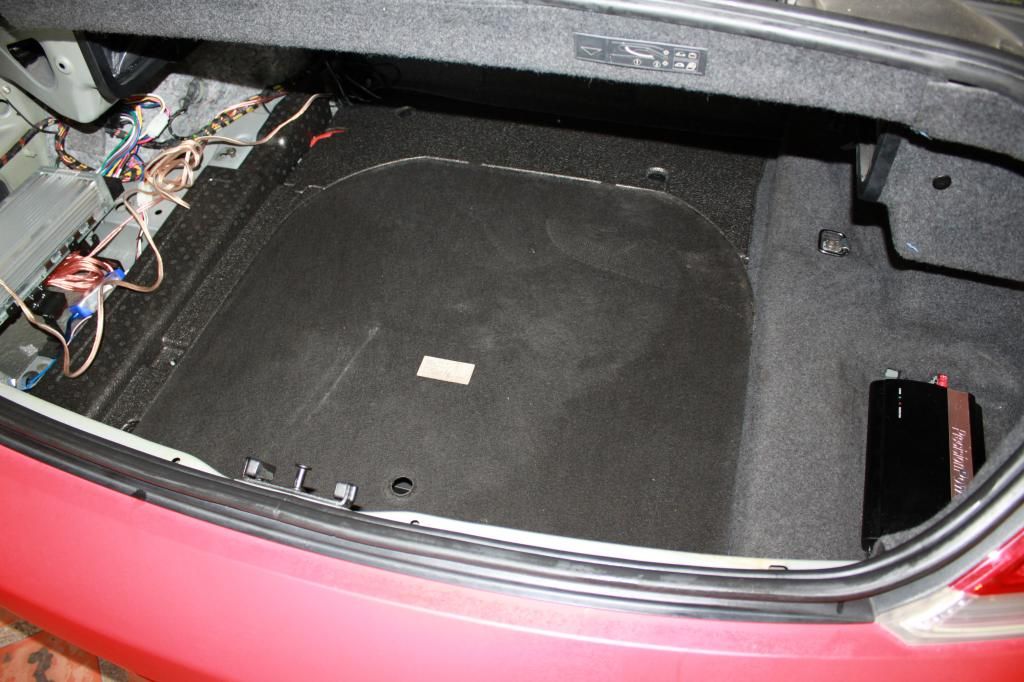 Another reminder.......when hooking the cables back up to the sides make sure you have it all the way in the piece. Just use a flat tip screwdriver to get it all the way in. Wrong..... 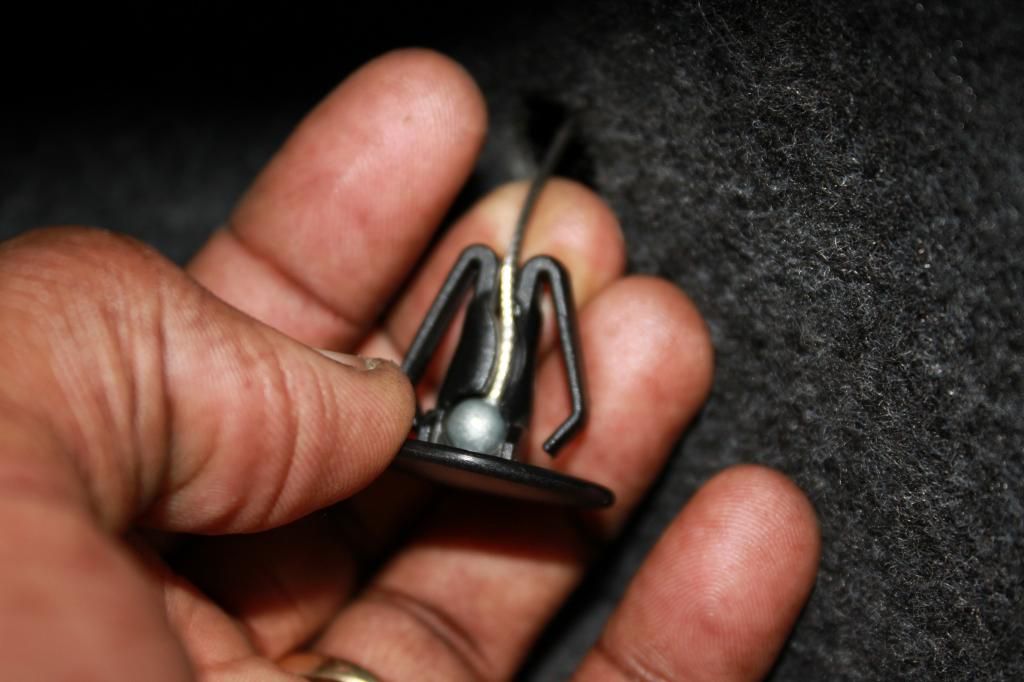 Right.....  Left panel replaced 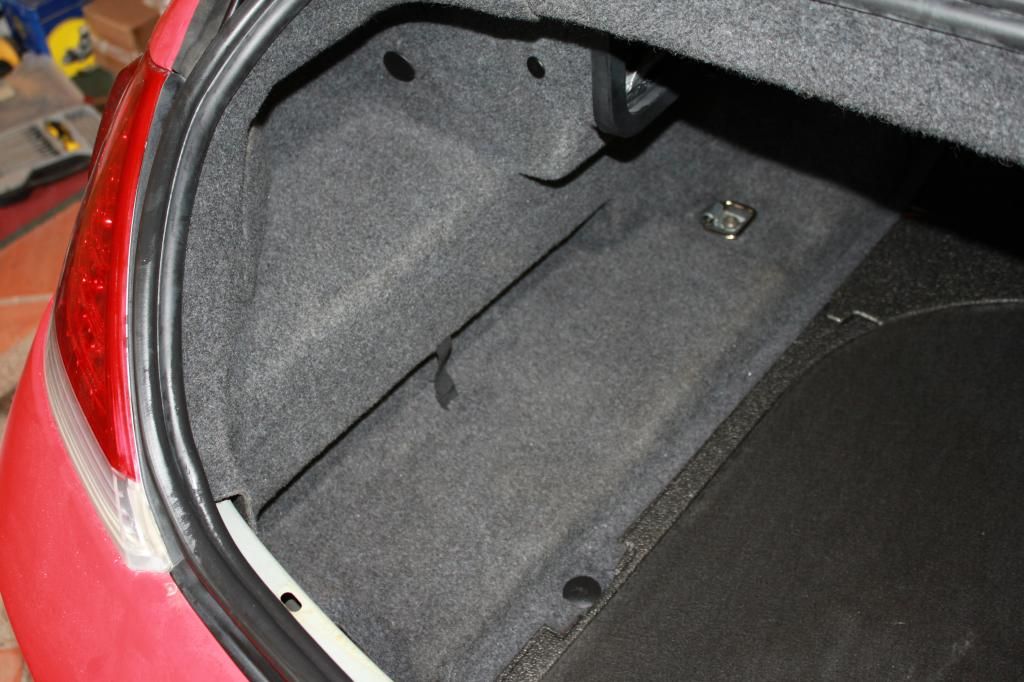 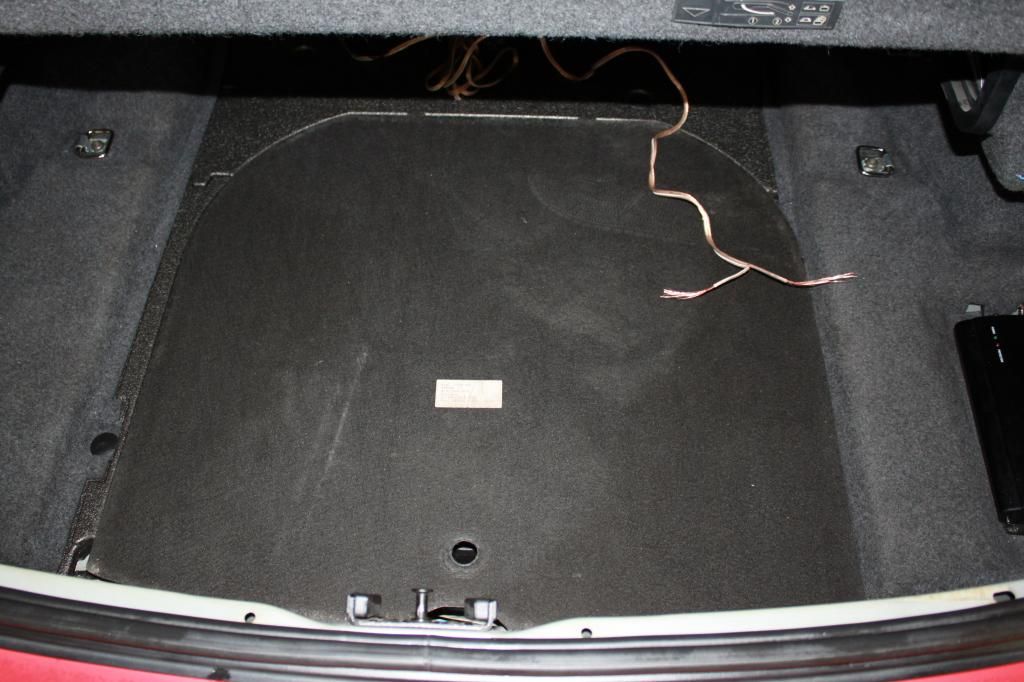 Sub wires attached and in place. 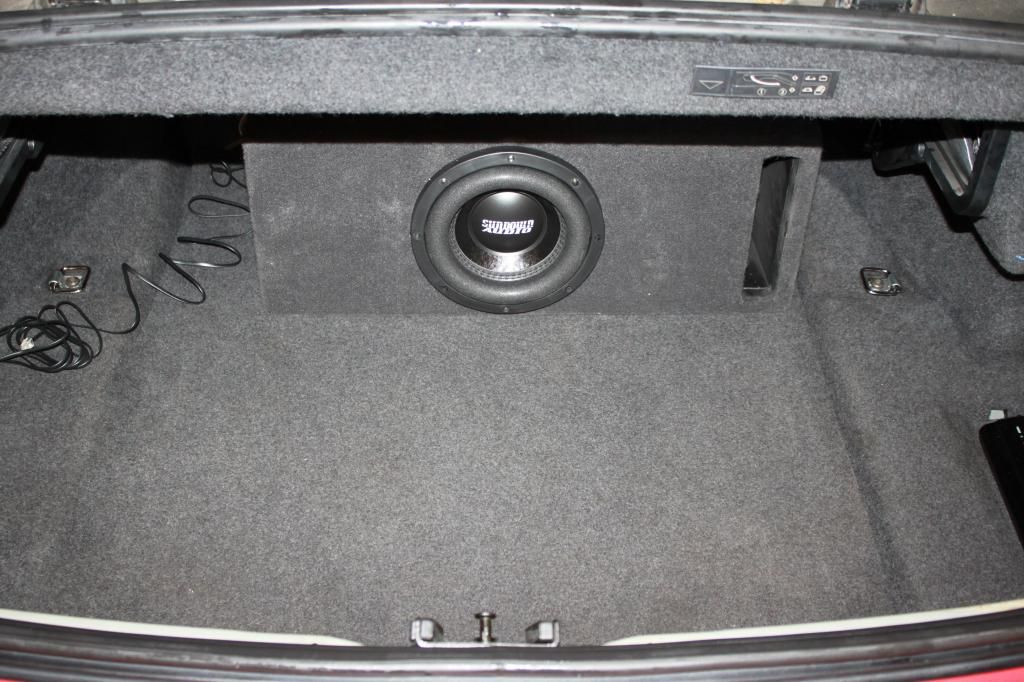 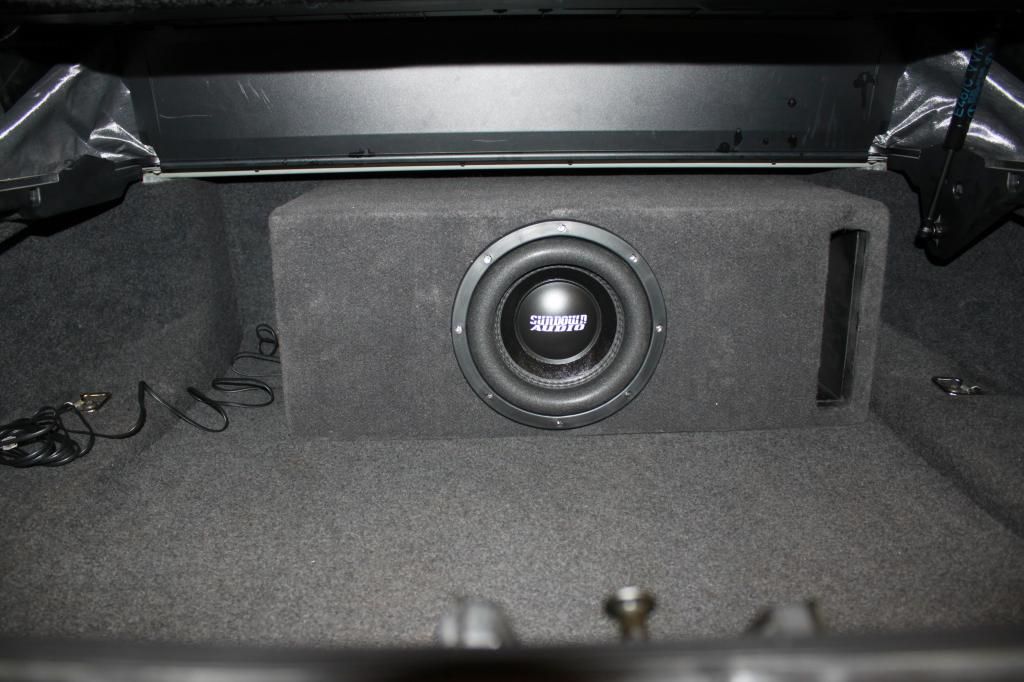 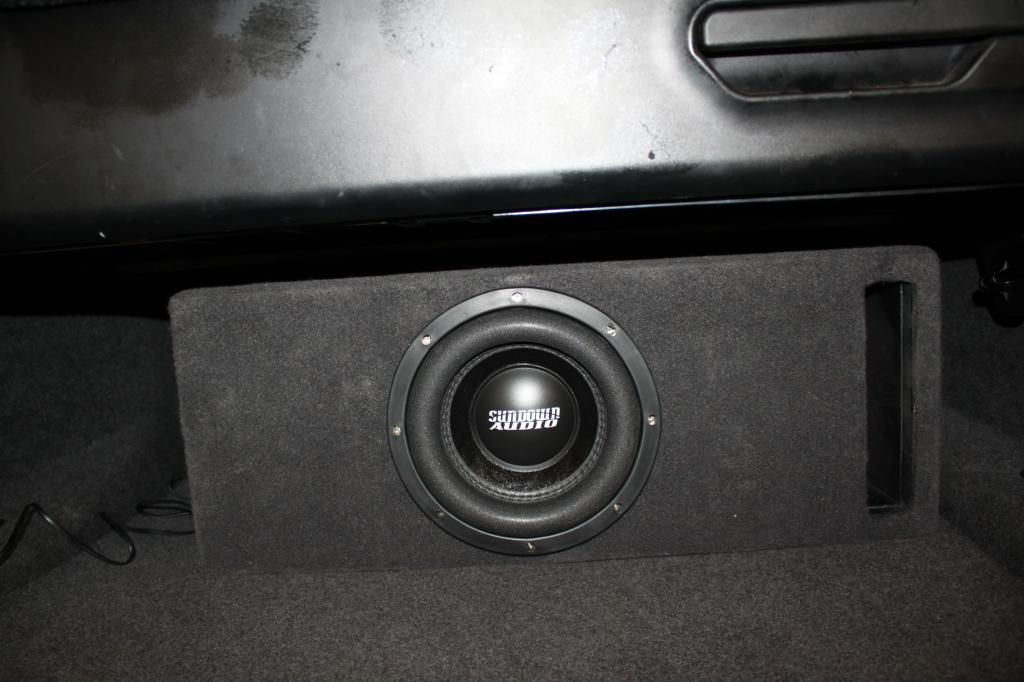 This sub BEATS like crazy. Bass I would never believe was possible in a Convertible. Once I adjusted the setting on the amp it really got out of control. The wife came out complaining so "Mission Accomplished". This really was worth every minute and bead of sweat installing but most was done in the house to be honest. Sundown Audio 8's are CRAZY. This thing is a monster. Tomorrow I will go out and play with the EQ to try and get it even better but for now I am COMPLETELY satisfied. The Technic Harness is $85 shipped, completely reversible and should be Mandatory. Thanks for watching part 1 of my install. Part 2 will be replacing ALL the other speakers except the rears by the back window. I hope to document that part even better. |
|
Appreciate
0
|
| 04-24-2014, 05:32 PM | #8 |
|
Private First Class
 10
Rep 102
Posts |
Great write up with nice neat work. Very well planned. Don't tell the wife, but you may be able to get a little more noise out that sub by wiring both those voice coils together in parallel sssshhhh.
|
|
Appreciate
0
|
 |
| Bookmarks |
| Thread Tools | Search this Thread |
|
|