

|
|
|
|
 |

|
 |
BMW Garage | BMW Meets | Register | Search | Today's Posts | Mark Forums Read |
 |

|
BMW 3-Series (E90 E92) Forum
>
M3 rep bumper ducting?
|
 |
| 04-01-2013, 08:16 PM | #1 |
|
Banned
44
Rep 1,257
Posts |
M3 rep bumper ducting?
I thought I read in a thread recently that there are ducts for the M3 rep bumpers now so you don't have to run the crappy fogs. Does anyone know if they have them for cars with the factory oil cooler and if so, where I could get my hands on them?
I've been randomly working on reworking a set of OEM M3 ducts for the past 7 months and would be more than glad to just throw them aside for some prefabbed ones! haha |
| 04-03-2013, 07:05 PM | #3 |
|
Instagram: @Marcadelic

259
Rep 2,697
Posts |
i think the only ones are the oem ones
__________________
| Currrent: 2021 G80 M3 & 2018 X5M Old: F80 / e90 M3 / e92 335i / 335is | Instagram: Marcadelic | |
|
Appreciate
0
|
| 04-03-2013, 07:45 PM | #5 |
|
///M Driver

112
Rep 1,973
Posts |
https://www.pegasusautoracing.com/gr...oupID=DUCTBUMP
use a dremel as needed. $140 for a piece of plastic is the most retarded thing I've ever heard. The most expensive one here is $30 so just make a custom one. |
|
Appreciate
0
|
| 04-03-2013, 09:19 PM | #6 | |
|
Banned
44
Rep 1,257
Posts |
Quote:
|
|
|
Appreciate
0
|
| 04-03-2013, 09:19 PM | #7 | |
|
Banned
44
Rep 1,257
Posts |
Quote:
|
|
|
Appreciate
0
|
| 04-03-2013, 11:38 PM | #8 | |
|
------
8326
Rep 10,743
Posts |
Quote:
__________________
 |
|
|
Appreciate
1
whyzee1252081.00 |
| 04-04-2013, 12:21 AM | #9 | |
|
///M Driver
112
Rep 1,973
Posts |
Quote:
Some people enjoy working on their car with their own two hands and save some coin while doing it. Just threw the link in in case OP wanted to build one for himself. Its not hard to do. Its not hard to be perfect if you're passionate about it. You're more likely to have a guy cutting corners to beat book time at a shop so he can make more money at the end of the day. |
|
|
Appreciate
0
|
| 04-04-2013, 09:31 AM | #10 | ||
|
Banned
44
Rep 1,257
Posts |
Quote:
|
||
|
Appreciate
0
|
| 04-04-2013, 06:29 PM | #11 |
|
First Lieutenant
 75
Rep 374
Posts |
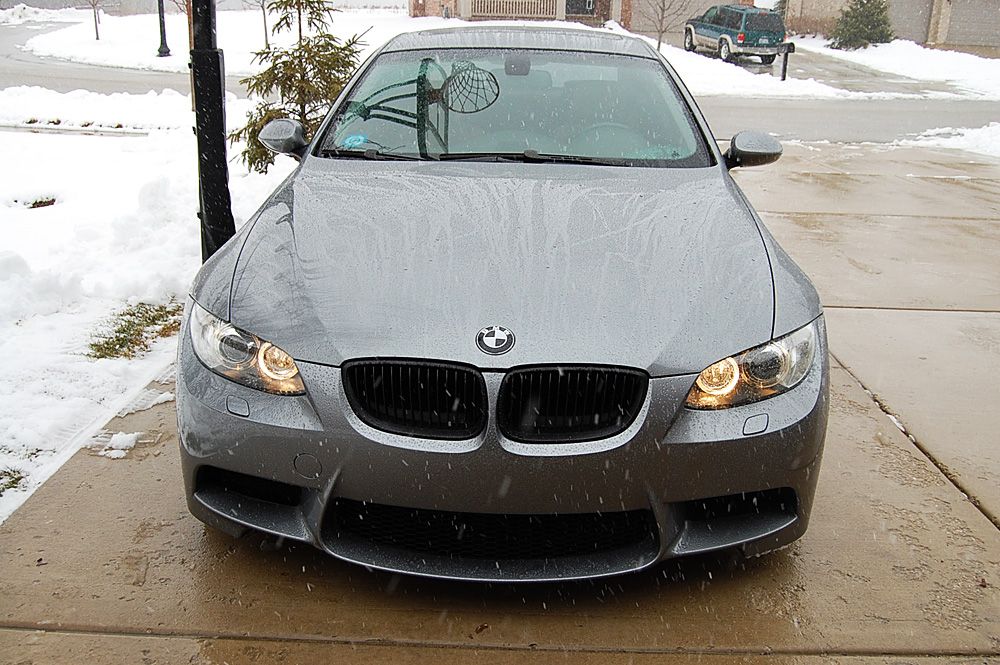
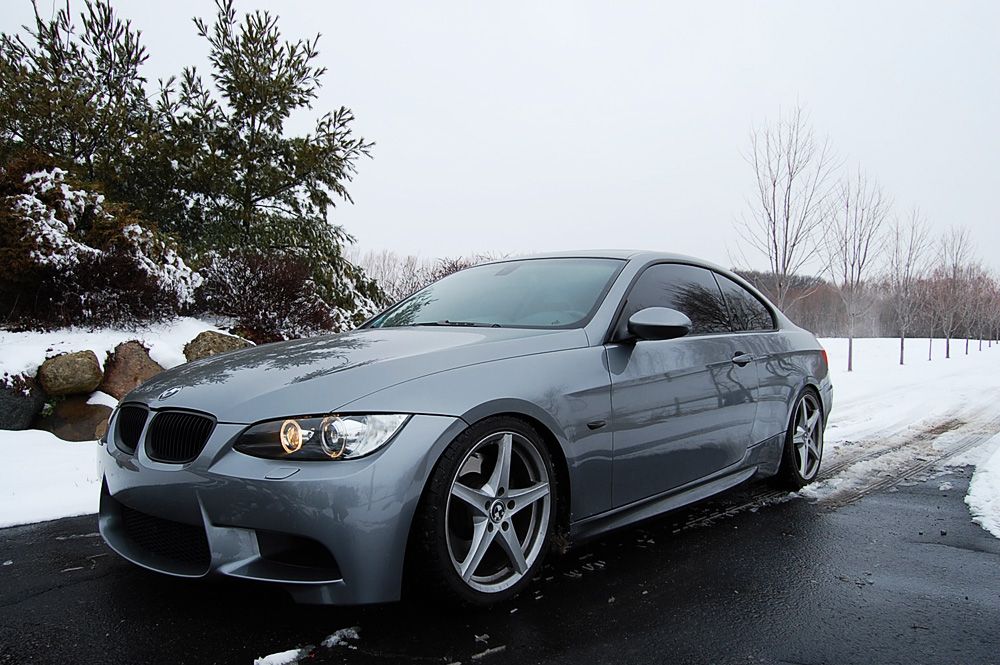
This is timely... my car is in the shop right now getting my M3 rep front painted.
I bought the OEM vents from ECS. Took the factory front off myself to save some labor. The passenger side vent bolts right up. Trimming isnt necessary but to make it fit perfectly i trimmed a small triangle off above the mounting location closest to the engine. <<<EDIT: This is true for fittament to the cooler, but not to the bumper. The passenger vent does NOT line up with the M3 rep bumper duct inlet. I didnt learn this until test fitting at the body shop. Pictures below show the before and after. Sorry for the picture quality, it was dark and rainy, and the watermark, i forgot i was shooting RAW and had to use a cheapo converter I downloaded to view on my laptop. Before and after: 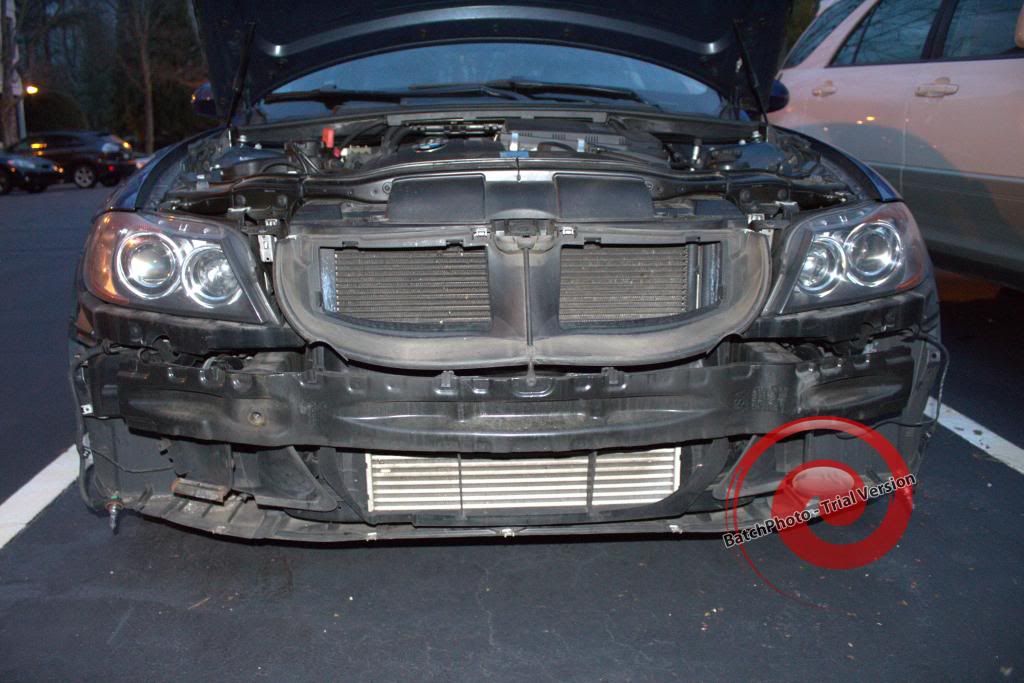 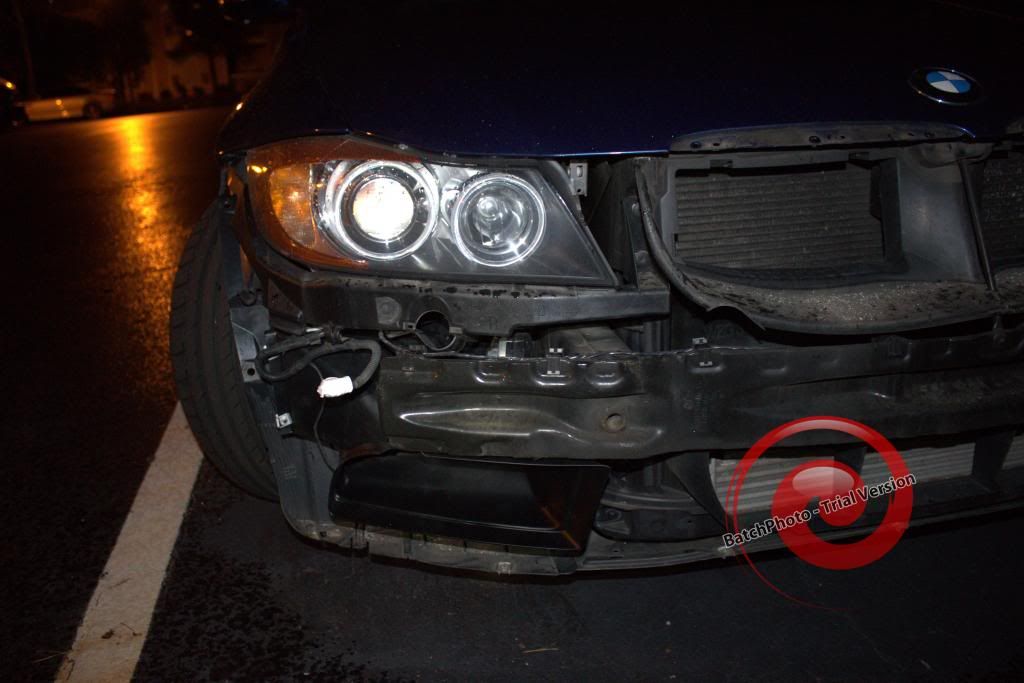  The driver side vent on the other hand, is not in any way compatible with the 335. On the M3 it goes up into the airbox (or hood vent, cant remember which). So you essentially have to trim it so that there is just an open hole facing up in front of your wheel well liner (up toward the charge pipe, driver's side of the engine). There is a little lip on the vent (looks like to catch water and debris) but I'm concerned this setup would throw a bunch of crap from the road up into the engine bay. My body shop just quoted me $547 to paint and install the front. I think the whole vent thing is driving up the cost (3 hours to fit and trim parts  ) )Part of me just wants to say paint it and I'll do the rest. Oh and here's the bumper in front of the car, just for fun 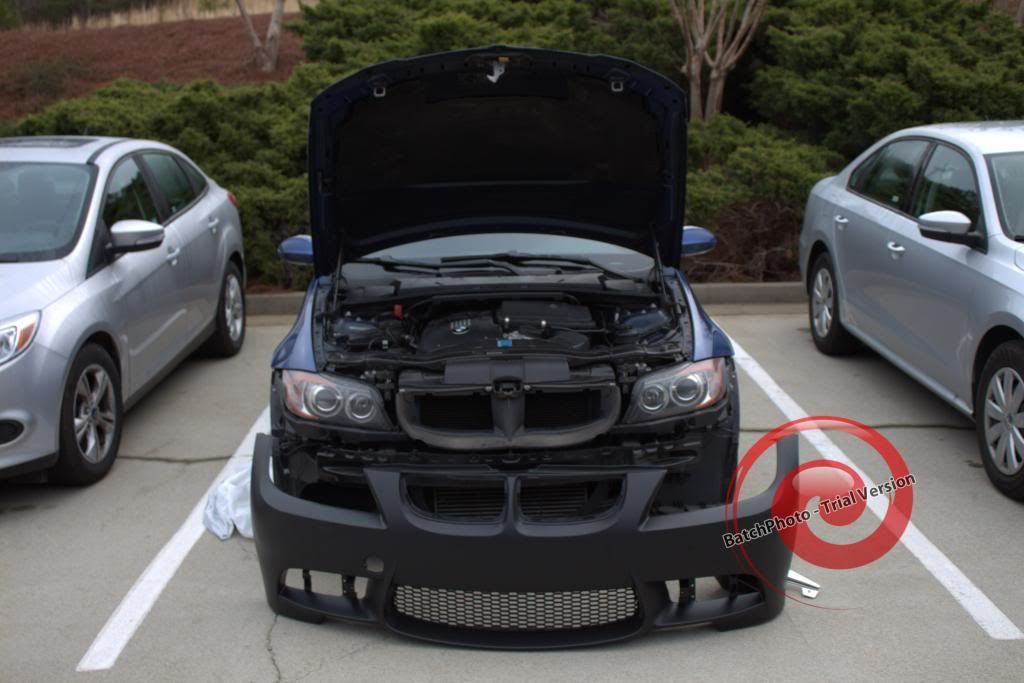 Last edited by Deep_Blue; 04-10-2013 at 11:28 PM.. |
|
Appreciate
0
|
| 04-04-2013, 07:22 PM | #12 |
|
Banned
44
Rep 1,257
Posts |
Thanks Deep Blue. I wonder if it's different for the e92s? On my ducts i cut and fabb'd in brake ducts to keep all the OEM functionality. That's the part that is so time consuming. I just wish a company would take this on and sell some. :/
|
|
Appreciate
0
|
| 04-04-2013, 07:57 PM | #13 | |
|
First Lieutenant
75
Rep 374
Posts |
Quote:
It could be a good feeding duct for a Mr5 intake  |
|
|
Appreciate
0
|
| 04-04-2013, 10:01 PM | #14 | |
|
Banned
44
Rep 1,257
Posts |
Quote:
|
|
|
Appreciate
0
|
| 04-04-2013, 10:52 PM | #15 |
|
First Lieutenant
75
Rep 374
Posts |
Wow thats intense. Im leaning more toward just having the shop paint the bumper, then doing the ducting and install myself. I think i could set it up to feed directly to a cone filter (with some sort of screen installed over the top of the ducting outlet in case a rock, acorn, or chipmunk decides to visit at high speed).
If i did brake ducts again i think I would do tubing to directly behind the rotors. |
|
Appreciate
0
|
| 04-05-2013, 02:26 PM | #16 | |
|
Banned
44
Rep 1,257
Posts |
Quote:
|
|
|
Appreciate
0
|
| 04-06-2013, 01:12 AM | #18 | |
|
Banned
44
Rep 1,257
Posts |
Quote:
|
|
|
Appreciate
0
|
| 04-07-2013, 10:30 PM | #19 |
|
Banned
44
Rep 1,257
Posts |
Ok. So, I finally took the time to get out into the garage and work on the last rendition of ducts for the car today. The only things left to do to them before putting them on are a skim coat of plastic on the passenger side duct to fill in any negative spaces, sand and then paint flat black. On to the pics and info.
Driver's side duct:   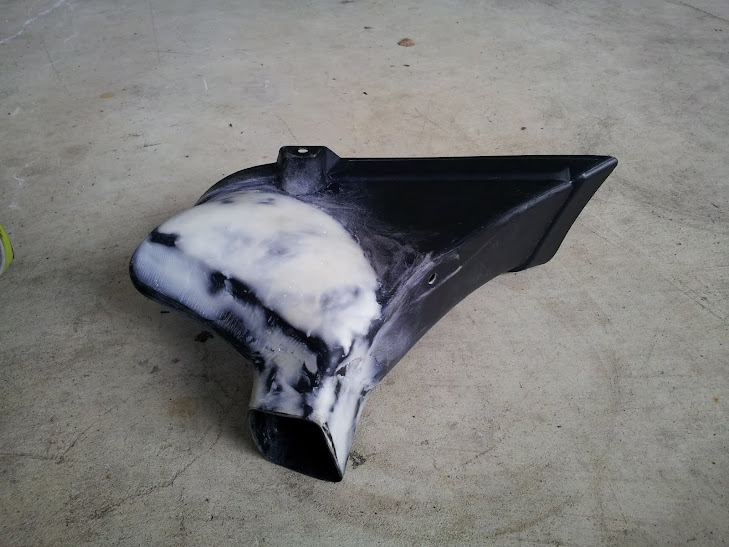  Now, you may be wondering what you're seeing...the white is a Fusor spread on plastic that I am using as a filler, and the areas of black plastic that are not from the original duct are just fiberflex plastic welding rod that was added bit by bit to build up every inch of "new" duct. More on that in a few. This is what it looks like installed at the moment.  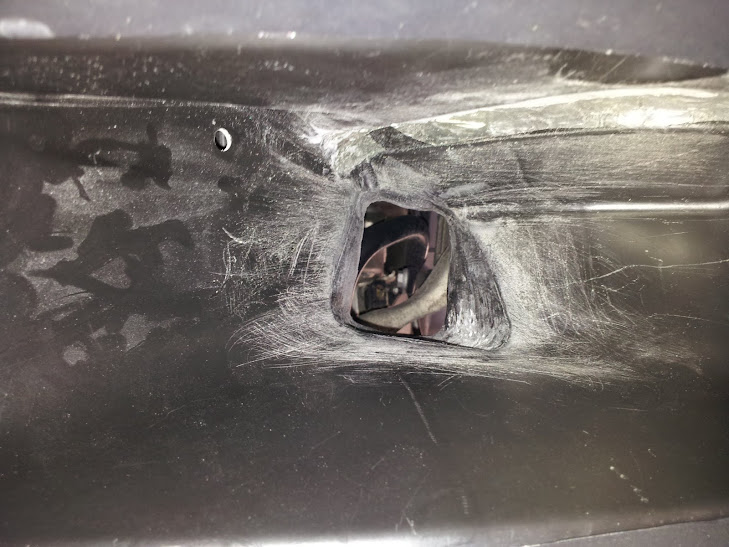 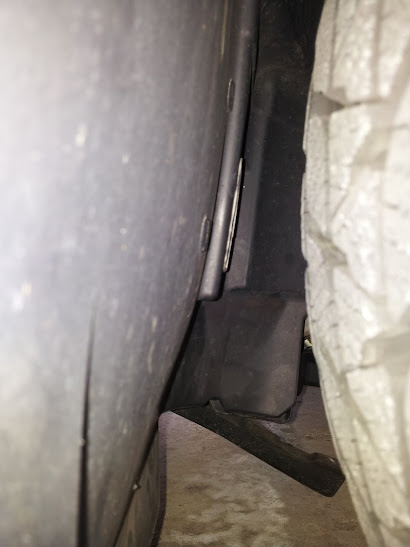 The last image is shot from the wheel well to show how nice and flush the brake duct portion lines up with the fender liner. Next, the passenger duct, which was what I focused on today. This one has been quite a pain in the ass. It has the most going on and in order to keep it fully functional I had to cut the front half off of the back half, realign it, and then weld it all back together. Then I cut an opening in the bottom right portion to build out the brake duct. The pics below show the method I employed to mock them up and then build up all the plastic necessary to create what I have now. And the pics:      And a few "installed" pics:    Lastly, some pics of the passenger side duct with all the fiberflex rod built up. I have a few more bits of foil tape to pull out of the inside and then I'll apply a skim coat of Fusor plastic, sand it smooth, and then paint it flat black.   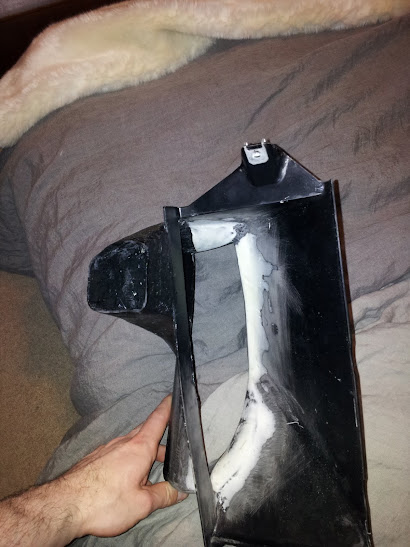 Now the fun part!!! I'm thinking that once they're fully finished, I may just mold the interior cavities of the ducts and do a little experimenting with DIY vacuum molding. I really need a hobby and it seems like a good one. lol. So, if all goes well, and you guys like the way these turn out. I may turn some of these out for those of you that ask nicely. Although, given it's taken me like 7 months to suck it up and do the work to get this far, I wouldn't hold your breath for any copies to be anytime soon. Feedback welcome. Just don't be negative and not create your case please. |
|
Appreciate
0
|
| 04-07-2013, 11:37 PM | #20 |
|
First Lieutenant
75
Rep 374
Posts |
Wow, looks like you've put a lot of work into those.
The only concern i see is with your passenger vent shown below It looks like there is a sizeable lip below the oil cooler directing air back into the wheel wells. The OEM fit for the original oil cooler duct and the M3 duct is to fit tight against the oil cooler so that air has nowhere to go but through the cooler. I would be concerned that you are giving the air a path of lesser resistance into the wheel wells, diverting it from your oil cooler. My concern would be trading oil cooling efficiency (which is huge in these cars, especially if running at tune) for brake cooling that is marginal at best. All those ducts do is spit air into the wheel wells. A real brake cooling system looks like this. http://www.m3post.com/forums/showthread.php?t=316897 I think adapting something like this to the 335 would be much more effective than the stock ducts and would free up the passenger duct to be solely devoted to oil cooling, while leaving the driver duct free for some kind of intake DIY. |
|
Appreciate
0
|
| 04-08-2013, 09:06 AM | #21 |
|
Banned
44
Rep 1,257
Posts |
Yeah, i've wondered about where the air is gonna go too and am going to try to hook a floor fan up to the duct once it's installed and see what happens. I've been running ductless since putting the bumper on and temps have been fine, but we'll see once it's all said and done. If it negatively impacts cooling, it'll definitely get changed.
|
|
Appreciate
0
|
 |
| Bookmarks |
| Thread Tools | Search this Thread |
|
|


