|
|
|
|
 |

|
 |
BMW Garage | BMW Meets | Register | Today's Posts | Search |
 |

|
BMW 3-Series (E90 E92) Forum
>
DIY - e90 Mtech rear CF diffuser removal and 3D Design style diffuser installation
|
 |
| 07-05-2009, 12:43 AM | #1 |
|
Private
 
53
Rep 87
Posts |
DIY - e90 Mtech rear CF diffuser removal and 3D Design style diffuser installation
This DIY shows the removal of the OEM e90 Mtech rear carbon fiber diffuser and the installation of a 3D Design style replica CF dual diffuser (non-335). The 3D Design rep diffuser was purchased from JBSpeed and modded with a black mesh grill.
*** Safety glasses should be worn during removal/installation of the diffusers since dirt and other particulate debris under the car can fall into your eyes! *** 1. Photo of the 3D Design style replica CF dual diffuser (non-335; purchased from JBSpeed) AFTER attaching a black mesh grill to the central opening. (The diffuser DOES NOT come with a grill when you purchase it.) The steps taken to mod the replica diffuser with the mesh grill are shown below. 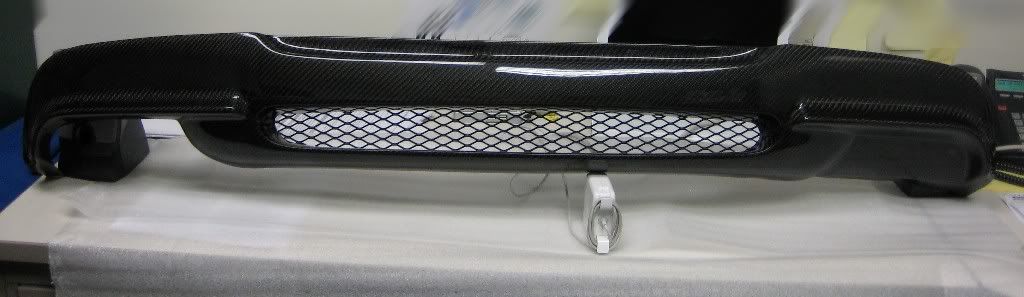 2. Tools that were used to remove the OEM CF diffuser and install the 3D rep: i) "safety" glasses (didn't have any, so I used a pair of sunglasses with minimal tint...); ii) flashlight; iii) 1 or 2 plastic bicycle tire levers; iv) ratchet/sockets (8 mm and 10 mm); v) narrow diameter needle file; vi) needle nose pliers; vii) flathead screwdriver 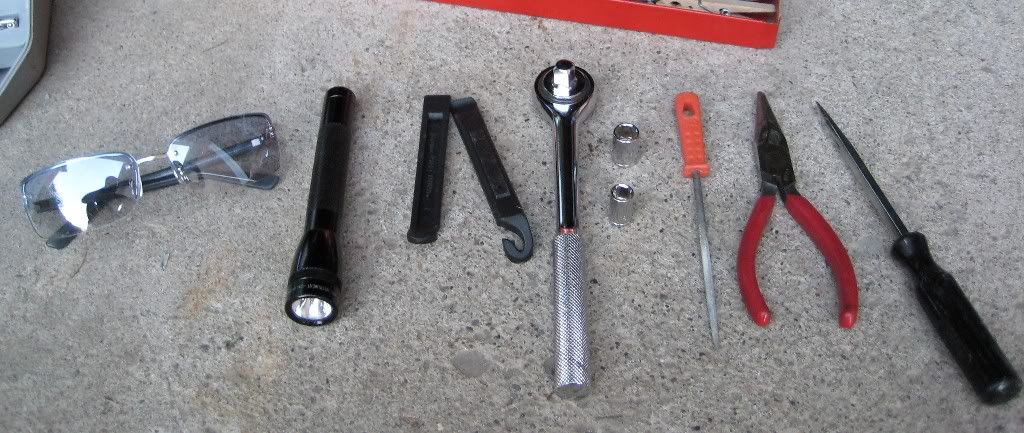 3. Black diamond mesh grill that was used for the mod. (CCG UNIVERSAL 12" x 48" DIAMOND XXL GRILL MESH purchased from http://www.customcargrills.com/ ) 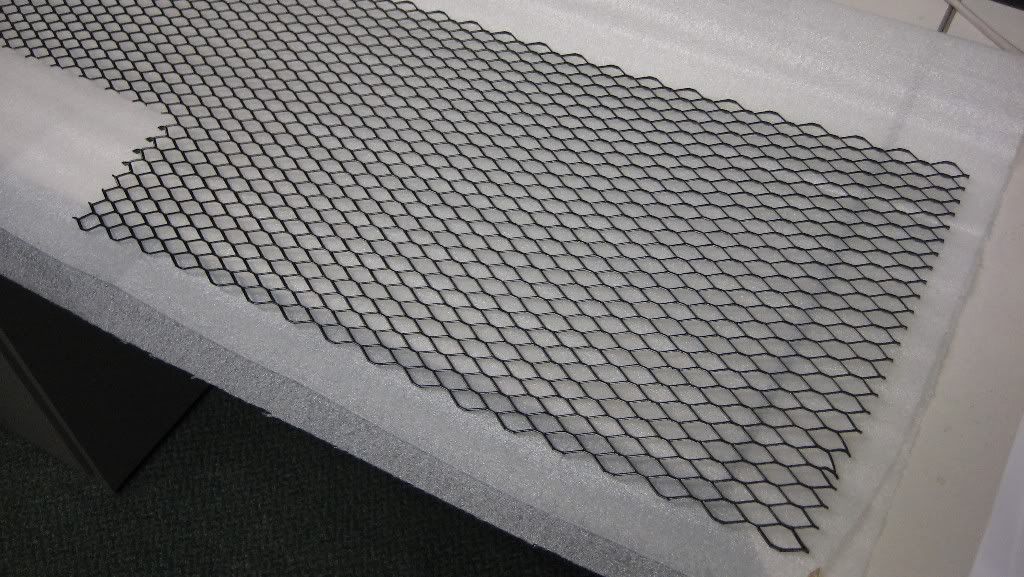 4. Close-up view of mesh grill. 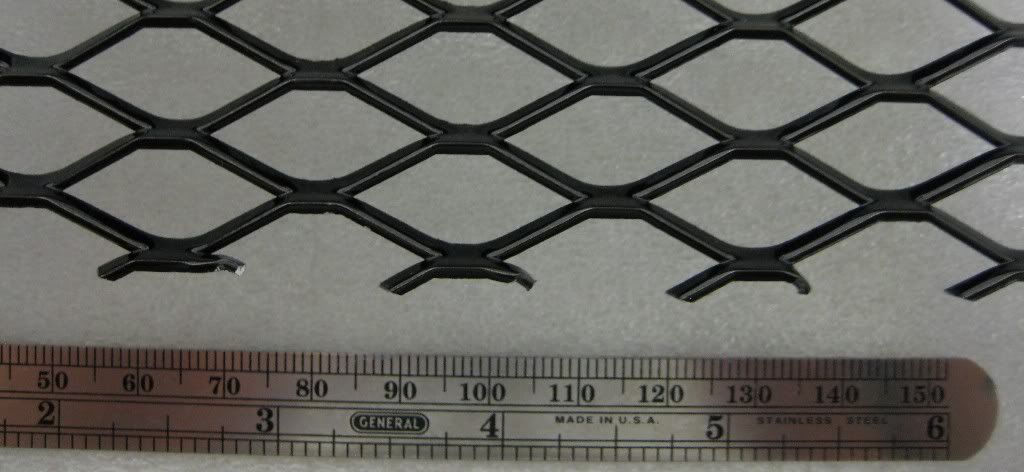 5. Wrapping the mesh grill over the 3D rep diffuser. A pair of metal tin snips was used to cut the mesh at various points to make it bend easier around the diffuser edges. 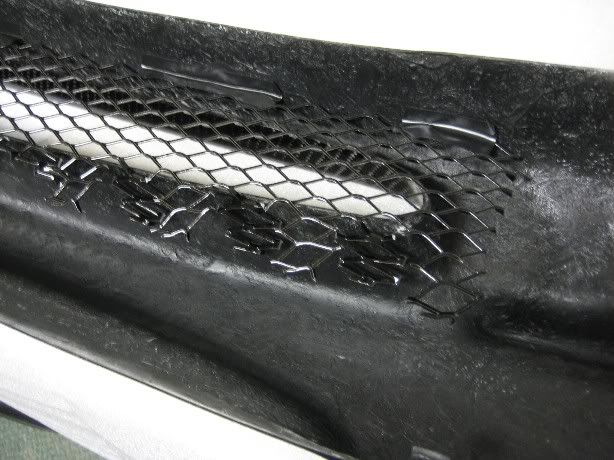 6. Another view of the mesh grill after bending it around the edges of the central opening in the diffuser. 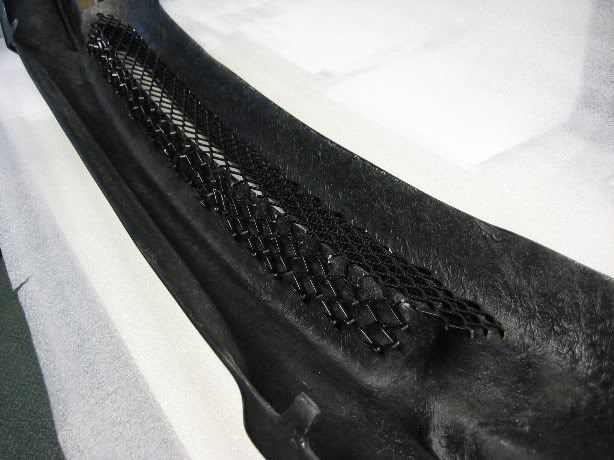 7. After fitting it onto the diffuser, the mesh was temporarily removed so that double-sided mounting tape could be put into place around the edges of the diffuser opening. Excess mesh was trimmed away with the tin snips. 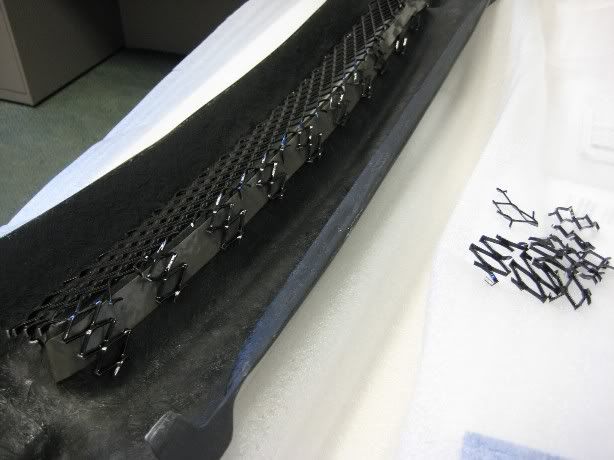 8. Close-up view of mesh grill during taping to the diffuser. Several layers of double-sided tape were used to secure the mesh to the diffuser. (The final layer of tape used was ordinary black vinyl electrical tape, so that any exposed sticky areas from the double-sided tape were covered.) 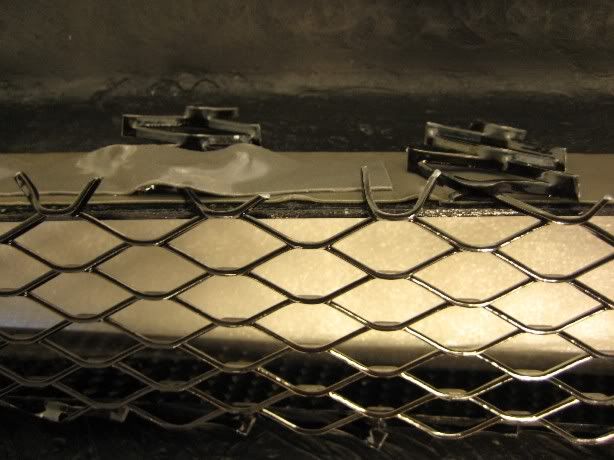 9. Overview shot of the modded diffuser.  10. The OEM Mtech CF diffuser on the car before removal. 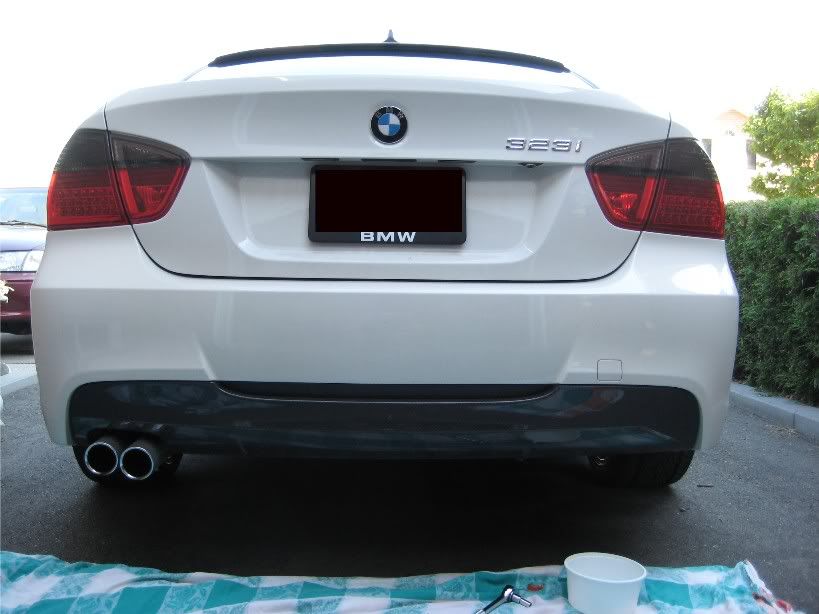 11. There are 7 screws that serve to attach the bottom part of the OEM CF diffuser to the Mtech rear bumper. All seven screws were removed using the 8 mm socket. 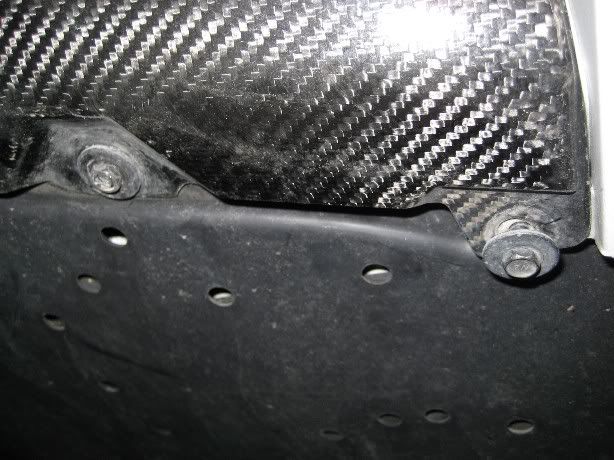 12. There are four cotter pins that serve to secure four tabs on the upper part of the OEM CF diffuser to the rear bumper. All four cotter pins were pushed out using the needle nose plier and the needle file. 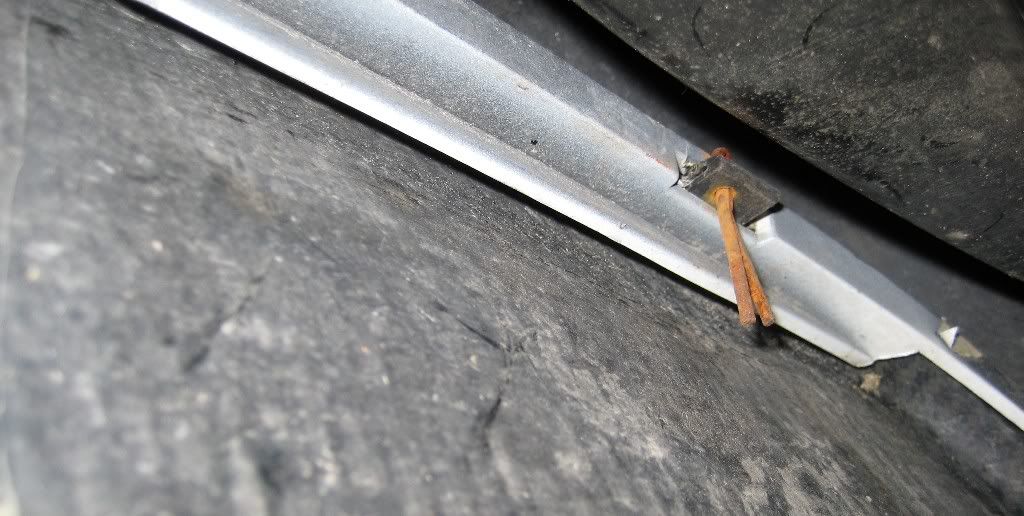 13. There are yet another four tabs on the upper part of the OEM CF diffuser that directly clip onto the rear bumper. All four tabs were unclipped by pushing with a flathead screwdriver. 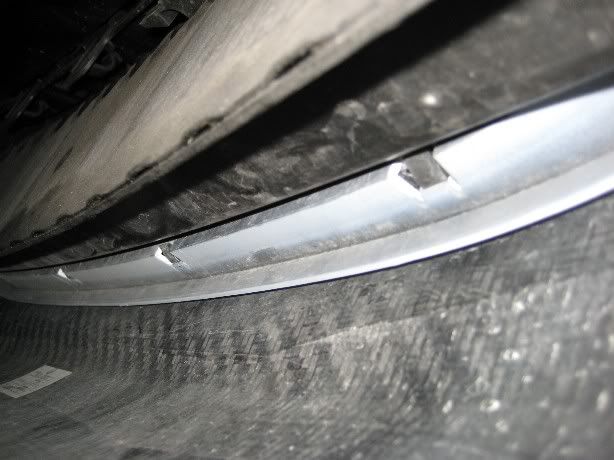 14. A couple of other bracket/shield cover components underneath the passenger side of the car were partially removed using the 10 mm socket to allow easier access to the cotter pins and tabs on the OEM CF diffuser. 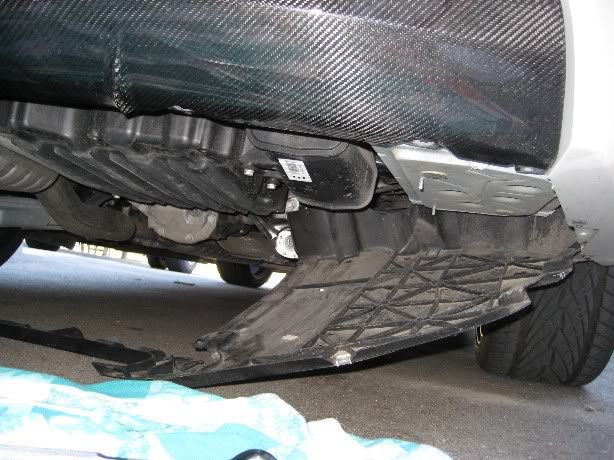 15. Overview shot of the OEM CF diffuser after removal. 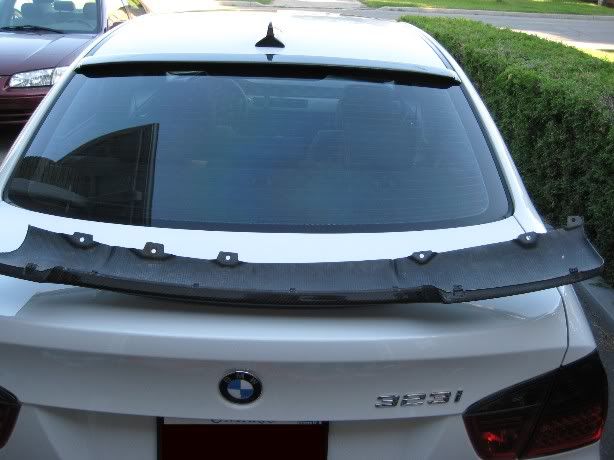 16. Close-up view of the screw holes on the OEM CF diffuser. 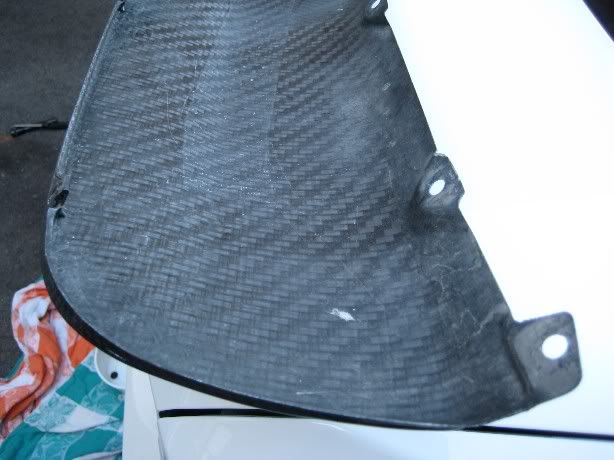 17. Close-up view of the tabs on the OEM CF diffuser. 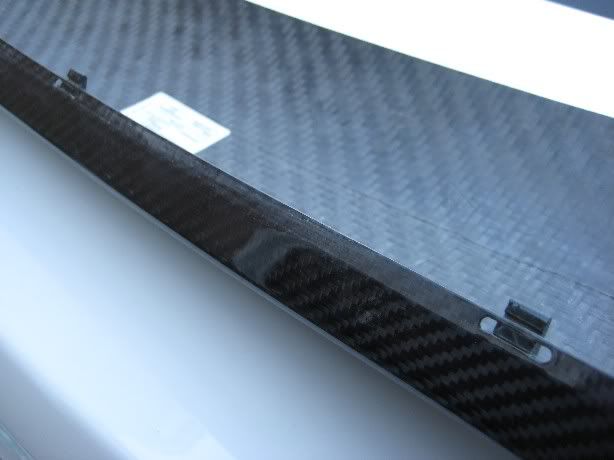 18. Overview of car rear after removal of the OEM CF diffuser. 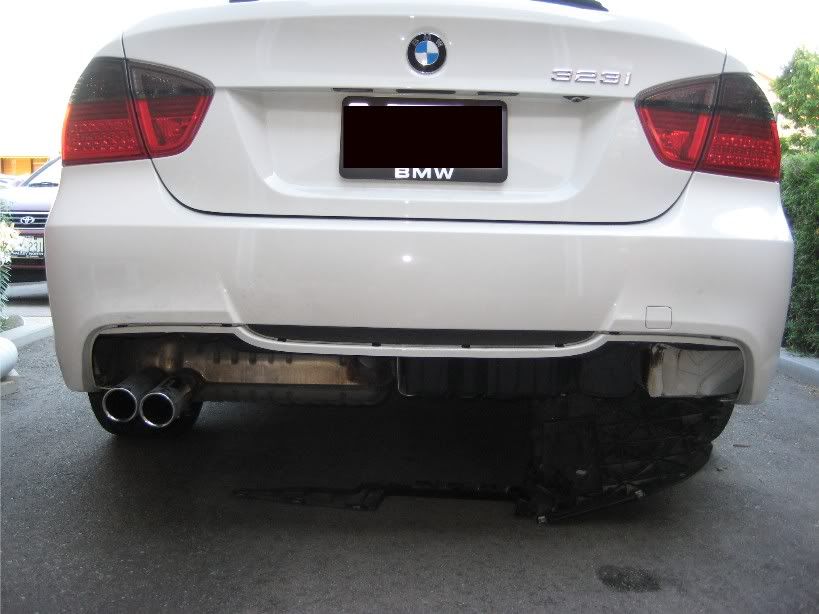 19. The OEM Mtech black plastic strip that sits above the CF diffuser was removed using plastic bicycle tire levers. (To date, it has been impossible to find a store in the Greater Toronto Area that sells nylon pry tools or any sort of proper automobile trim removal tools...) It turns out that this black plastic strip is attached to the bumper by double-sided tape, so it doesn't just pop out. I had to use the plastic tire levers to gradually "peel" the strip off the bumper. 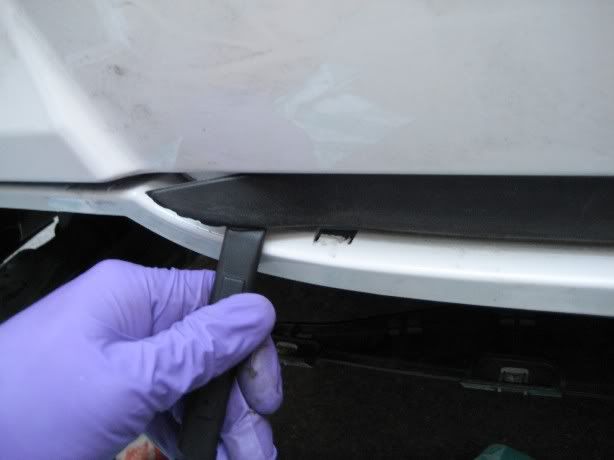 20. Overview shot of the front of the black trim piece after removal from the bumper. 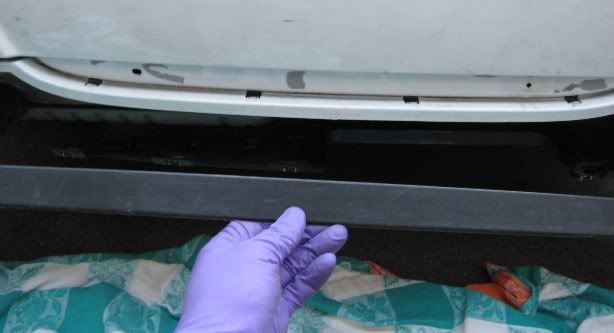 21. Overview shot of the back of the black trim piece showing the double-sided mounting tape. FYI - After being pried off the bumper, the trim piece edges looked a bit roughed up from the rear, but actually those edges still look fine when viewing the trim piece from the front with (no noticeable damage). 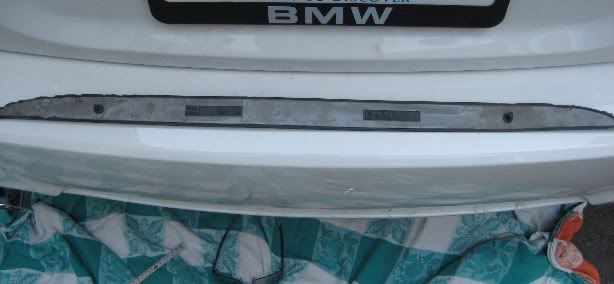 22. The 3D Design rep CF diffuser from JBSpeed only has three screw holes at the bottom to secure it to the Mtech bumper. There are also four tabs on the top part of the rep diffuser that simply slip into the corresponding slots on the Mtech bumper. There are no other clips or cotter pins that are needed to secure the rep diffuser in place. Double-sided tape is also not needed. As a result, installation only takes about 15 minutes! 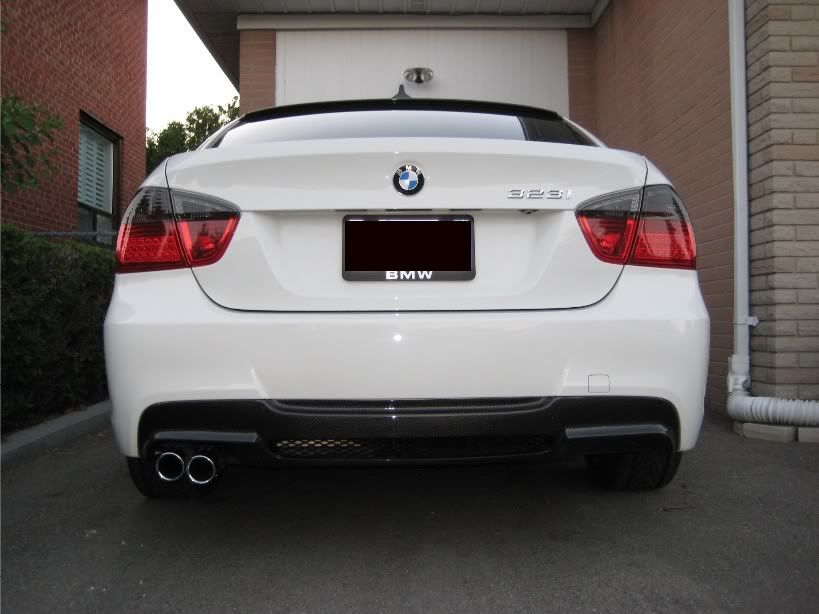 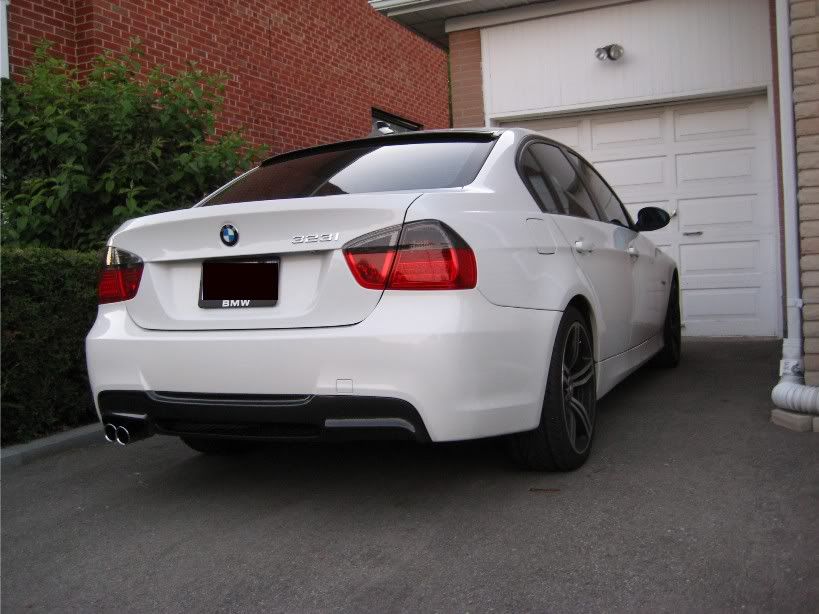 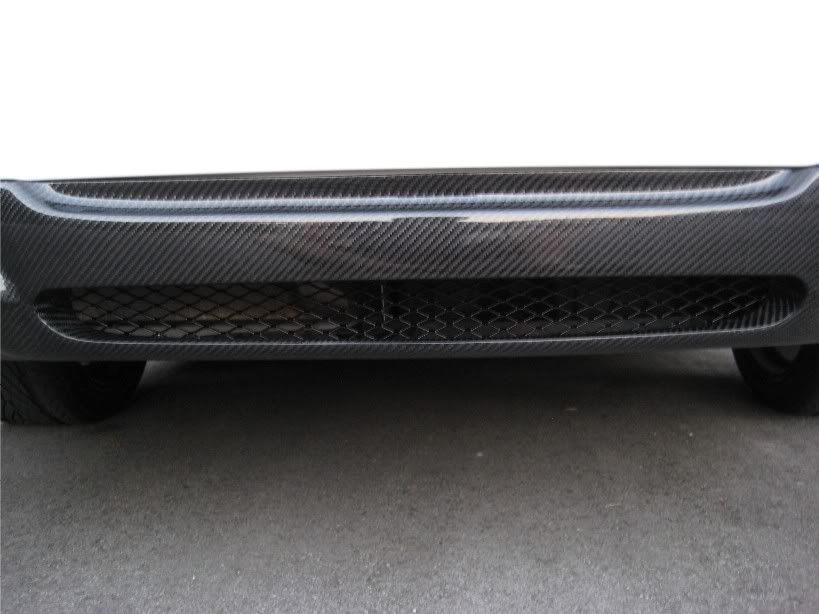 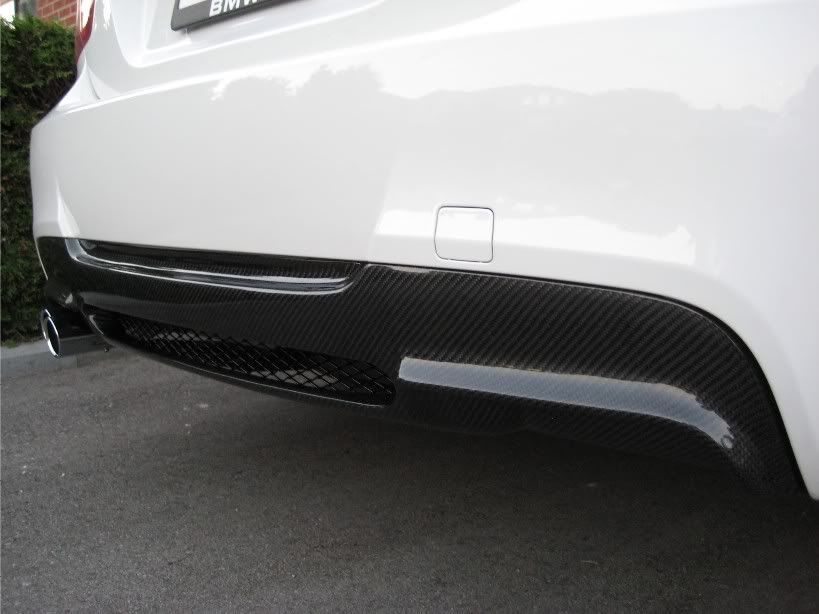 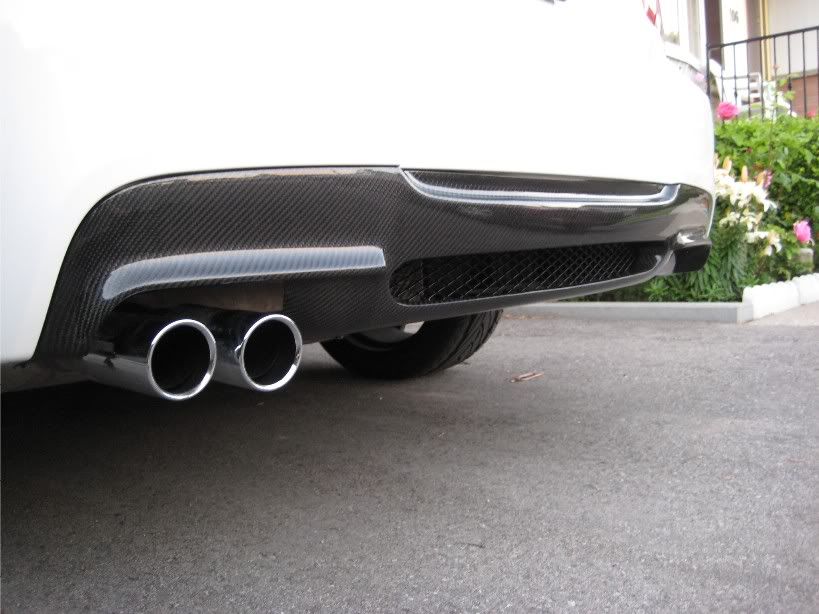  More pics are at http://www.e90post.com/forums/showthread.php?t=285598 and http://www.e90post.com/forums/showth...ce+side+skirts Hope the pics are helpful for others interested in swapping out the OEM e90 Mtech diffuser. Last edited by ssm12; 07-26-2009 at 10:00 AM.. |
| 08-17-2009, 07:25 PM | #2 |
|
Banned
319
Rep 1,842
Posts |
I'm sorry, I'm a little confused.. Where did the cut out on the diffuser come from??? Did you cut it out?? The 10th pic from the top show a solid diffuser , with no cut out for mesh
 |
|
Appreciate
0
|
| 08-17-2009, 08:12 PM | #3 | |
|
Private
53
Rep 87
Posts |
Quote:
|
|
|
Appreciate
0
|
 |
| Bookmarks |
|
|