

|
|
|
|
 |

|
 |
BMW Garage | BMW Meets | Register | Today's Posts | Search |
 |

|
BMW 3-Series (E90 E92) Forum
>
DIY: Suitable materials for White "lego" Tab in Rear Fog w/o legos
|
 |
| 02-28-2013, 01:45 AM | #1 |
|
Captain
 197
Rep 739
Posts |
DIY: Suitable materials for White "lego" Tab in Rear Fog w/o legos
Today being a rainy day in Boston, I thought it would be time to mess around with the Rear Fog switch. Bear in mind, I've only had my car for 3 weeks.. So I'm just getting familiar with modding my first Euro Car. Took apart the switch, and I was out of luck.. LCI e90 and only 1 white tab
 I looked all over, searching for more info on sourcing your own white tab for the fog switch. I WILL NOT cover how to remove and reinstall the fog switch and tearing it apart. This has been covered in threads already. I am posting this because there are no solid pictures of how to make your own tab.. without the use of lego's. I didn't have any and didn't feel like shopping on a rainy afternoon ") Once I got familiar with the switch, total time::: ~10 minutes (includes running outside for 1 test run and adjustments) What you will need:
TOOLS: Razor blade AND scissors. optional:: iphone screen lever that comes with iphone screen repair kits is quite useful in opening all the plastic tabs on the switch assembly! No glue or legos necessary!! Here are the items I found that could fit with minor altering. Find whatever that is convenient. If you don't have any of these, atleast it gives you an idea of what to look for. 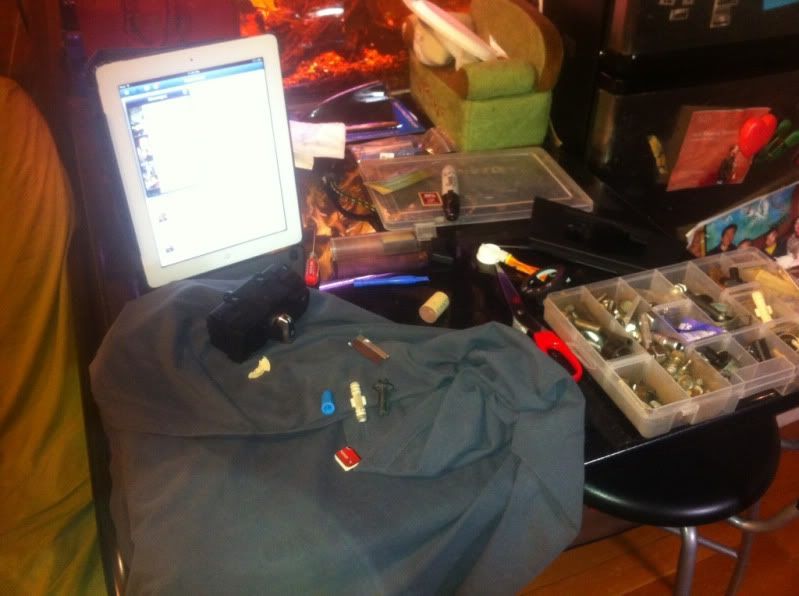 Super glue cap, Vacuum line fitting, Bumper plastic bolt, Pen cap, and a longer bolt. important tip:: The shaft DOESN'T have to fit snug! Remember, you will be putting the switch back together and it will be held together after all the black taps snaps in place! 1) Cut the credit card into the shape of the WHOLE open "rectangle" area of the rear fog switch. You want the cut it exact, so the credit card will cover the hole with minor play. This insures we will hit both of the buttons on the circuit board and the shaft won't move around after we close everything up. (borrowed picture from WilliamChang82's thread) 2) Cut the Cork. This is more of a trial and error. Make sure you make the "pacman" cut into the cork also. This helps insure the cork has the guide along the shaft, just like the white tab. 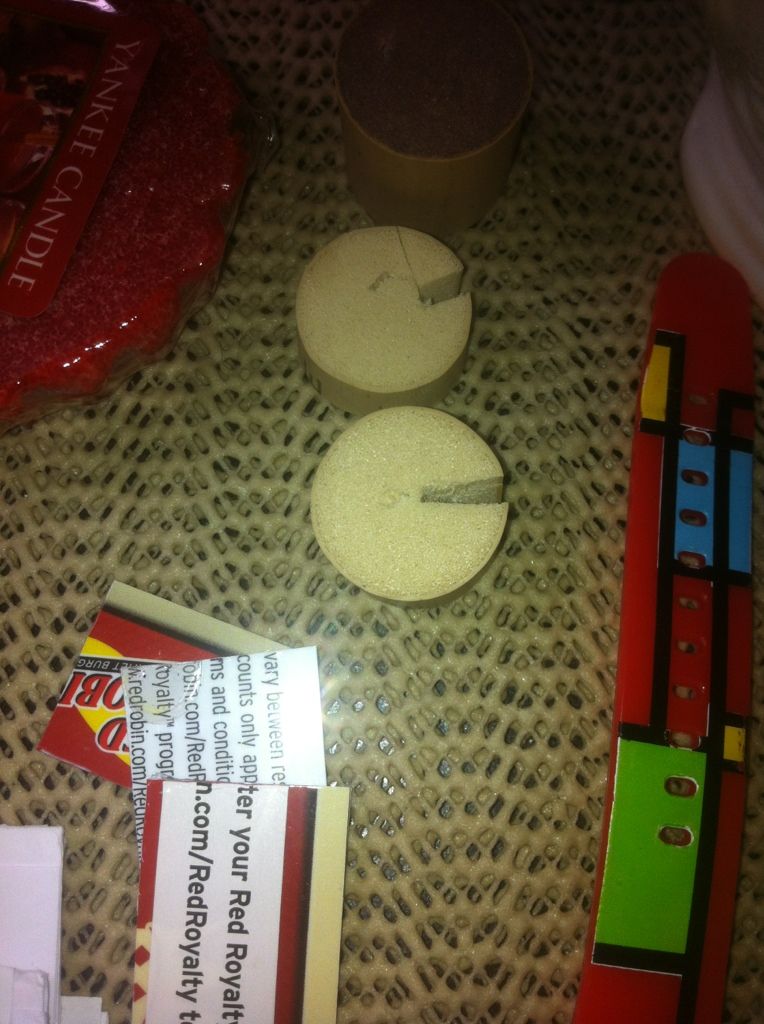 3) Once you have the cork cut, put the piece of credit card on top of it. Test fit. YOU DO NOT NEED TO CLIP THE BACK OF THE SWITCH ASSEMBLY BACKING TOGETHER YET! Just put the circuit board on top of the switch and check if everything contacts. The credit card should be sitting right up against the rubber buttons. Press both the OEM front fog button and the Homebrew rear fog button. They should both click and feel similar. If not.. make minor adjustments (either cut more cork with razor blade OR add another piece of credit card). You want the card to be level or slightly higher than the 4 "lego nipples" on the OEM tab. (lol@ lego nipples). I noticed the rear fog is slightly lower, so it needs a little more height. (this is on my LCI e90) 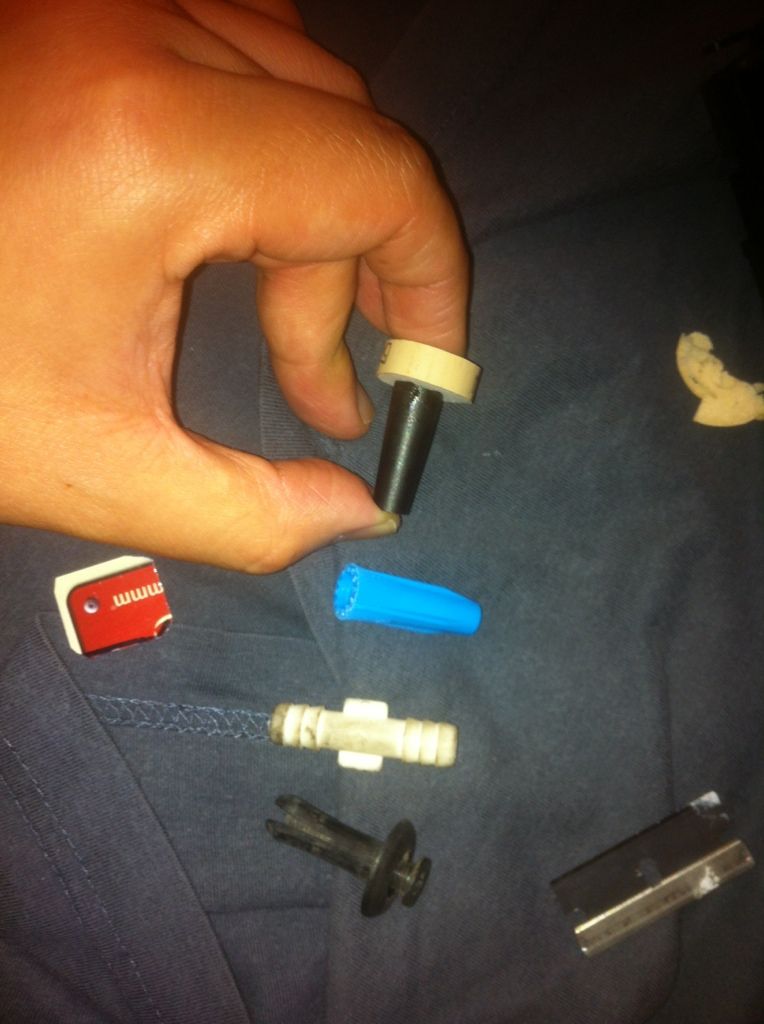 4) Once it feels exact or close enough for you.. head to the car.. AGAIN you don't need to reinstall everything just yet! Just plug the harness in and TEST! On my first attempt I had to press pretty hard to get the rear fogs to come on. I did some minor adjusting by adding another credit card piece and it feels OEM. 100% working everytime I hit it. Credits to all the other DIY's on this. I just wanted to add more details on fabricating tabs with some pictures. References Detailed info on switch assembly and installing a tab:::::: http://www.e90post.com/forums/showthread.php?t=51749 http://www.e90post.com/forums/showthread.php?t=235851 Last edited by Down_Shift; 02-28-2013 at 01:53 AM.. |
 |
| Bookmarks |
|
|


