

|
|
 |
 |
 |
|
 |
BMW Garage | BMW Meets | Register | Today's Posts | Search |
 |

|
BMW 3-Series (E90 E92) Forum
>
E90 Pre LCI Adaptive Bi-Xenons Retrofit
|
 |
| 08-30-2018, 12:23 PM | #1 |
|
Private First Class
 30
Rep 188
Posts
Drives: 2006 330i Pre-LCI Monaco Blue
Join Date: May 2018
Location: Orange County, California
|
E90 Pre LCI Adaptive Bi-Xenons Retrofit
This is by far one of the most difficult mods I've done to date on a e90. After a few threads of reading, and I mean few because no one really does these. I took the plunge and bought a 2nd pair of adaptive bi-xenons and started splitting them open. No joke everyone was not lying on how difficult and time consuming it is to open these lights due to permaseal. Took me about 3 to 4 hours a light on opening, cleaning the permaseal, and dismantling. I am retrofitting switch back halos and doing something different that I've yet to see done with these lights. I have been going at his for almost a month now but mainly due to waiting on parts and taking my time. I debated on holding off till I finished, but couldn't just wanted some input on other ideas some of you may have. So here's a little teaser and updates will be coming as I progress with this project. I am deleting the Amber corners completely along with the blinker. Using switchback halos, I will have the halos blink amber while I have the blinker on and go back to white with blinker off. This will pretty much be a direct plug and play, except for having to code US Sidemarkers to nicht_aktiv. This will preventwhat would of been the amber corners always on with low beams on and only be active when blinker is turned on. 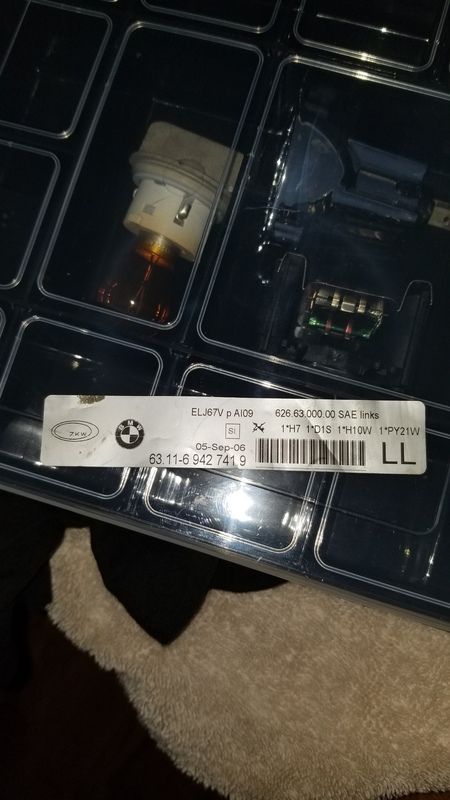 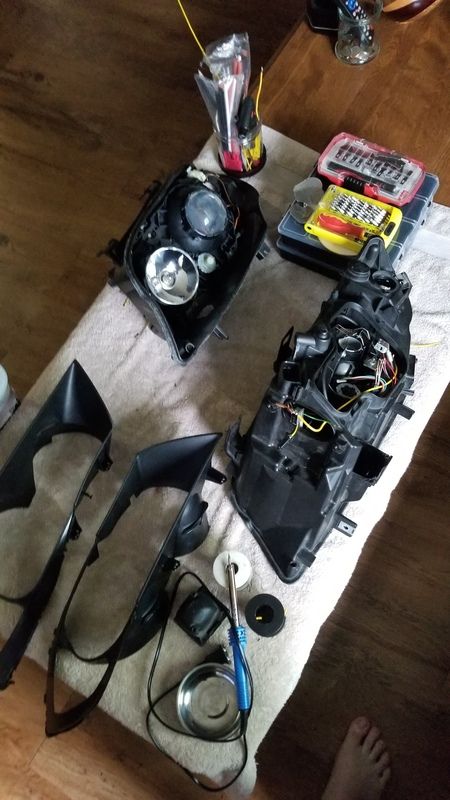 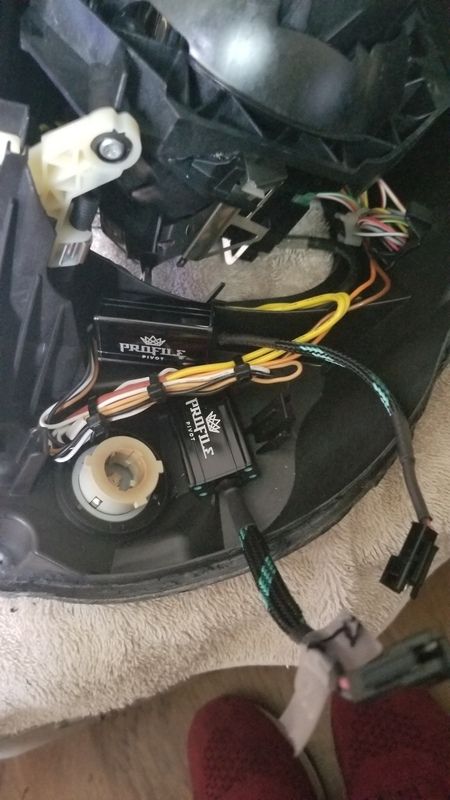 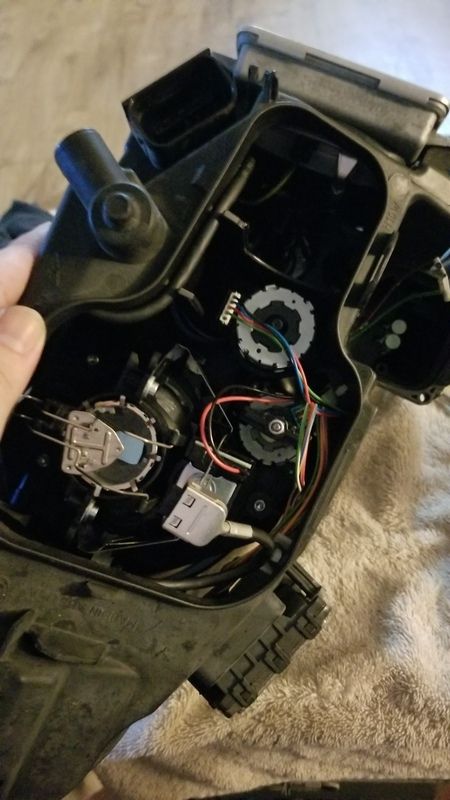 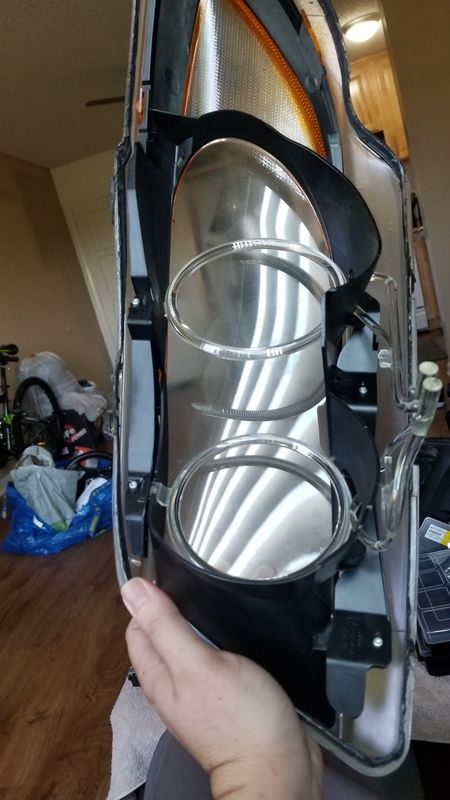 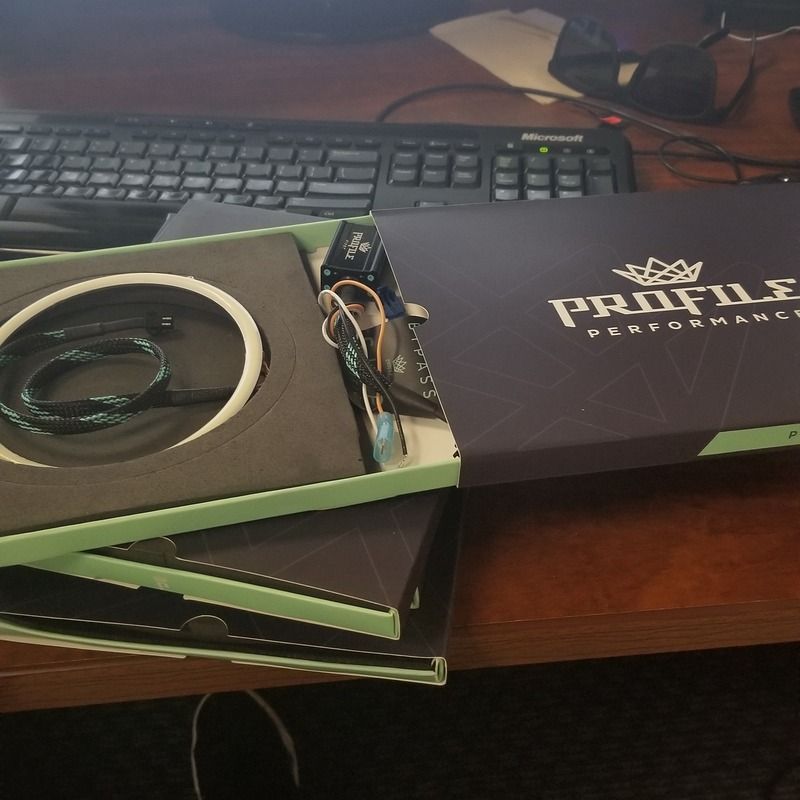 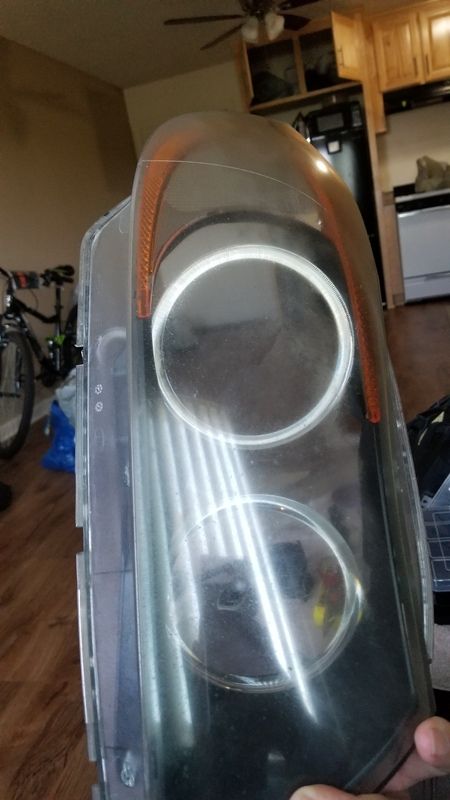 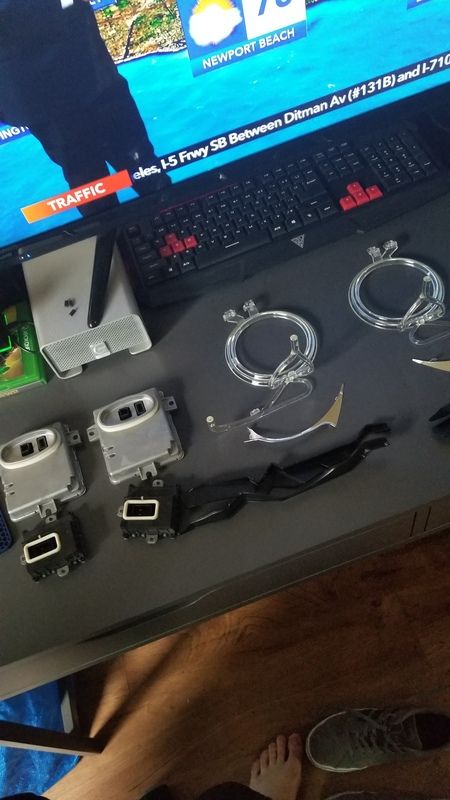 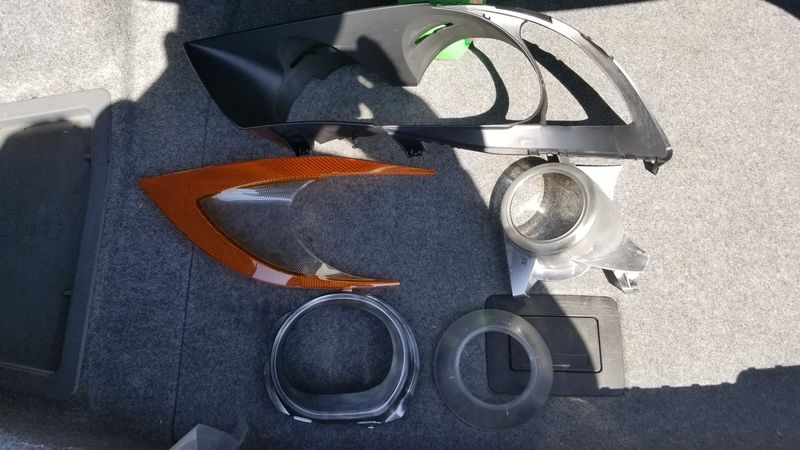 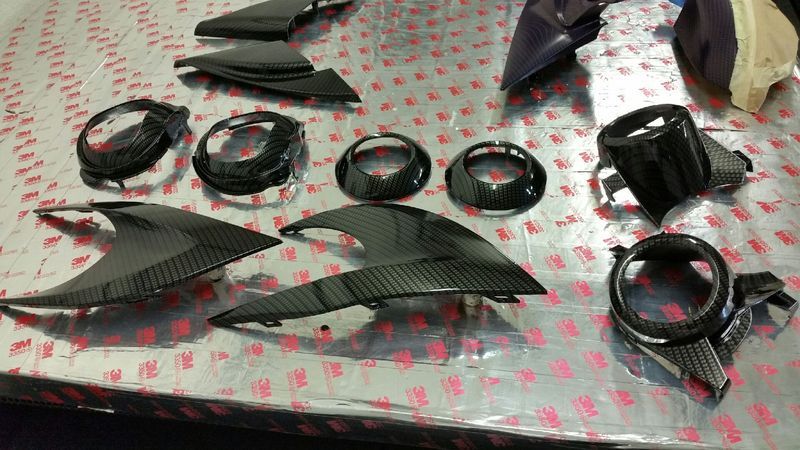 Last edited by Doesha; 09-13-2018 at 12:30 PM.. |
| 08-30-2018, 12:28 PM | #2 |
|
Private First Class
 30
Rep 188
Posts
Drives: 2006 330i Pre-LCI Monaco Blue
Join Date: May 2018
Location: Orange County, California
|
As far as all threads I have seen, noon has done a Retrofit and still used the adaptive feature. They mount the halos to the shrouds which I did not want to do.
|
|
Appreciate
0
|
| 09-03-2018, 03:33 PM | #3 |
|
Private First Class
 30
Rep 188
Posts
Drives: 2006 330i Pre-LCI Monaco Blue
Join Date: May 2018
Location: Orange County, California
|
Update
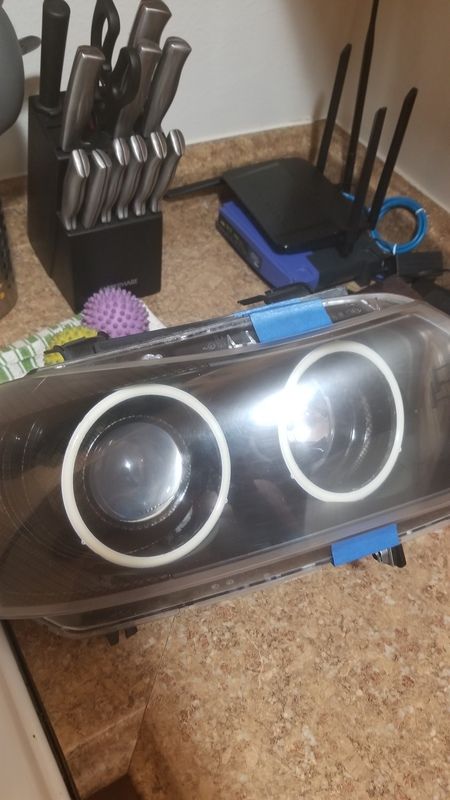
I picked up the pieces on Friday and wanted to let them sit for a bit just to make sure the clear was fully cured. I kind of debated on how I wanted to mount the rings, most I've seen mount them on the shrouds. This would essentially cause issues with the adaptive feature as the rings do have wires coming off them and with the portion of the shrouds turning I did not want to add strain to the motors or have any reason for the wire to snag on soemthing. I opted to mount the rings in the existing rings. At first I didn't want to do this as I will be opening up another set and the rings are super hard to find, but this was the only feasable option in my opinion. I still have some more trimming to do on the rings as I want to hide them as much as possible. 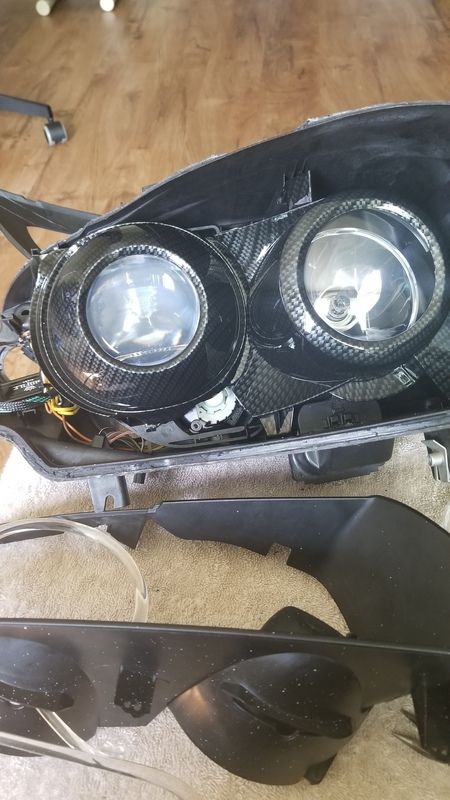 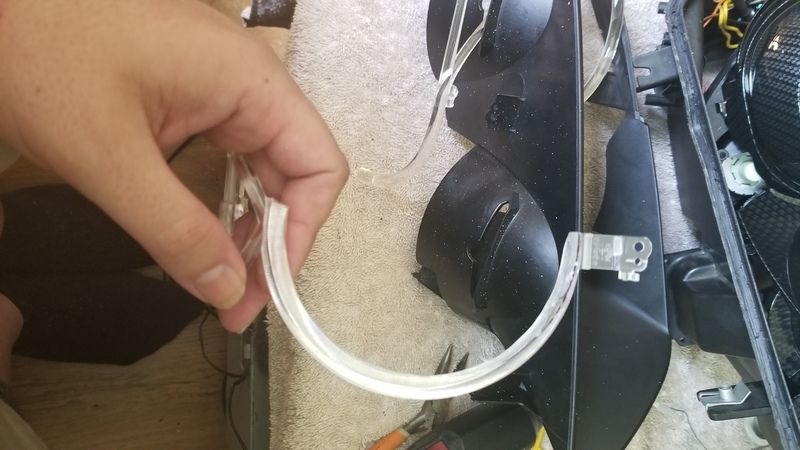 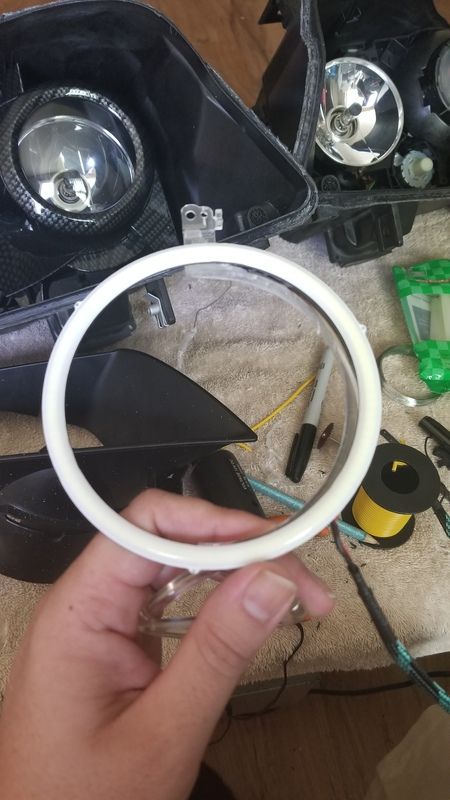 |
|
Appreciate
0
|
| 09-04-2018, 12:35 AM | #5 |
|
Private First Class
 30
Rep 188
Posts
Drives: 2006 330i Pre-LCI Monaco Blue
Join Date: May 2018
Location: Orange County, California
|
So have one almost done just need to fire everything up again before I seal it up. Total time was around 10 to 11 hours for one light. Very time consuming and I'll probably put another hour into it sealing it, buffing the lens one more time and putting a clear uv wrap over it.
 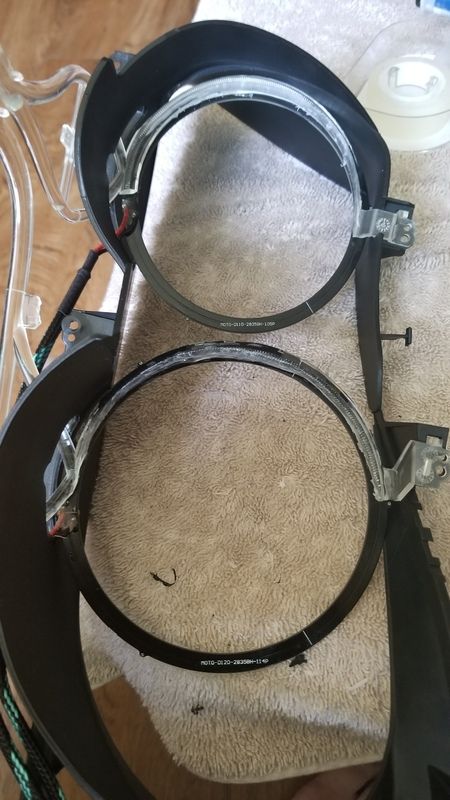 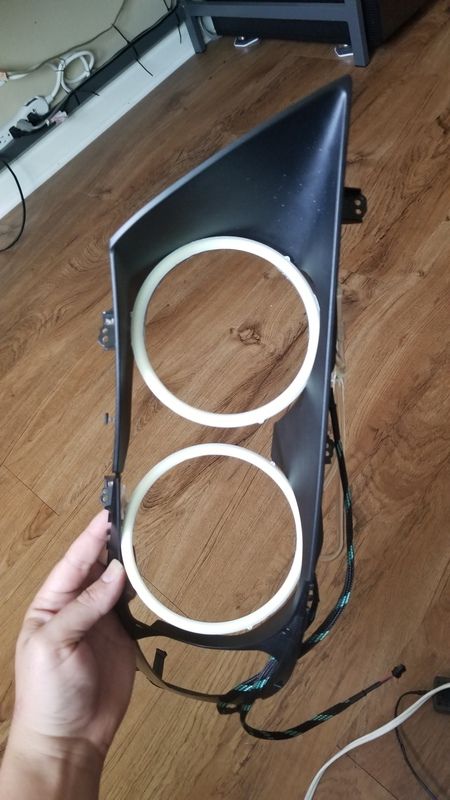 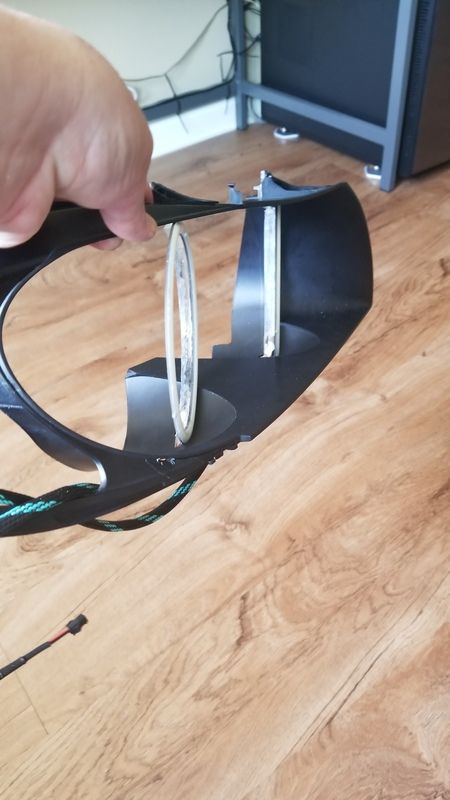 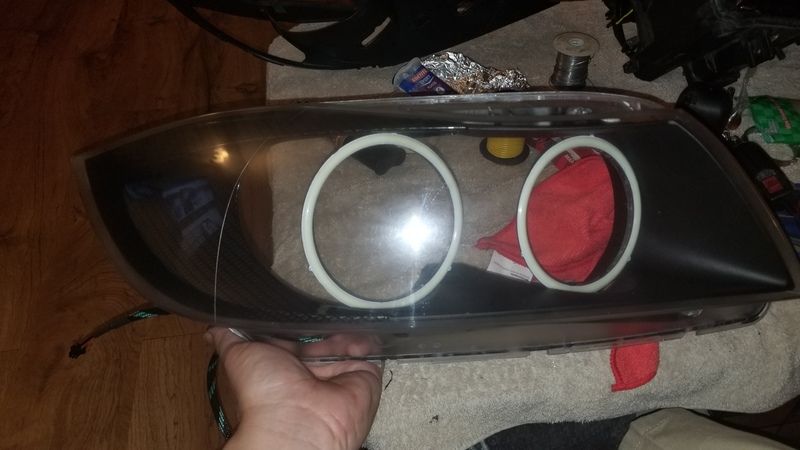 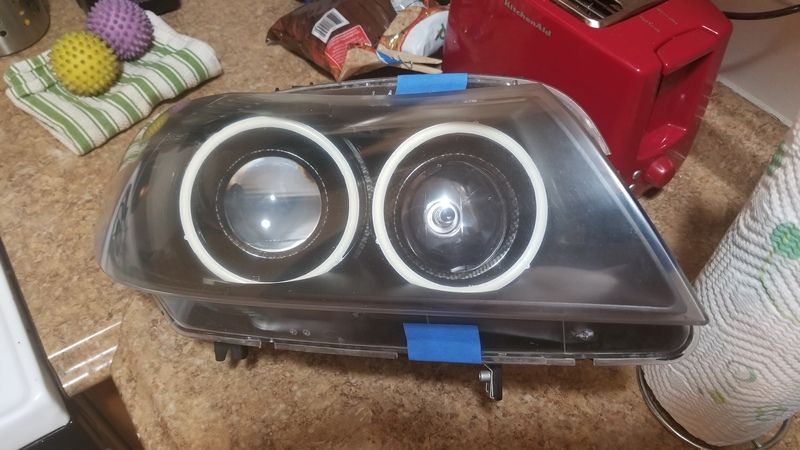 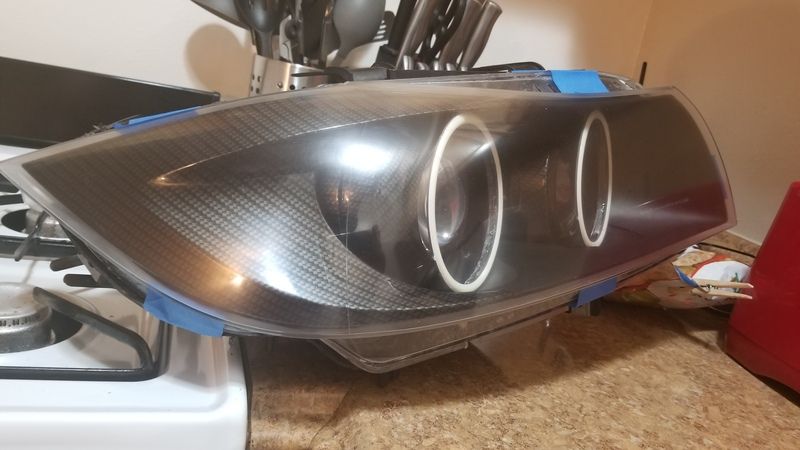 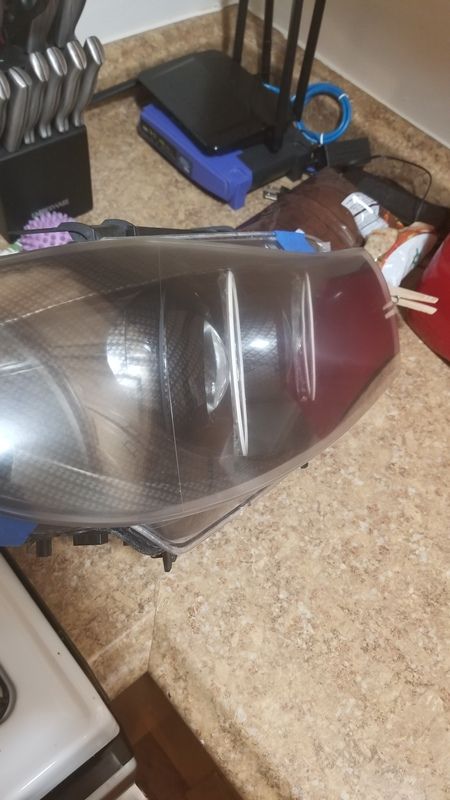  |
|
Appreciate
0
|
| 09-05-2018, 01:22 PM | #6 |
|
Private First Class
 30
Rep 188
Posts
Drives: 2006 330i Pre-LCI Monaco Blue
Join Date: May 2018
Location: Orange County, California
|
Tried embedding it but guess it no longer works. But here's an update |
|
Appreciate
1
bluewater328640.00 |
| 09-08-2018, 01:37 PM | #7 |
|
Colonel
 
640
Rep 2,098
Posts |
|
|
Appreciate
0
|
| 09-08-2018, 03:46 PM | #8 |
|
Private First Class
 30
Rep 188
Posts
Drives: 2006 330i Pre-LCI Monaco Blue
Join Date: May 2018
Location: Orange County, California
|
|
|
Appreciate
0
|
| 09-12-2018, 03:06 PM | #9 |
|
Private First Class
 30
Rep 188
Posts
Drives: 2006 330i Pre-LCI Monaco Blue
Join Date: May 2018
Location: Orange County, California
|
Here's an update. Finally got everything sealed, cured, and installed.
I used some Permatex Black Silicone Adhesive for the lights. Didn't snap pictures of sealing or anything but I did a layer of the Permatex then pushed the lens and a entire roll of seran wrap around each light since every clamp tried popped right off. Another bead of Permatex and a run with my finger to smooth it out. I was contemplating on using some screws as-well as butyl, but I favored the Permatex more. It is some messy stuff! After they cured for about 36 hours. The deciding factor for screws was holding the light by the lens to see what would happen. I tested the seal with running some water in the sink, everything was golden. I will try and snap some shots come night time really want to see the difference in brightness on the AE's. They are I believe 5500k or 6000k can't recall while the D1S are 8000k (yes lumen output it lower). Don't think I want the rings and D1S to be the same color. 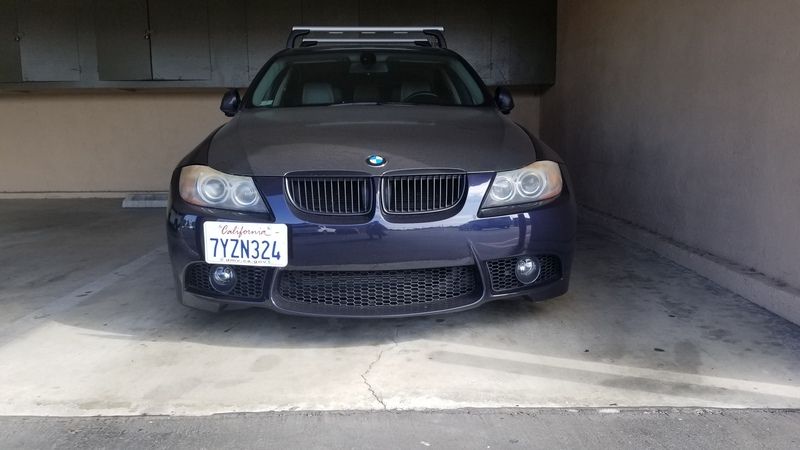 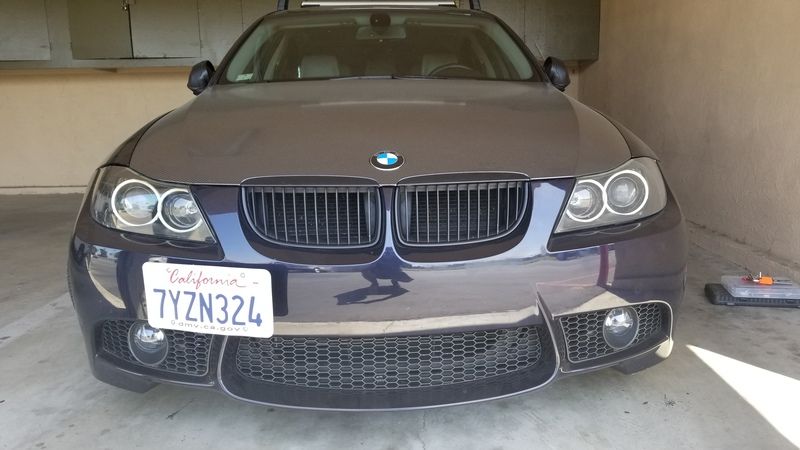 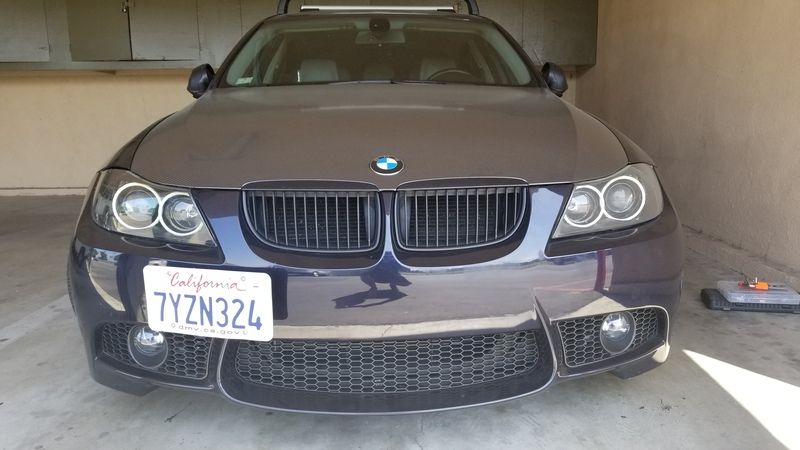 |
|
Appreciate
1
Barrique91394.00 |
 |
| Bookmarks |
|
|