

|
|
 |
 |
 |
|
 |
BMW Garage | BMW Meets | Register | Today's Posts | Search |
 |

|
BMW 3-Series (E90 E92) Forum
>
C2KMotorsports Supra Build Thread (6/8 Re-assembly has begun!)
|
 |
| 12-27-2018, 03:33 PM | #67 |
|
Brigadier General
 1035
Rep 3,159
Posts |
__________________
Former Car: '16 SUNBURST GOLD F80 ///M3--6MT/Carbon Cloth (ED Thread) Former Car:'13 SANTORINI BLUE E92///M3--6MT/Speed Cloth/ZCP(ED Thread) INSTAGRAM:@C2KMotorsports |
|
Appreciate
0
|
| 12-27-2018, 03:34 PM | #68 |
|
Brigadier General
 1035
Rep 3,159
Posts |
turned out to be a missing vacuum hose on the turbo wastegate causing it to free boost and consume oil...small amounts of oil were pooling in the housing and blowing on start up.
__________________
Former Car: '16 SUNBURST GOLD F80 ///M3--6MT/Carbon Cloth (ED Thread) Former Car:'13 SANTORINI BLUE E92///M3--6MT/Speed Cloth/ZCP(ED Thread) INSTAGRAM:@C2KMotorsports |
|
Appreciate
0
|
| 12-29-2018, 09:21 PM | #69 |
|
Brigadier General
 1035
Rep 3,159
Posts |
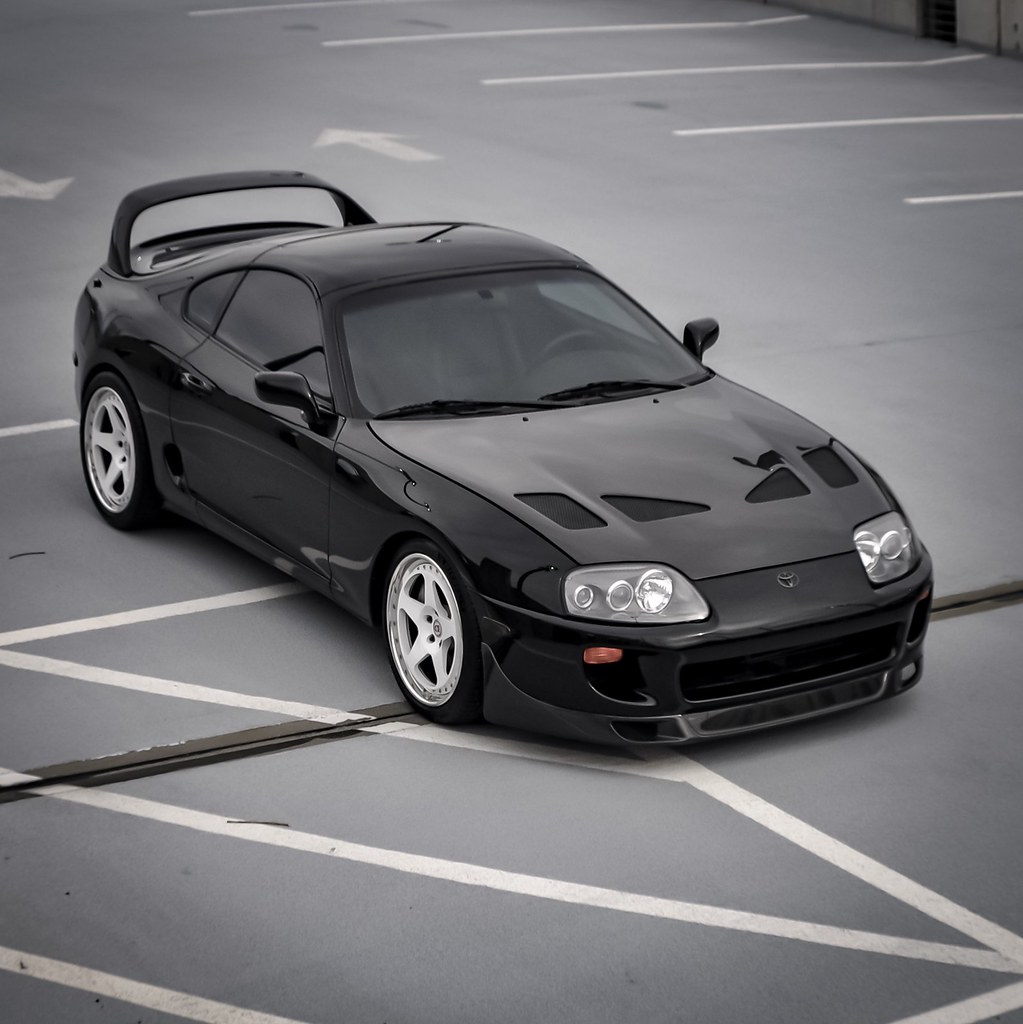
Since 2003 Seibon Carbon has been making a wide variety of CF parts for the Supra and many other cars. They are one of the largest CF manufactures and have continued to support the Supra when others have dropped the line. I went with Seibon because of their fitment guarantee, great price, and long standing reputation.
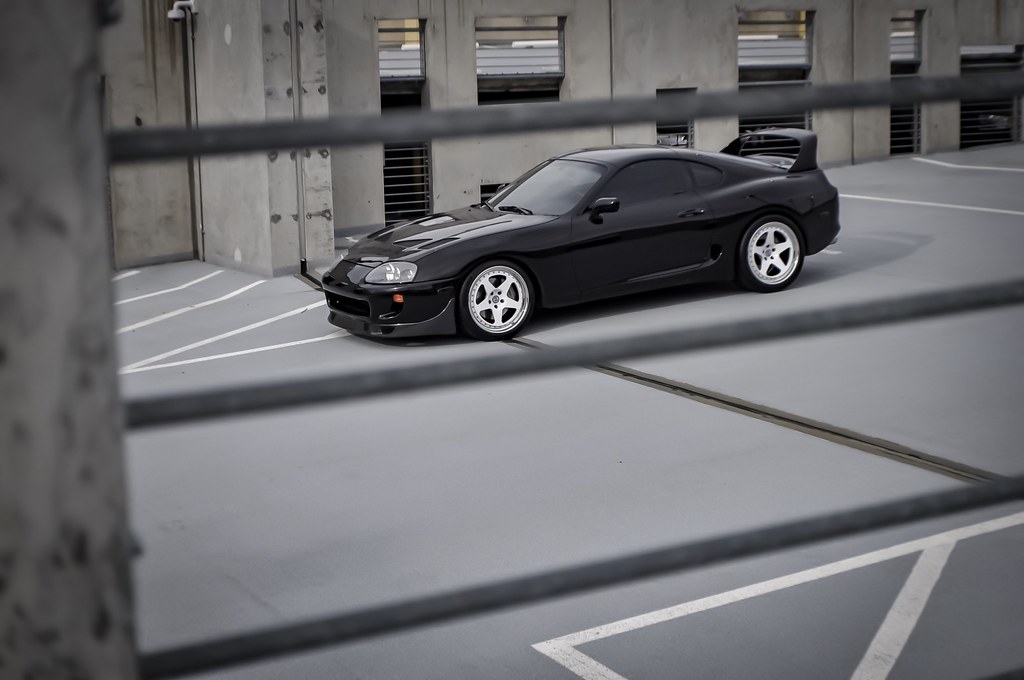
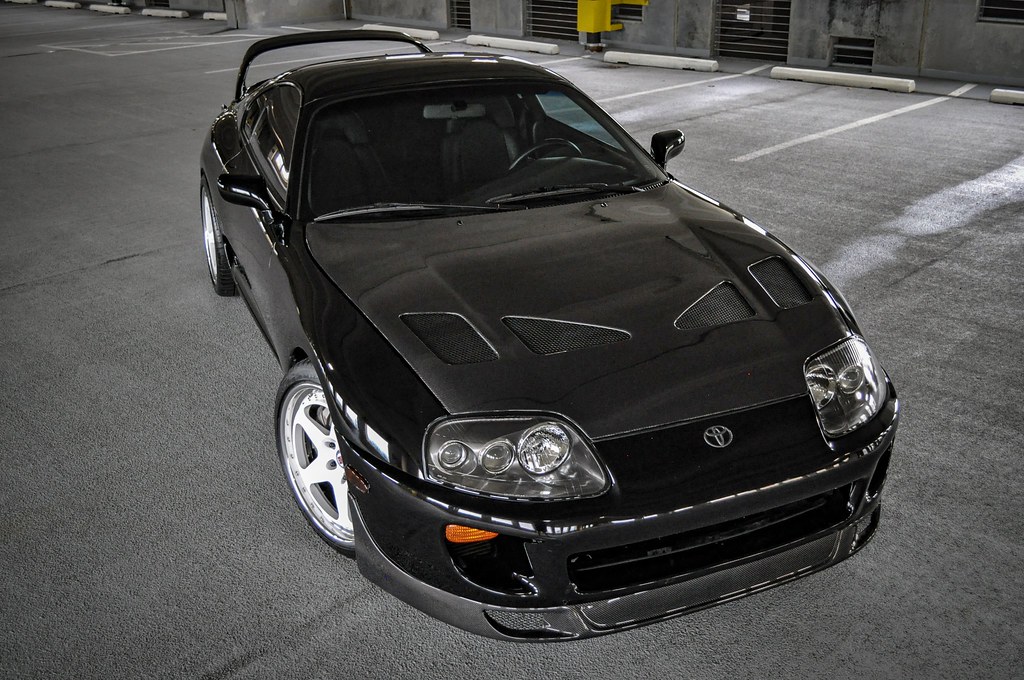
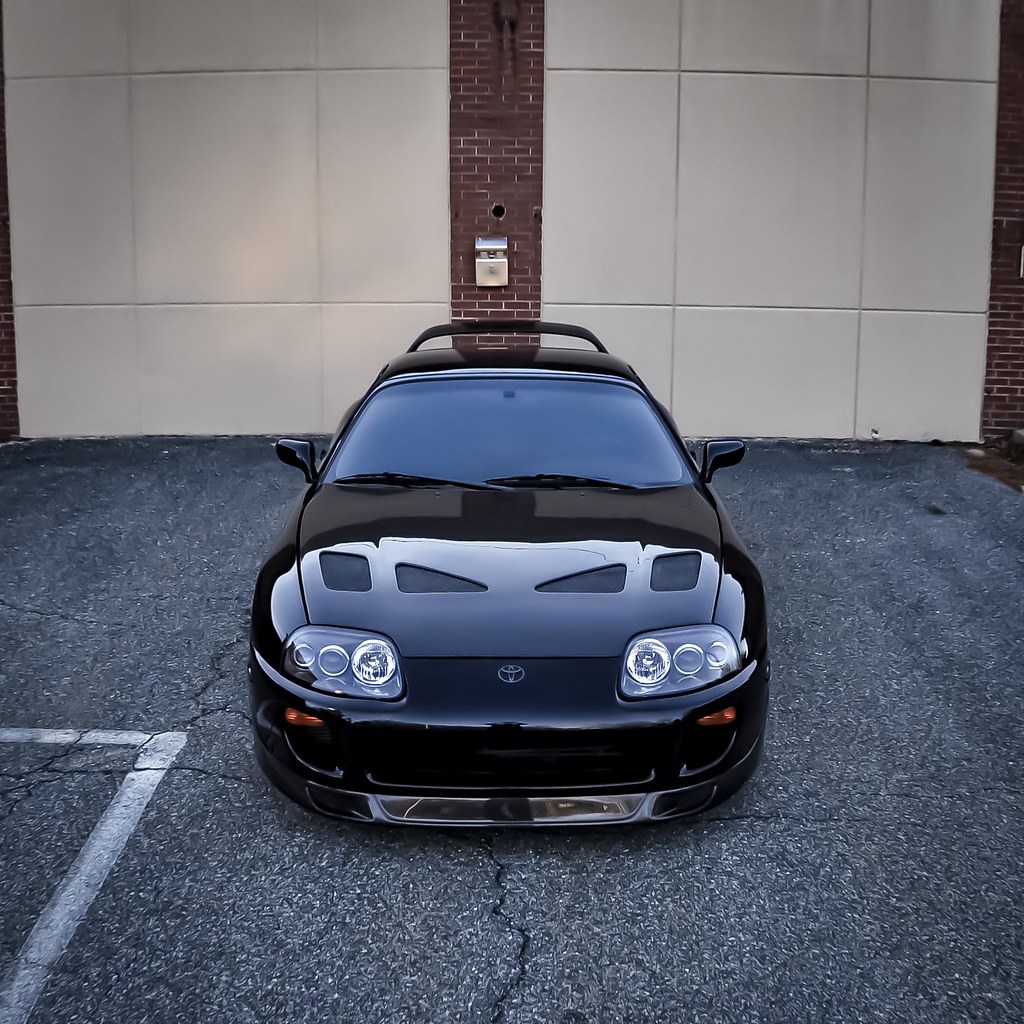
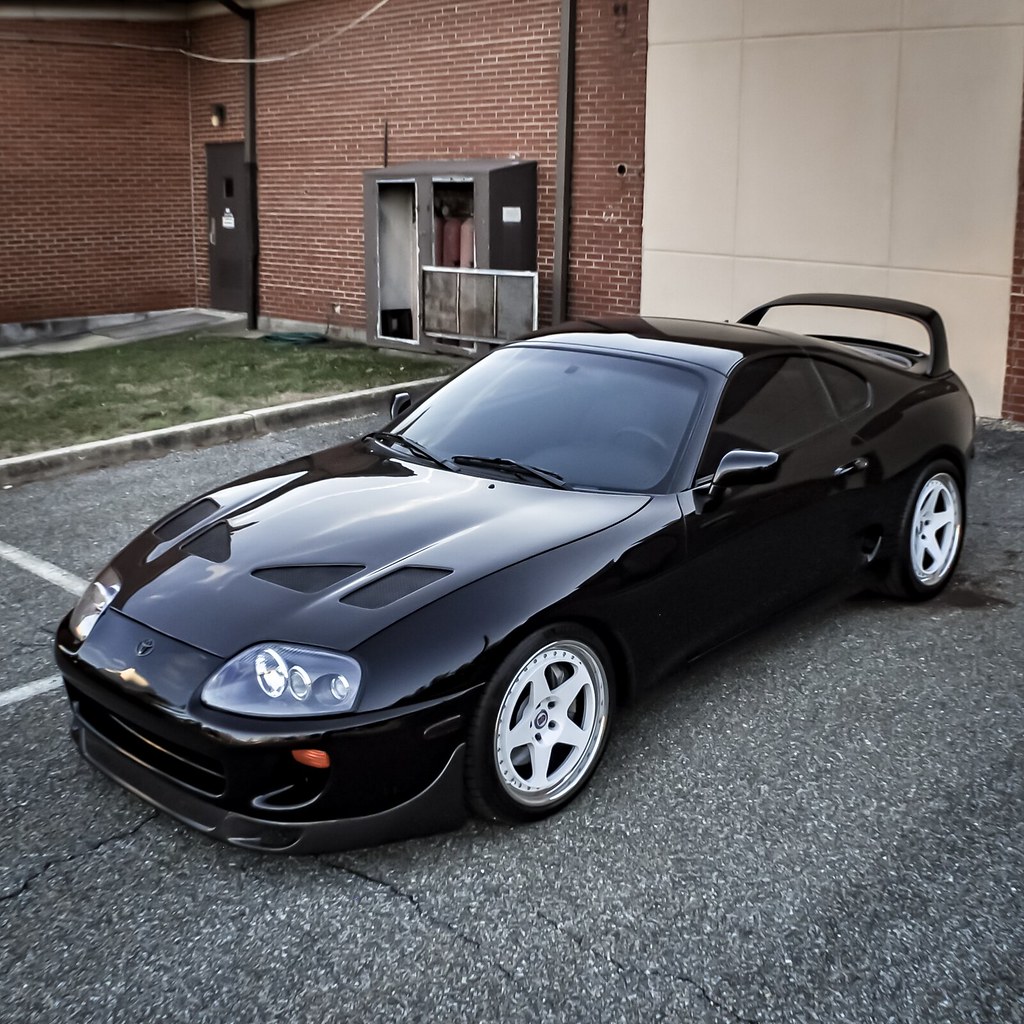
I chose the TRD Style or ‘TR-Style’ carbon fiber hood for my Supra due to the iconic design which echo’s the Supra tuning culture’s hayday back in the early 2000s. The part has to be air-freighted and delivered in a panel truck due to its size and fragility. It was very well packed with multiple layers of padding and protection making the unboxing process palatable! The finish is beautiful, the carbon weave is very uniform and skillfully laid, and I love the way they include panels for the vents that give you the option to block them from the weather. Removing the stock hood is pretty straight forward, pop off the wind shield washer lines at the connector prior to the tube being fed into the hood sub structure, remove the four 12mm bolts holding it to the hinges and get a buddy to help you lift her off. Removing the washer nozzles from the hood was a pain! I finally figured out that you can use a long flat hear screwdriver to depress the forward facing clip enough to get it partially popped out then use a credit card to depress the rear clip to ultimately yank it out of there. Be careful, it takes a lot of pressure and I slipped at one point putting a nice scratch in the clear coat of the stock hood with the credit card…oh well, its coming off anyway! Lastly, Two 10mm bolts secure the safety latch, easily transferred. Once the hood was off I decided to take advantage of the free spaces to put on the replacement wiper shroud. The original one was very oxidized from years of exposure, I wanted a nice fresh look as to not detract from my shiny new hood! It comes off very easily, a series of Phillips screws hold it to the firewall and a couple poppers along with the weather stripping all have to come out and it comes right off. It was awfully dirty under there so I took the opportunity to clean it up a bit as well. I then test fit the Seibon hood by getting the mounting bolts loosely secured. At first try the hood would not latch properly, sat low compared to the fenders and was a little too far rear. I had seen some videos and reviews complaining about similar issues and warnings that the TRD strut brace that I had on the car would contact the hood. After some inspection and deep thoughts I determined that the hooks were the issue, they were not reaching low enough to engage the latches. Here is how I resolved these issues: 1. I extended the hooks by removing them and placing some spacers (washers) between the hook plate and the hood. This finally got them to latch properly. 2. The hood sitting low was corrected by two adjustments, more spacers at the mounting points to the hinges and twisting the adjustable bump stops up as far as they would go. 3. You have some play in the rear mounting points to shimmy the hood forward/backward and side to side…it takes some trial an error but eventually I was able to get it nice and uniform all around. Once everything was nice and flush and latching properly I moved on to the spray nozzle install. The holes in the hood are flat out too small to plug them in without cracking the CF so I used a Dremel with a very small sanding cone to broaden the holes…worked great! Also, you will need to replicate the stock holes in the hood sub structure to plug the clips into in order to hold the washer fluid tubes up. I used the same Dremel wheel to carefully drill the holes, it came out better than stock because I was able to precisely space the hoses to have a little bit of tension on them to keep them nice and flush with the hood (no hanging!) Overall, this was an easy-moderate install. If you have the right tools (dremel, washers/spacers) then it is more on the easy side…if you don’t have the right tools..then you will probably get stuck and end up having to take it to a body shop. Overall I’m very satisfied with the quality of this hood and even though it took some finagling, the fitment once I was done is very good! The end result is beautiful! Such a prominent feature added to the car and it really looks great on the black paint! 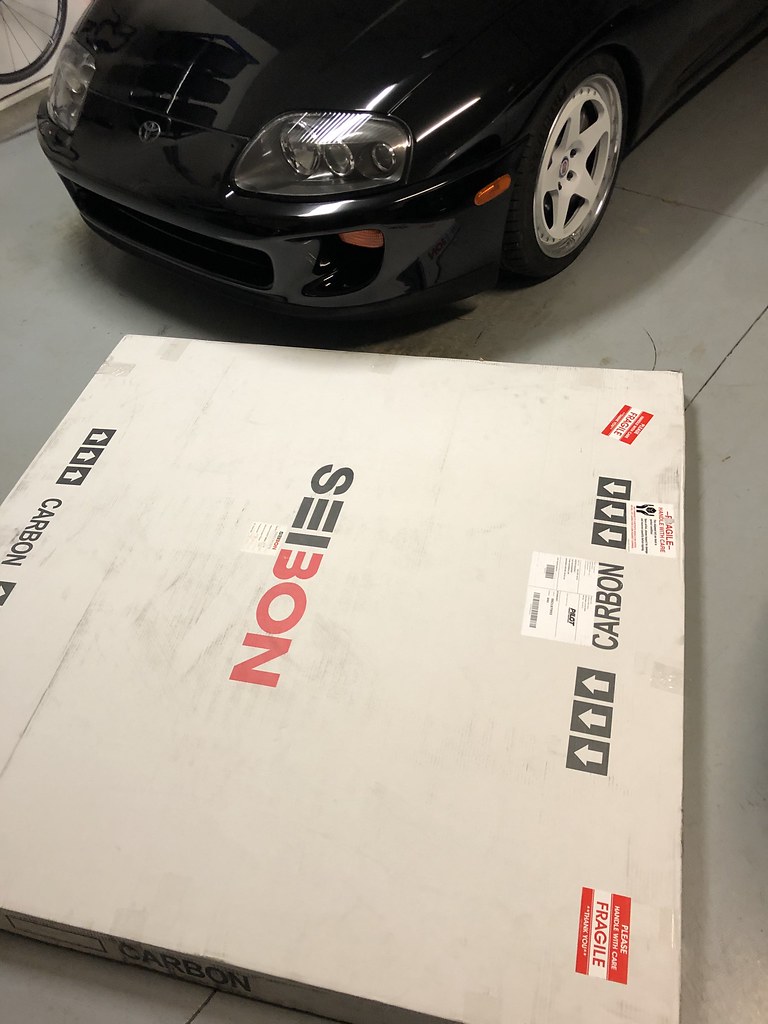 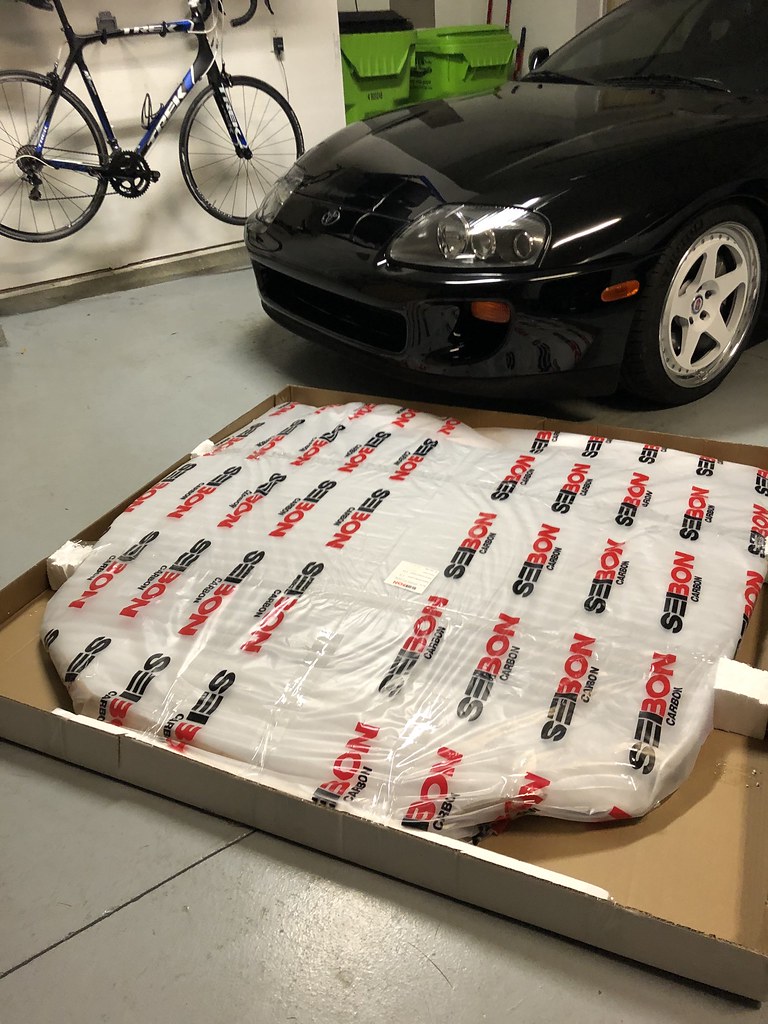  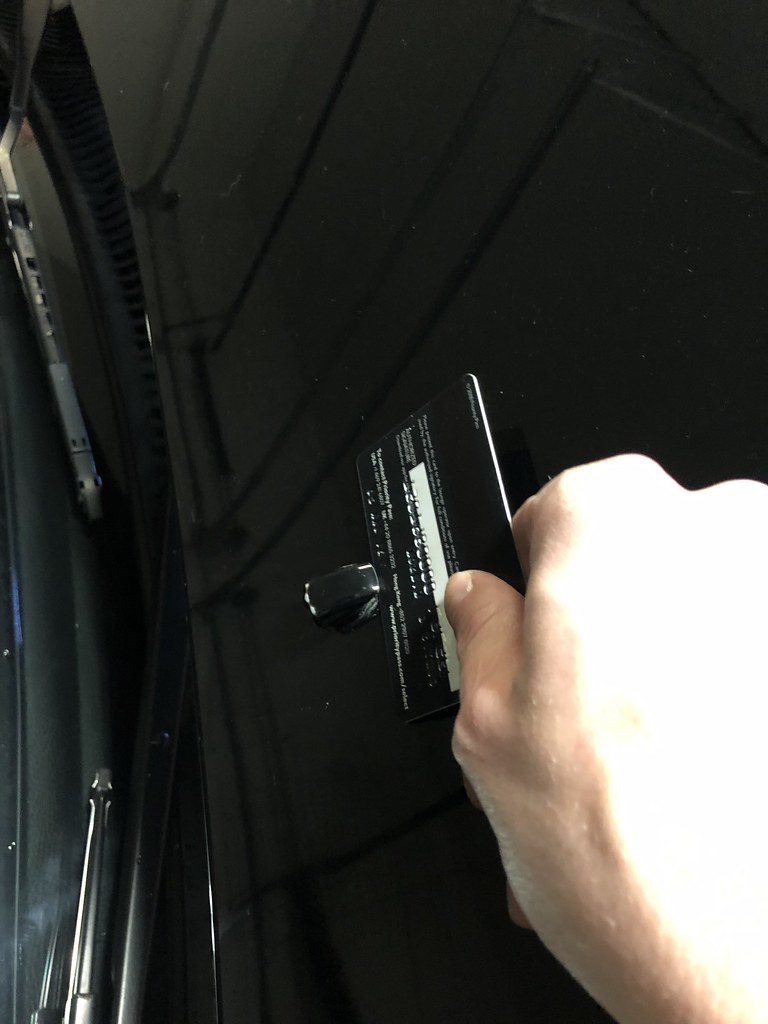 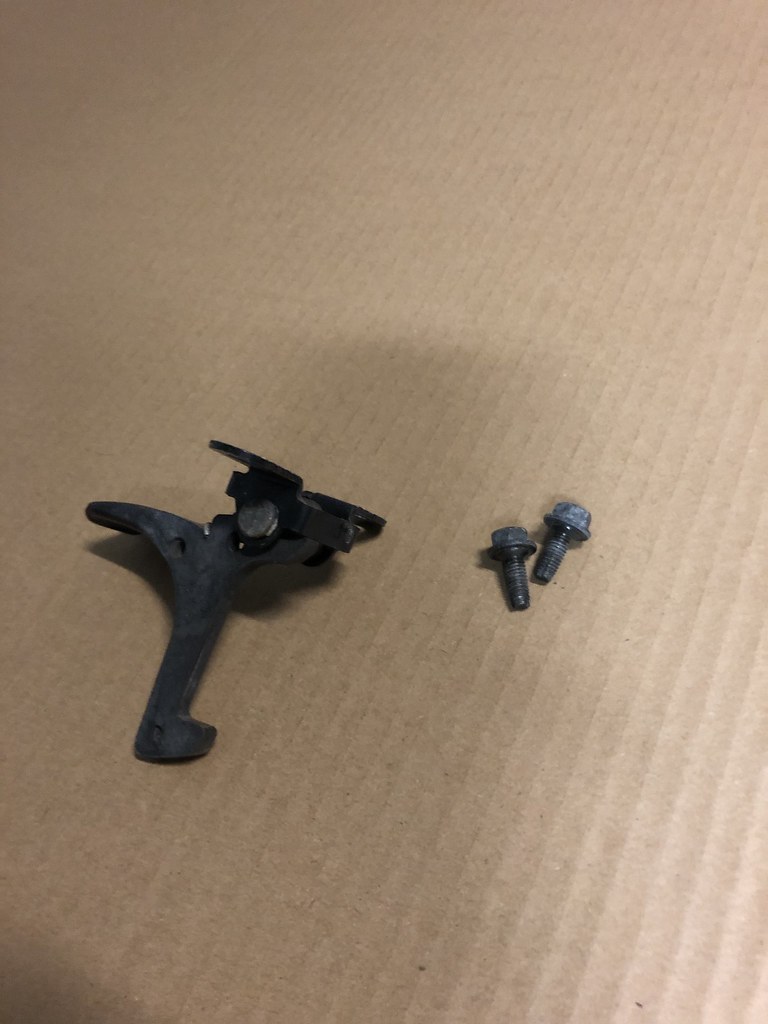  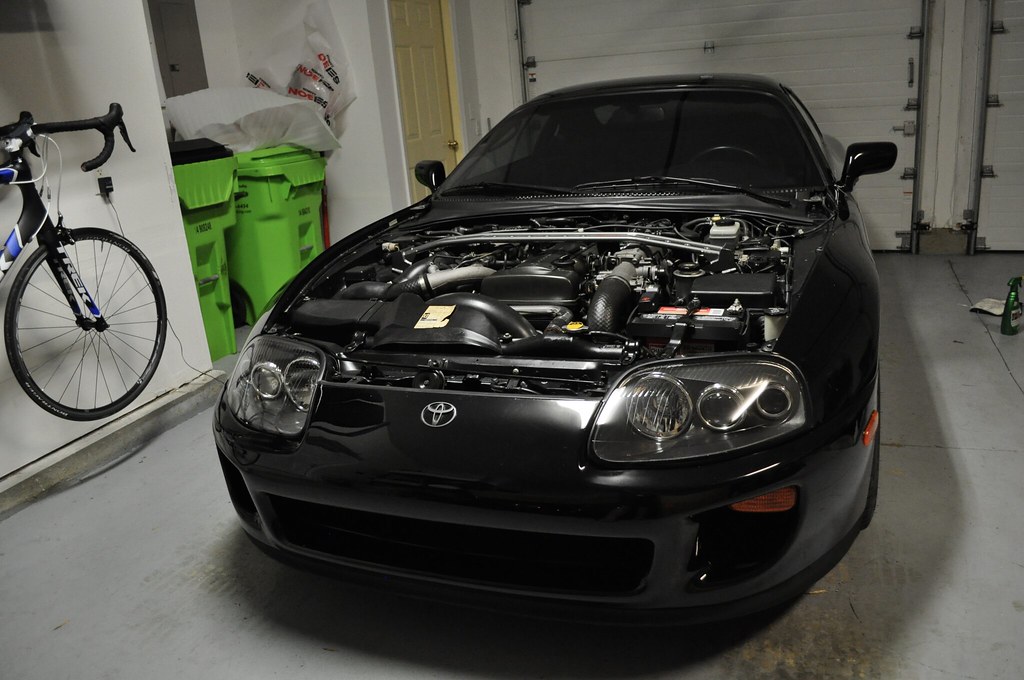  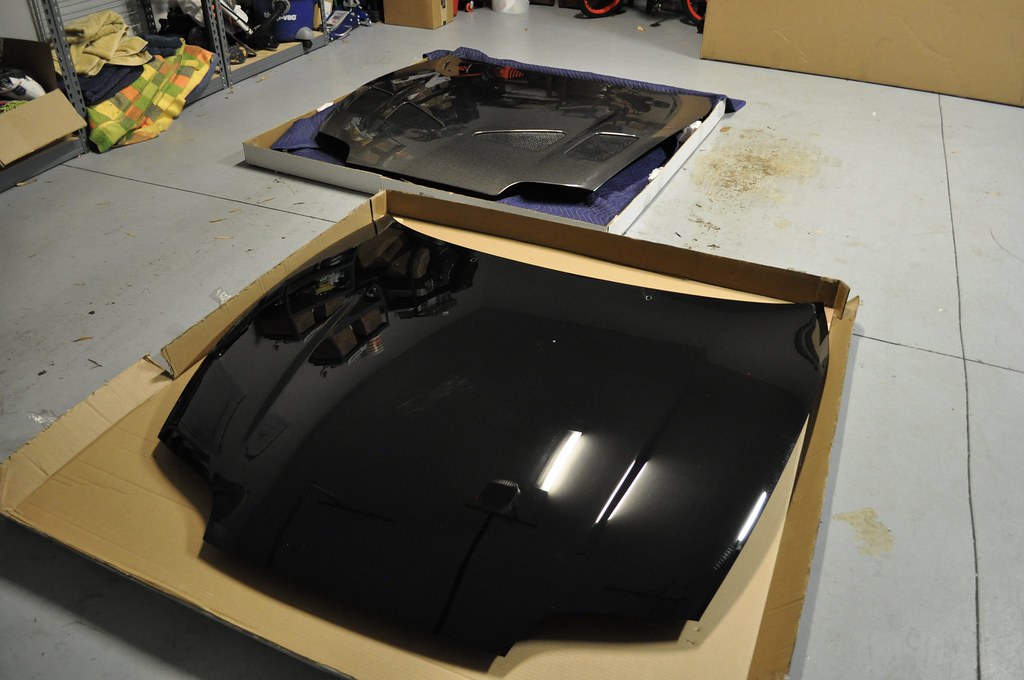 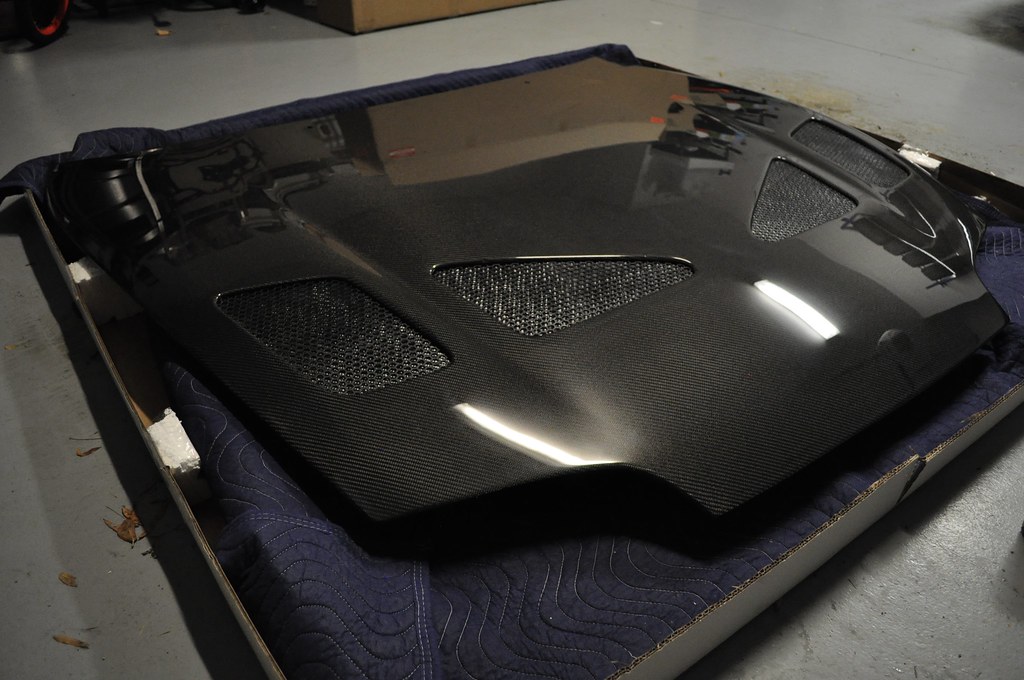 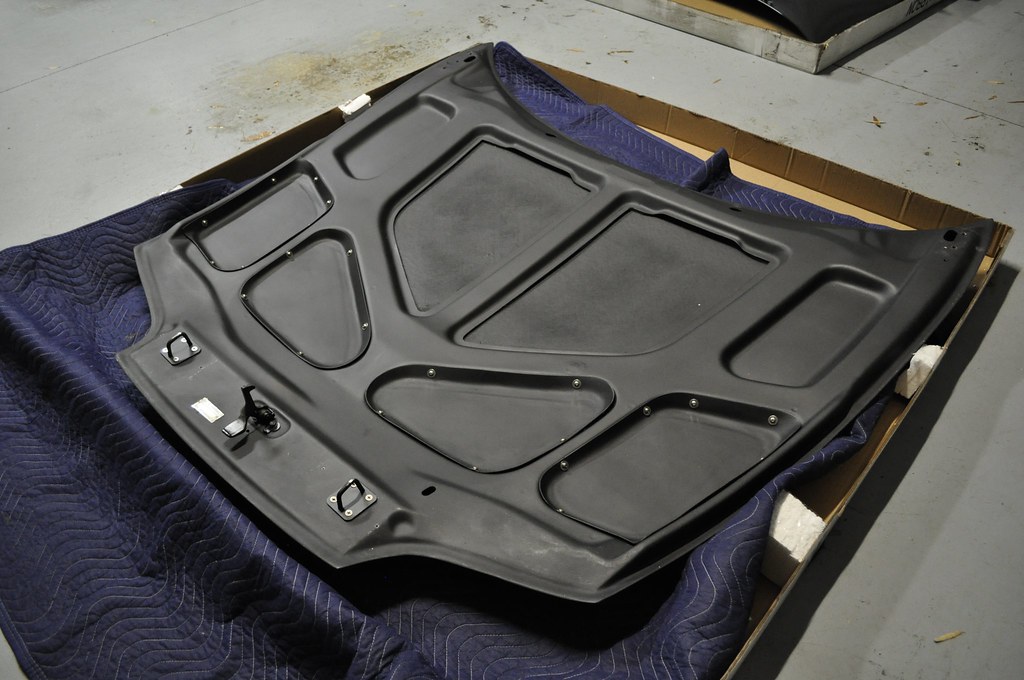   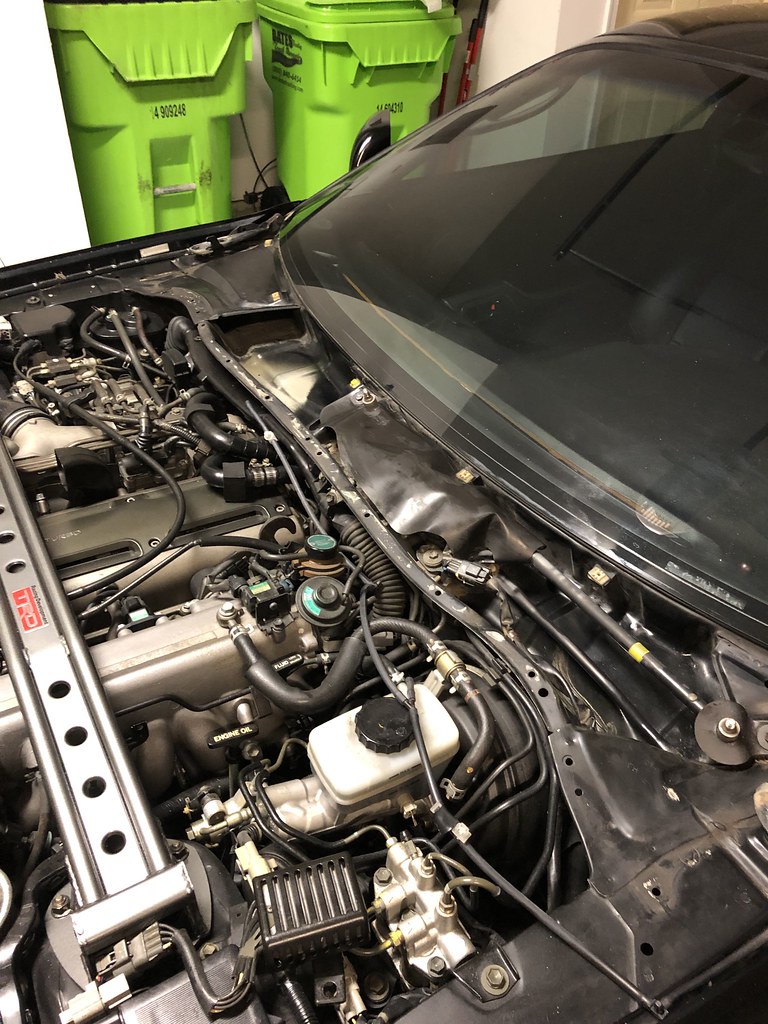 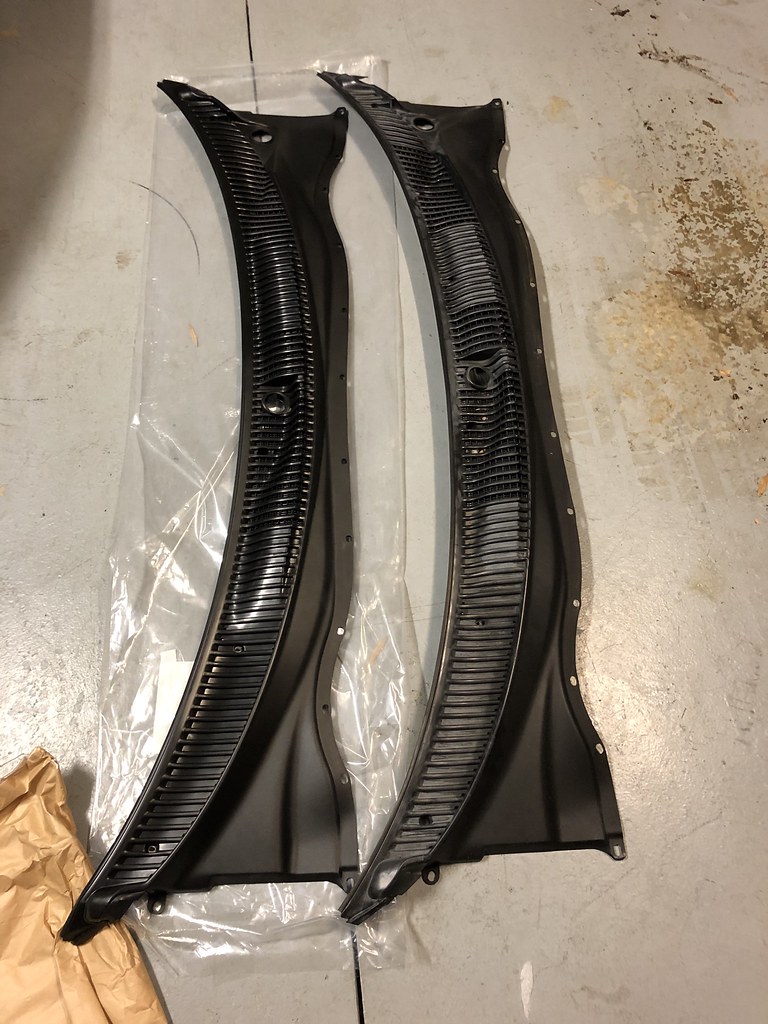  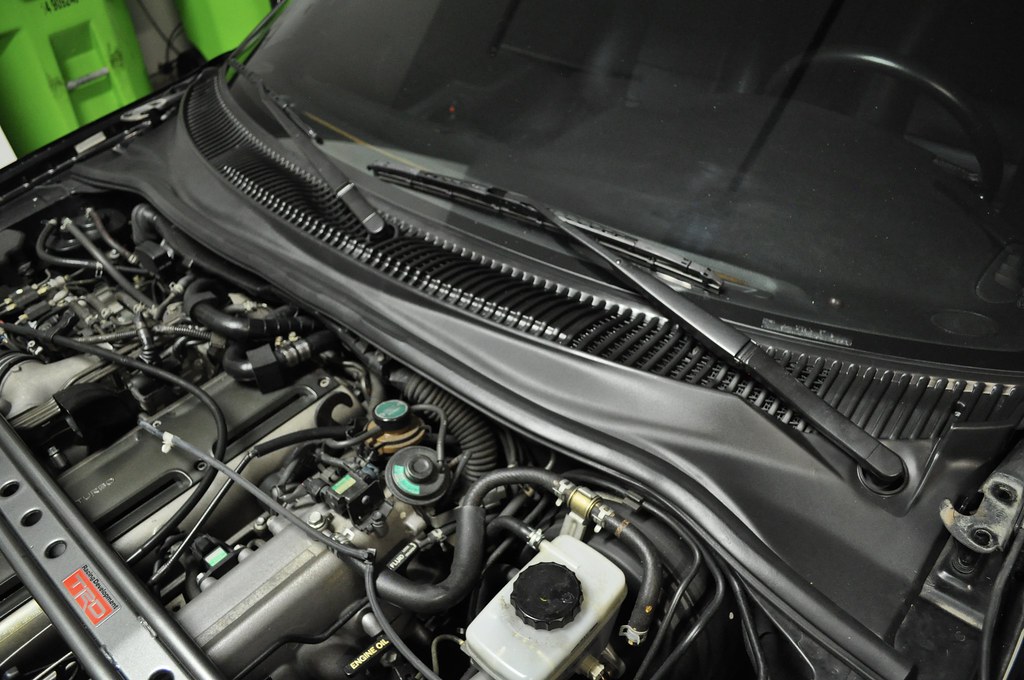  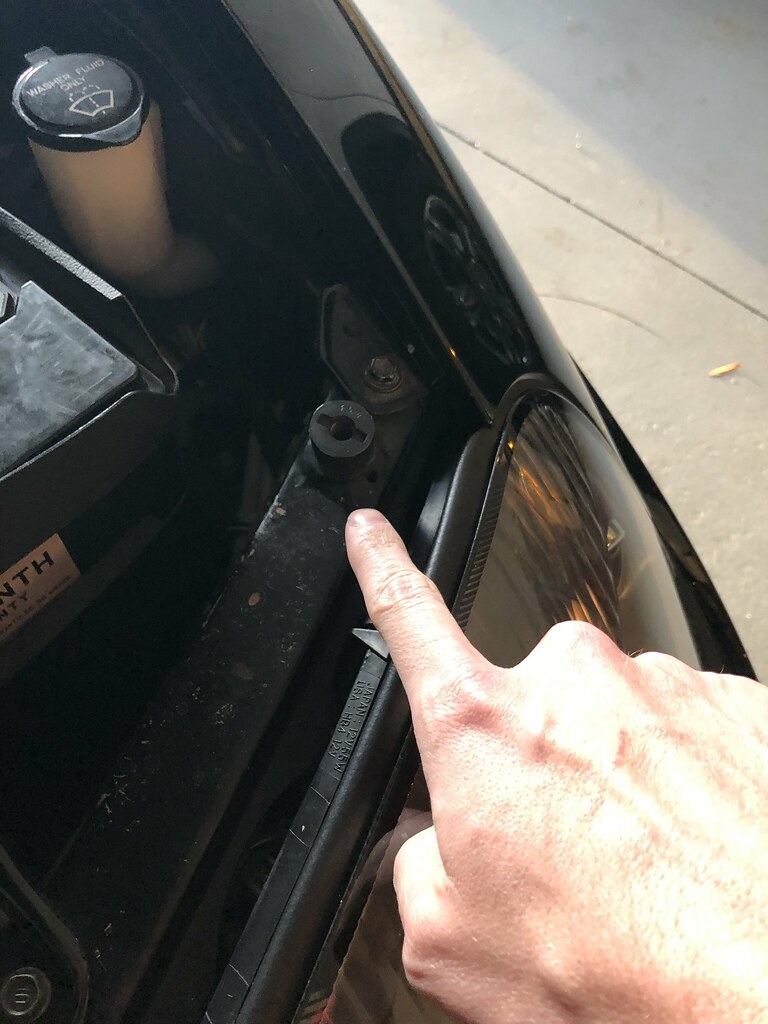  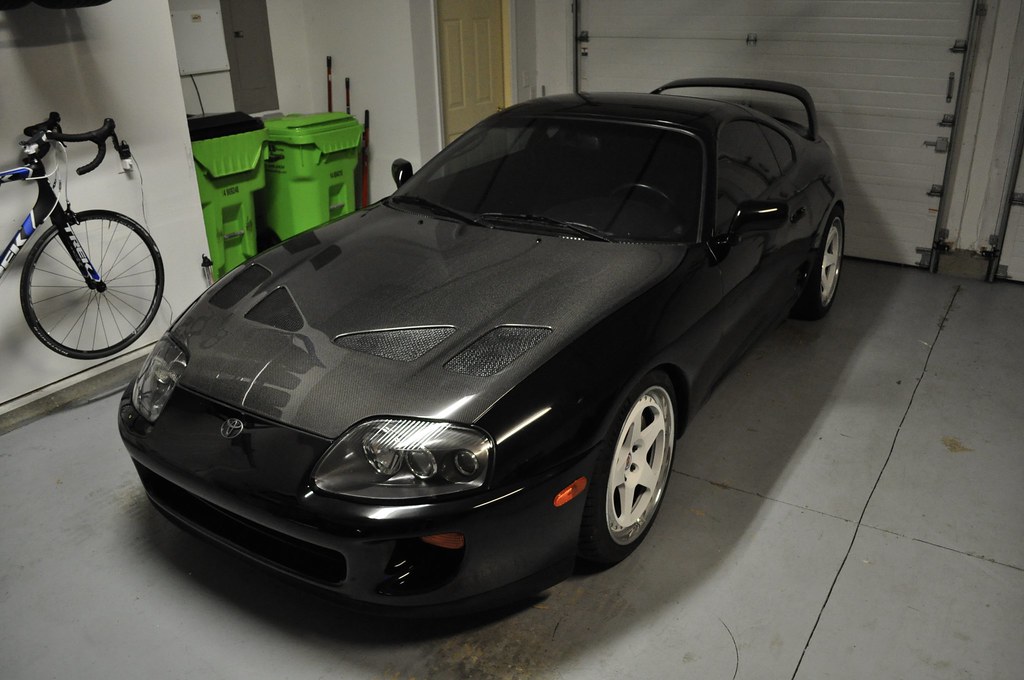  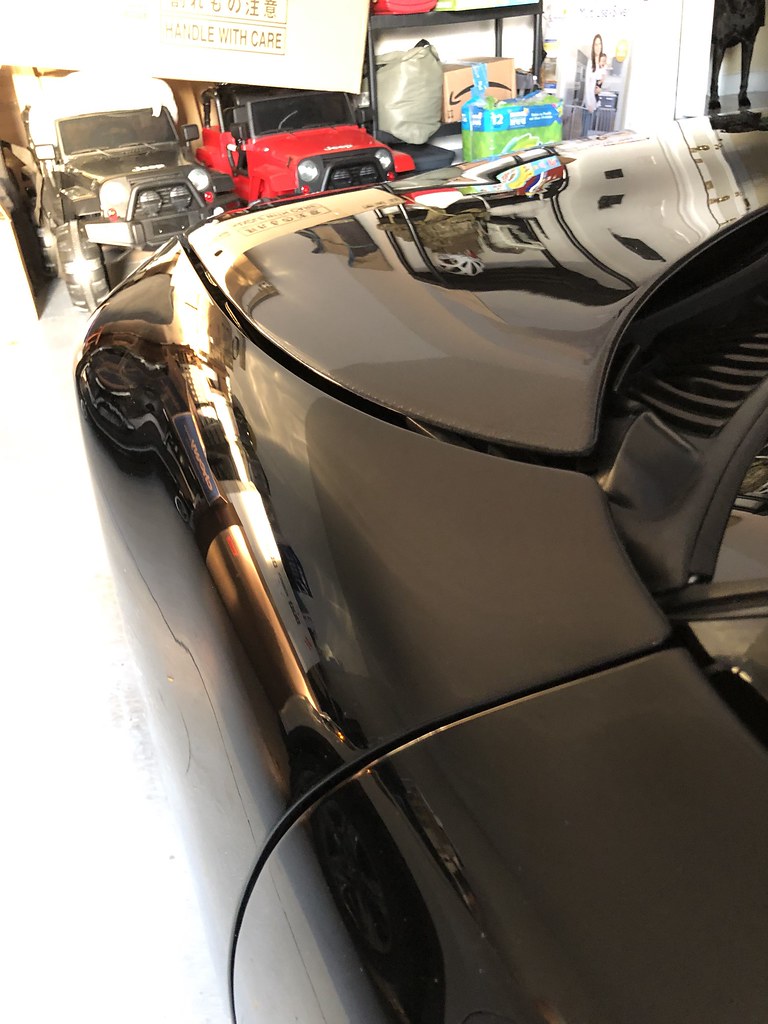 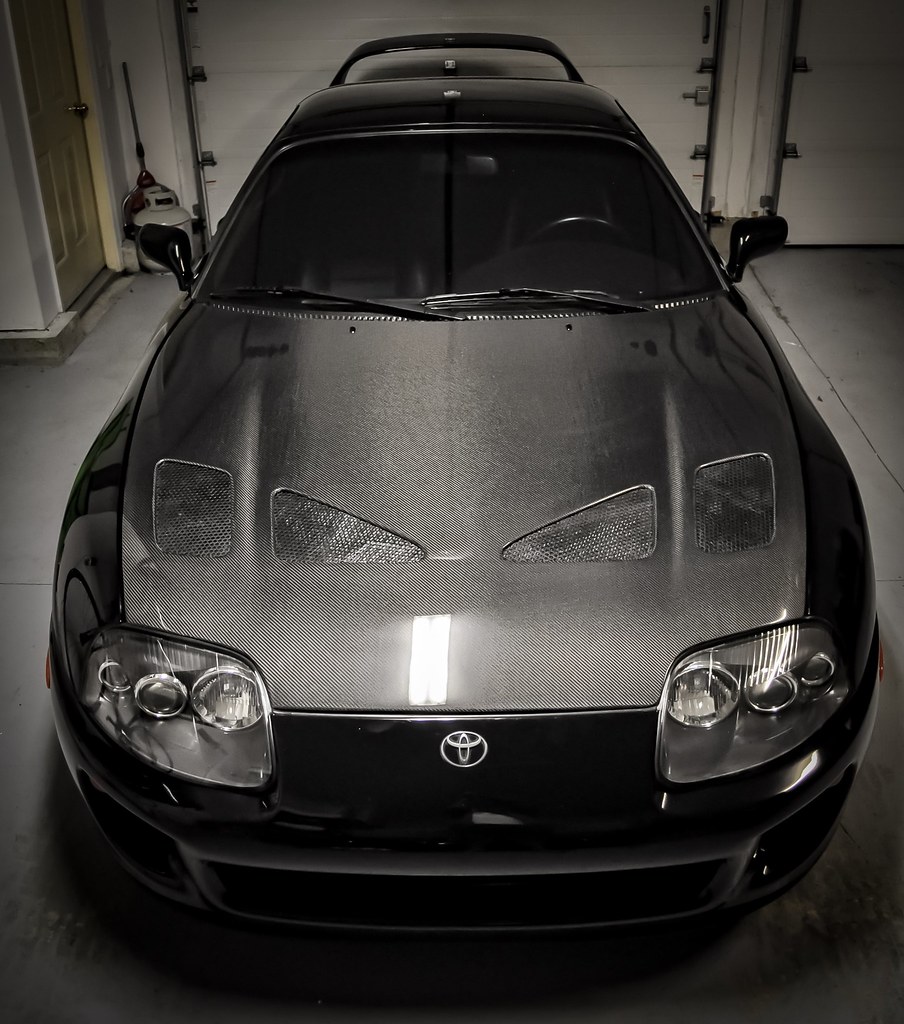
__________________
Former Car: '16 SUNBURST GOLD F80 ///M3--6MT/Carbon Cloth (ED Thread) Former Car:'13 SANTORINI BLUE E92///M3--6MT/Speed Cloth/ZCP(ED Thread) INSTAGRAM:@C2KMotorsports |
|
Appreciate
3
|
| 01-06-2019, 03:08 PM | #72 |
|
Brigadier General
 1035
Rep 3,159
Posts |
__________________
Former Car: '16 SUNBURST GOLD F80 ///M3--6MT/Carbon Cloth (ED Thread) Former Car:'13 SANTORINI BLUE E92///M3--6MT/Speed Cloth/ZCP(ED Thread) INSTAGRAM:@C2KMotorsports |
|
Appreciate
3
|
| 01-06-2019, 03:10 PM | #73 | |
|
Brigadier General
 1035
Rep 3,159
Posts |
Quote:
Thanks! I hope you like them!
__________________
Former Car: '16 SUNBURST GOLD F80 ///M3--6MT/Carbon Cloth (ED Thread) Former Car:'13 SANTORINI BLUE E92///M3--6MT/Speed Cloth/ZCP(ED Thread) INSTAGRAM:@C2KMotorsports |
|
|
Appreciate
1
Red Bread4458.00 |
| 01-07-2019, 11:28 AM | #75 |
|
Brigadier General
 
876
Rep 3,217
Posts |
__________________
Current Mods:
2004 E46 M3cs JB/CSL 2010 E70 X5M AW/BLACK 2011 VW Golf R DSG White/Black IG: @060Motorsports |
|
Appreciate
0
|
| 01-21-2019, 04:39 PM | #76 |
|
Brigadier General
 1035
Rep 3,159
Posts |
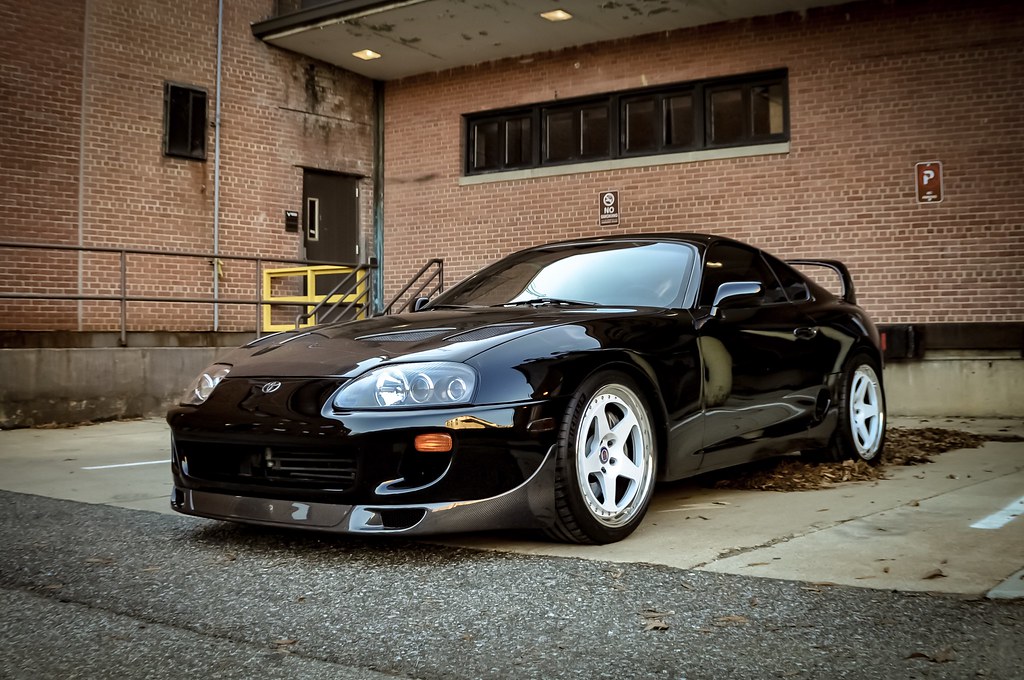
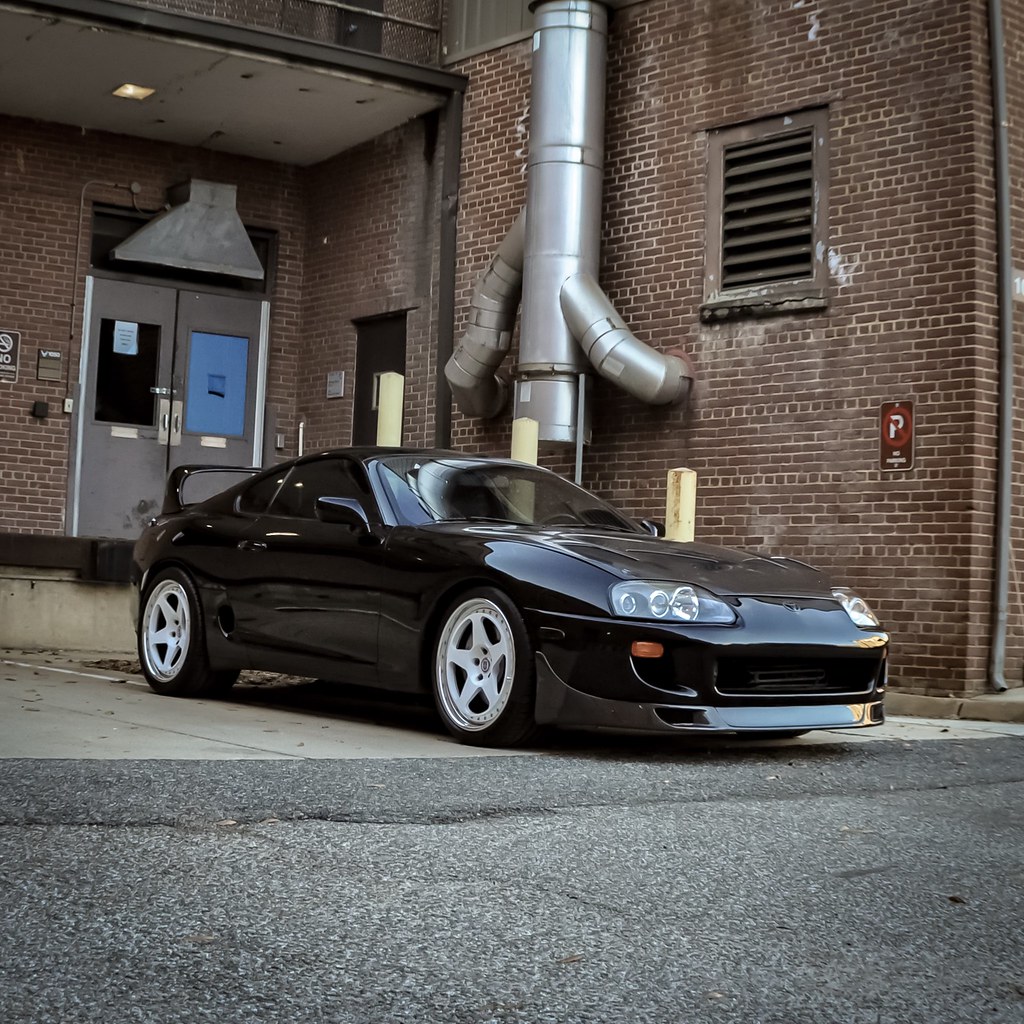
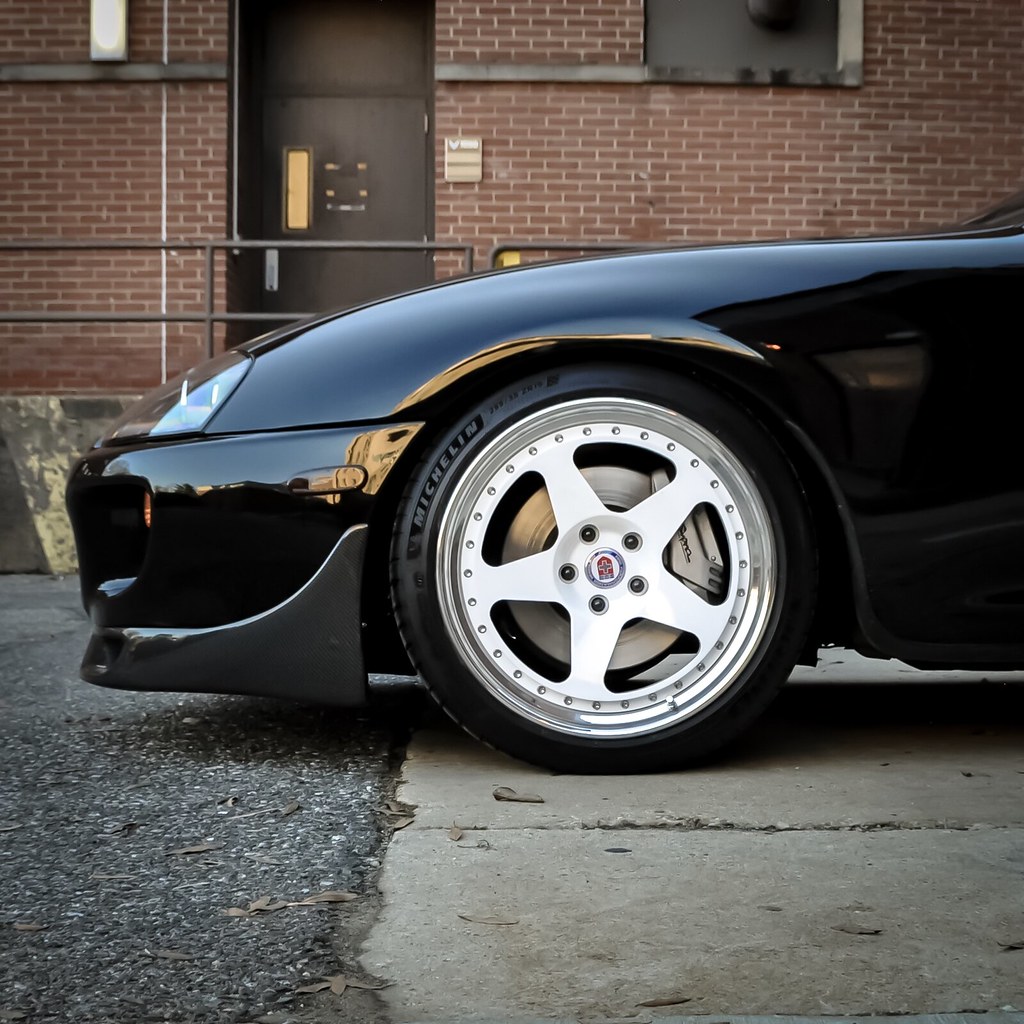
A few extra shots from 1-13-18
__________________
Former Car: '16 SUNBURST GOLD F80 ///M3--6MT/Carbon Cloth (ED Thread) Former Car:'13 SANTORINI BLUE E92///M3--6MT/Speed Cloth/ZCP(ED Thread) INSTAGRAM:@C2KMotorsports |
|
Appreciate
2
Dan@AutoTalent153.50 DrFerry6990.50 |
| 01-21-2019, 05:05 PM | #77 |
|
Brigadier General
 1035
Rep 3,159
Posts |
I picked up a set of Seibon OE CF Fenders tom complete the CF additions to the front clip! Just like the CF hood and lip, the quality of these pieces was top notch and they arrived un-damaged despite the shipping company mangling the box. The construction is very sturdy with plenty of carbon re-enforcement and solid carbon sections where the fenders bolt to the stock mountings.
Install was surprisingly easy, just time consuming. You must remove both fender liners from the wheel well, the headlights (battery and airbox to get to the headlights) and only partially remove the front bumper. Once all of the above is out you can reach all of the mounting hardware and carefully remove the OE fenders. You will need to remove the mud guards from the OE fenders and save for the end of the install process for the CF pieces. The hardest part for me was the nose of the fenders has a very specific way it has to be inserted between the support frame and front bumper, I could have made it a lot easier on myself by removing the front bumper but I was still able to get it on without too much frustration. I highly recommend a Dremel tool with a small grinding wheel to help shape some of the mounting holes, the ’98 headlights were particularly problematic, I needed to grind off a small vent near the mounting bolts to get them to fit and do some shaping on the fender mounting point to get them to finally stop interfering with each other and allow the headlight to slide into place. The only section of the fenders that doesn’t come pre-drilled is the bottom area next to the sideskirt, you will have to align them with the stock mounting holes and drill. Once the drilled holes are bolted in you can install the mudd guards just like they came off the OE fenders and you are done! 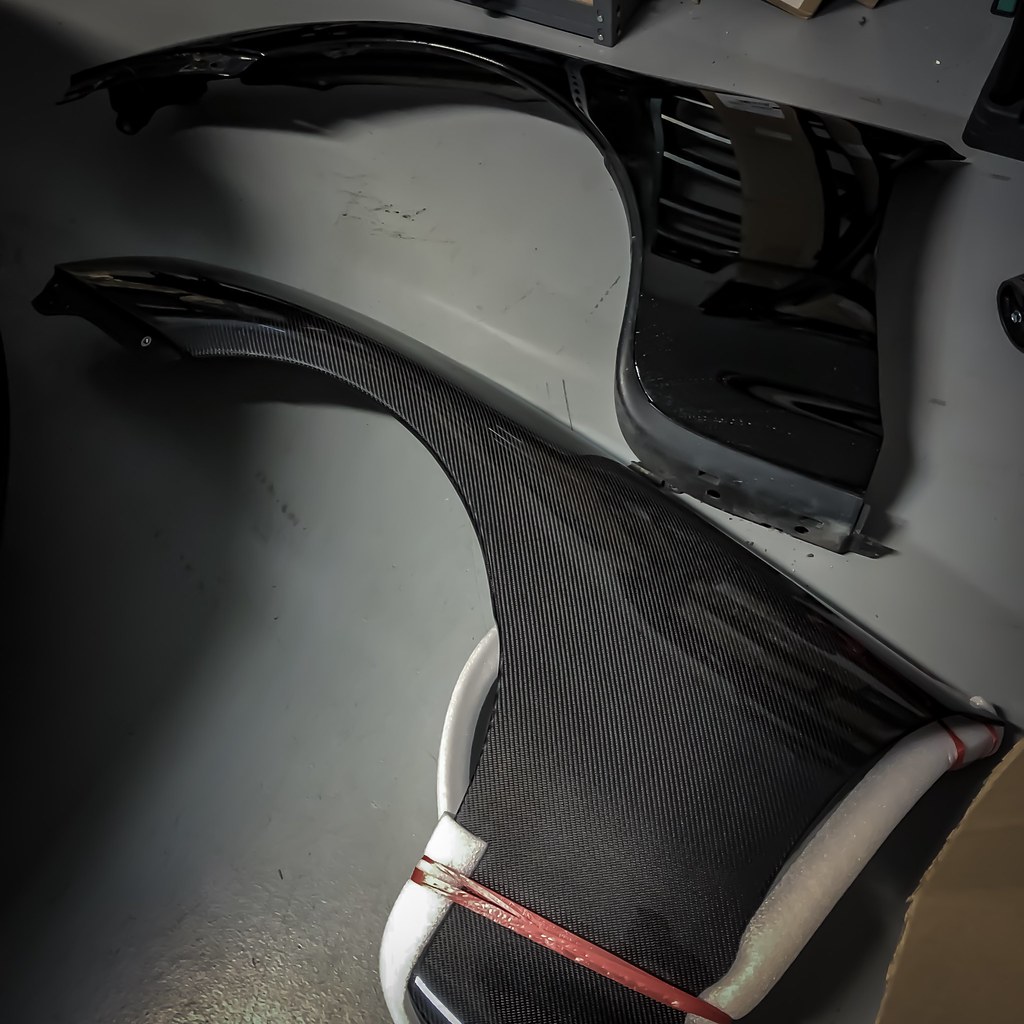  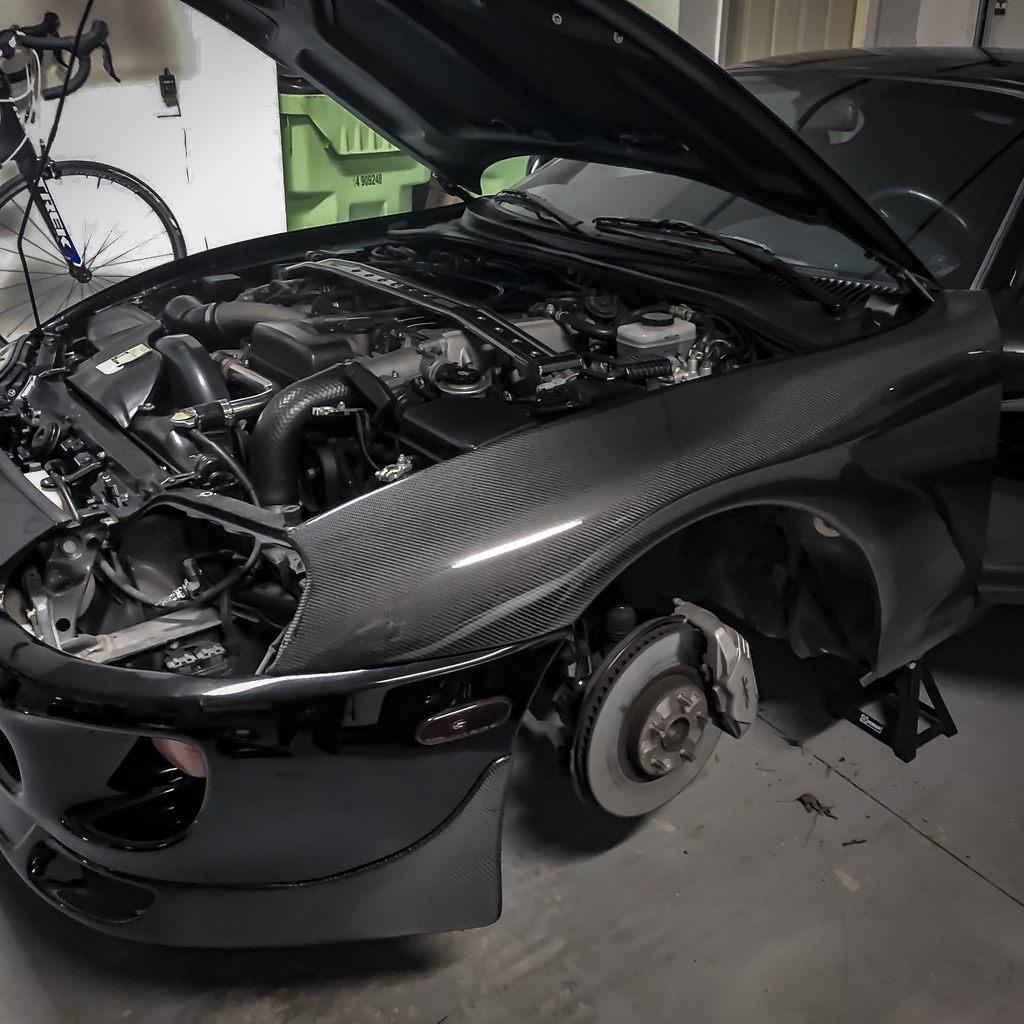    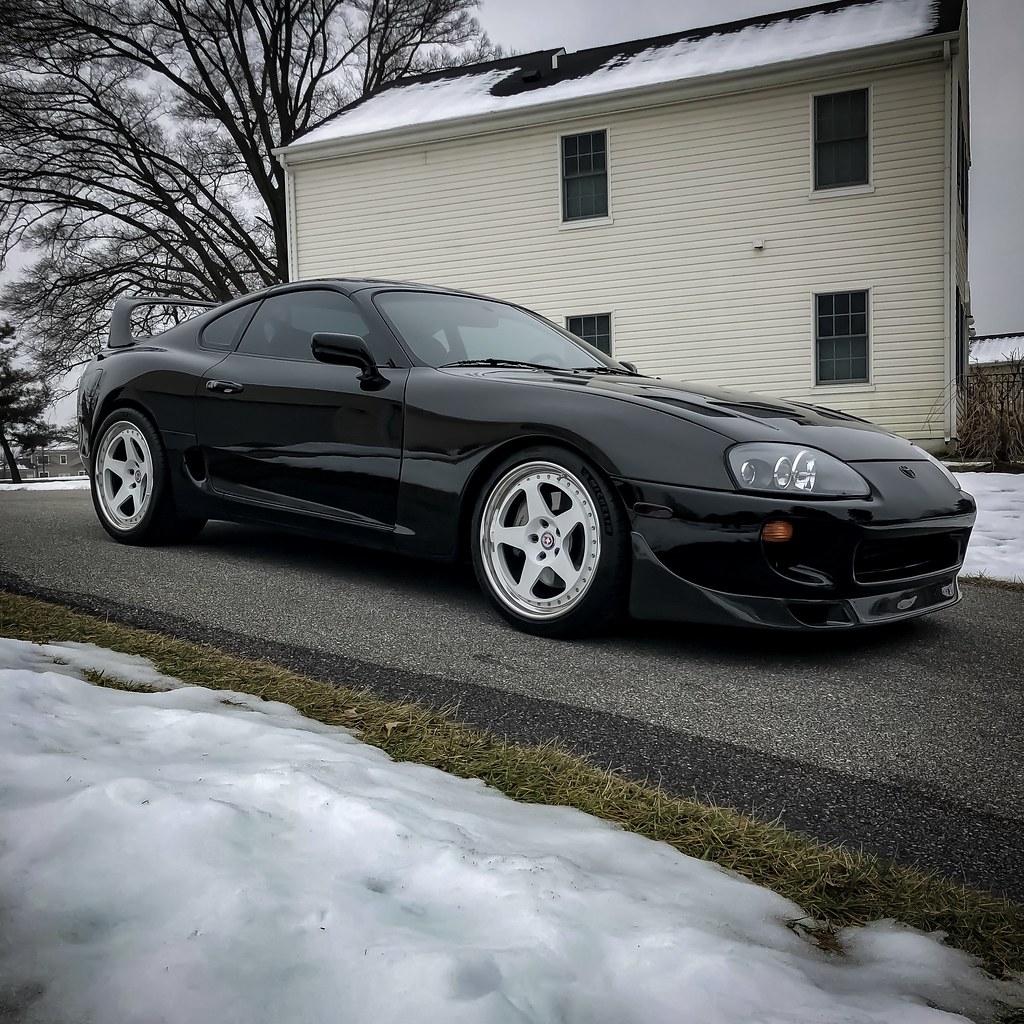
__________________
Former Car: '16 SUNBURST GOLD F80 ///M3--6MT/Carbon Cloth (ED Thread) Former Car:'13 SANTORINI BLUE E92///M3--6MT/Speed Cloth/ZCP(ED Thread) INSTAGRAM:@C2KMotorsports |
|
Appreciate
3
|
| 01-28-2019, 01:23 PM | #85 |
|
Brigadier General
 3197
Rep 3,643
Posts |
|
 |
| Bookmarks |
|
|