

|
|
 |
 |
 |

|
 |
BMW Garage | BMW Meets | Register | Today's Posts | Search |
 |

|
BMW 3-Series (E90 E92) Forum
>
Black Vinyl Roof DIY on e92
|
 |
| 04-30-2010, 10:50 PM | #1 |
|
I sweat pheromones
208
Rep 2,103
Posts |
DIY - Black Vinyl Roof on e92
UPDATE: To see images, make sure to use Chrome as your browswer AND download the extension "Photobucket Hotlink Fix"
After being unsuccessful with locating a BMW vinyl roof DIY, I decided to create one myself. By no means am I an expert but I can say it came out fairly well being my first time. So, here it is on an E92. Hope it helps. Special thanks to Ofmalik who helped me out. Tools required: - 4x5 sheet vinyl for roof - 1x5 sheet for roof rails - Torx T20 screwdriver - Blow Dryer - (2) Spray Bottles filled with water and a little soap - Razor Blade (preferably X-acto knife) - Scissors - Plastic squeegee - Old Credit Card - Thin laminated card (ie library card) - Plastic Pry tool - Masking Tape - Clay Bar - Goo Gone - Dawn - Alcohol - Paper Towels - 2x3 Cardboard - Finally, another person to help 1) First wash the car with Dawn soap. This will remove grime and old wax. Then, move the car in the garage. You do not want dust getting on the vinyl's adhesive. Using the Blow Dryer, heat up the bottom edge of the shark fin. Once hot, use your hand and the plastic pry tool to slowly lift the fin. Pry front to back and not side to side. Otherwise, you may damage the electronics underneath. 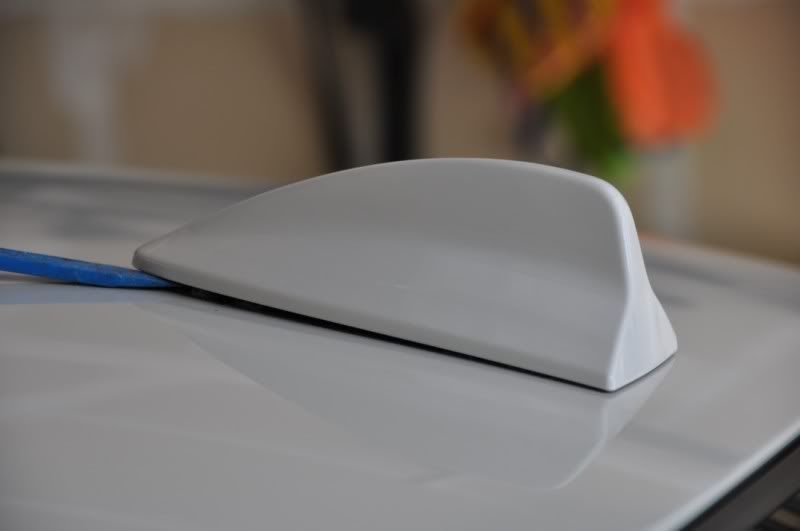 2) Now you'll need your Torx Screwdriver. Once the screw is removed, slide the antenna to the rear of the car and lift up. 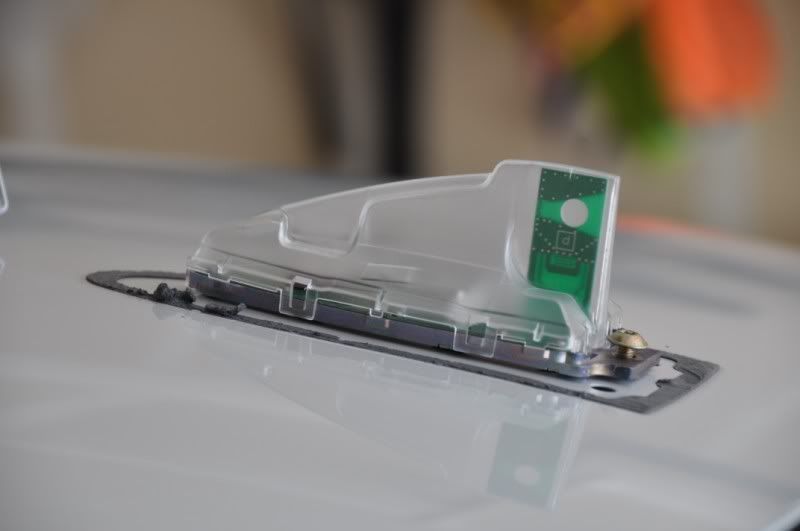 3) Now it's time to disconnect the antenna. Push down on the clip and slide out each connector. 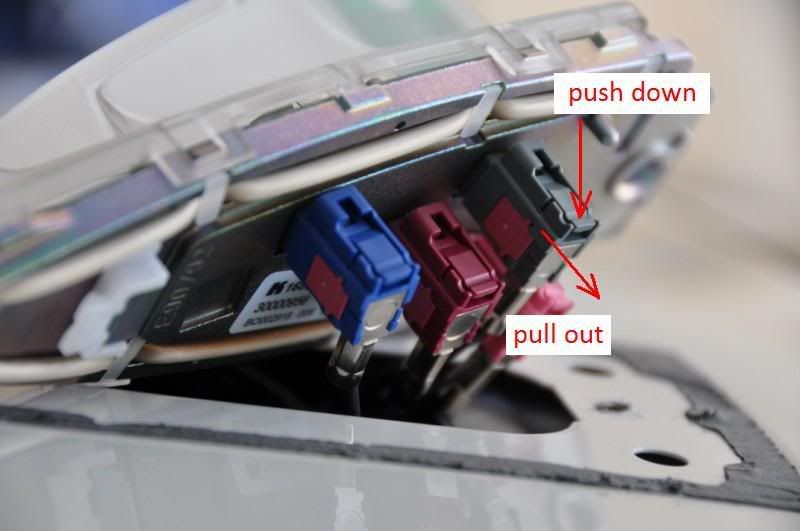 4) Now cover the hole with some masking tape. 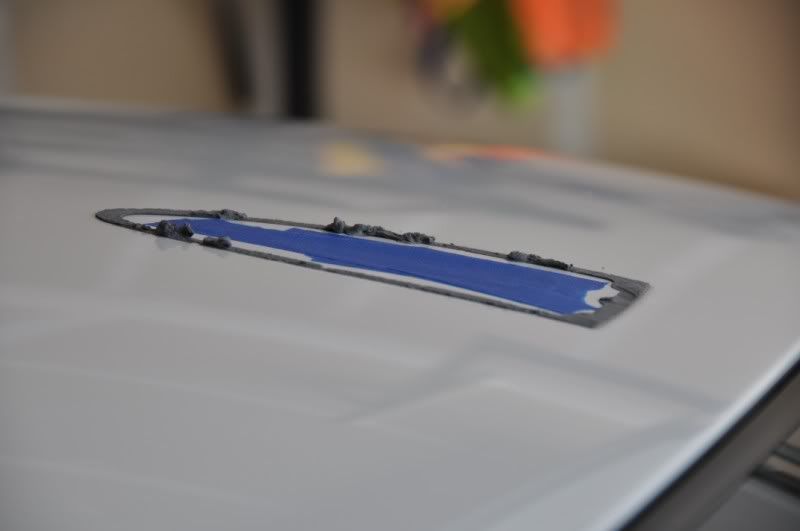 5) Soak the adhesive in Goo Gone. Let it sit for a few minutes. Then come back and remove the tape. This took me 10+ minutes as there's a lot of tape. Use a fingernail to cut into the tape. DO NOT USE ANY TOOL OR CARD as it WILL scratch the paint. 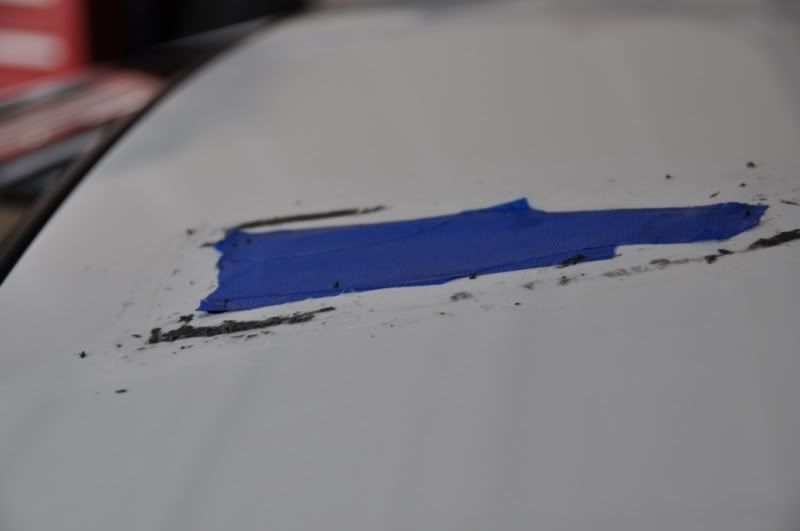 6) From the rear of the car, use your pry tool to lift up on the roof rail. As you do this, you will hear popping as the clips release. 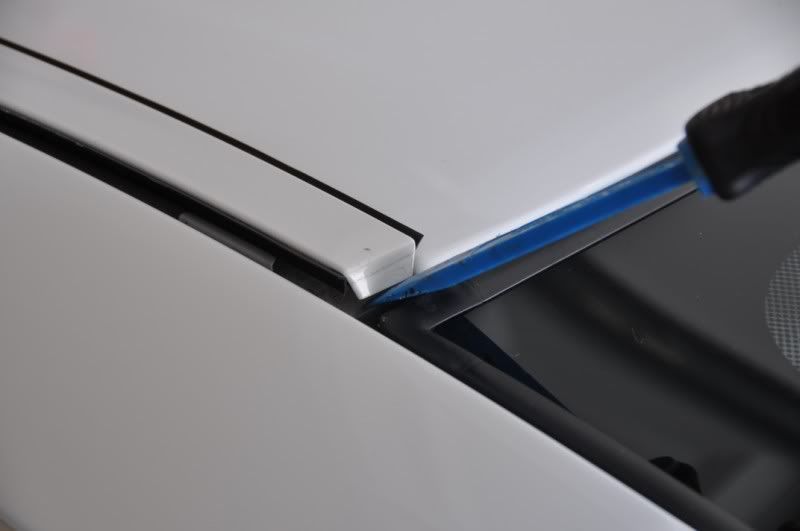 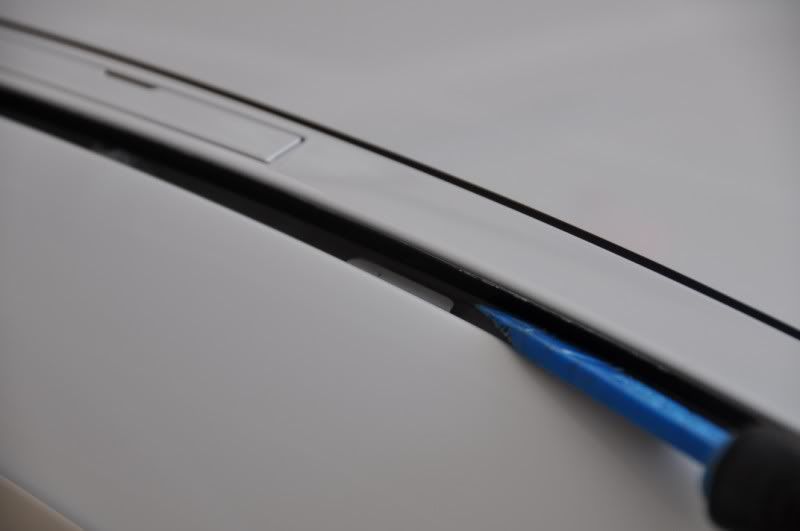 7) This is what the clips look like. Each clip has 3 plastic sections. I probably broke 1 section on 3-4 clips. However, they will still hold. Just go slow. 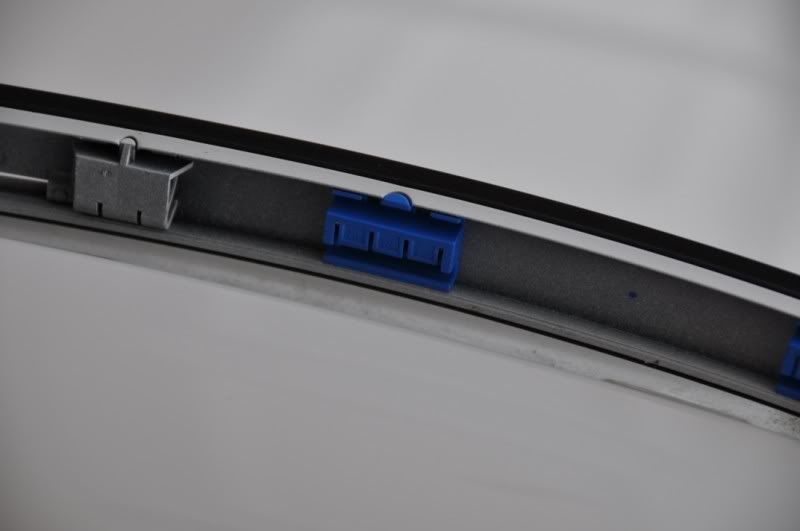 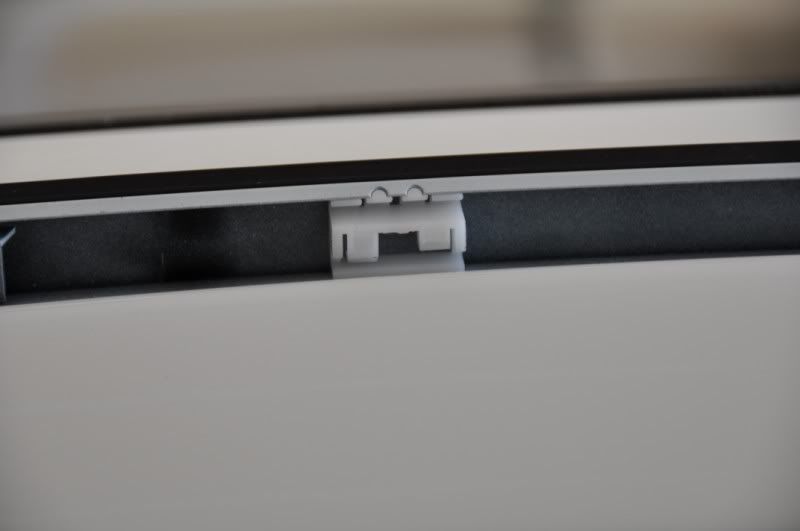 8) Prep the front windshield trim. You'll find that the section next to the roof rail is loose. But the remainder is glued down tight. Use your blow dryer and heat it up. Use the thin card to create a small gap under the trim. This will allow you to later tuck in the vinyl. 1/8" is sufficient. 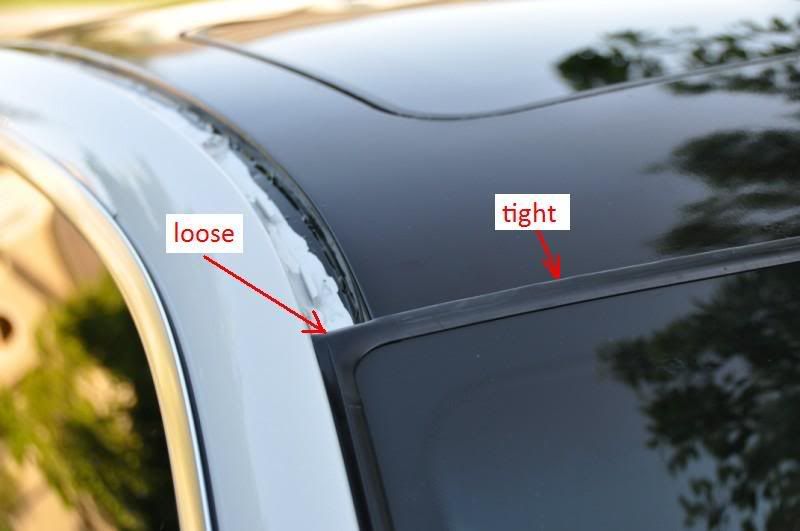 9) Bust out the clay bar and start cleaning. If you're unfamiliar with it, Zainostore sells some good stuff and their tutorial is located here. Clean off all residue, wash down with dawn and dry. Alcohol works well if you have any clay bar residue to remove and it won't damage your paint. 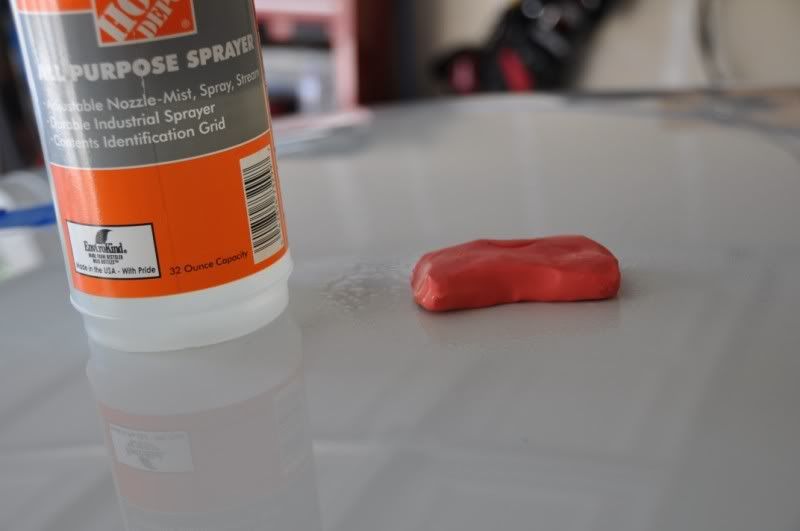 10) Open the moonroof and hold the wind deflector down. I used a small tool in the track to keep it out of the way. 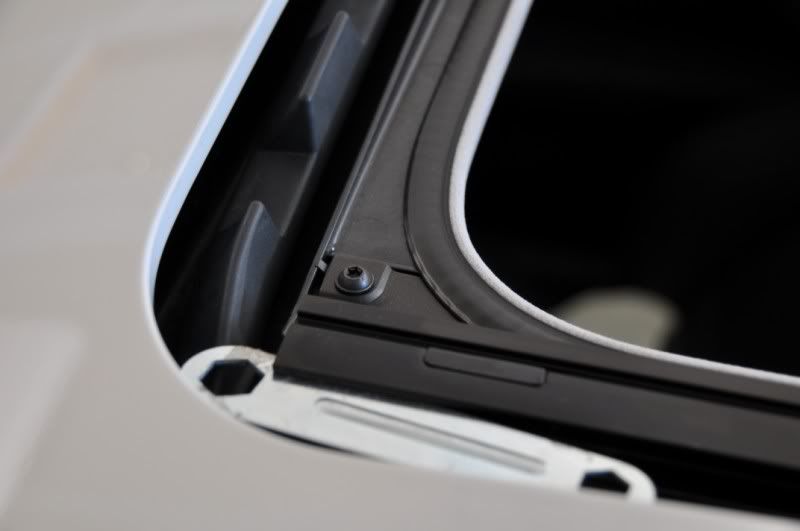 11) Insert cardboard into the moonroof opening and stuff paper towels into the shark fin opening. 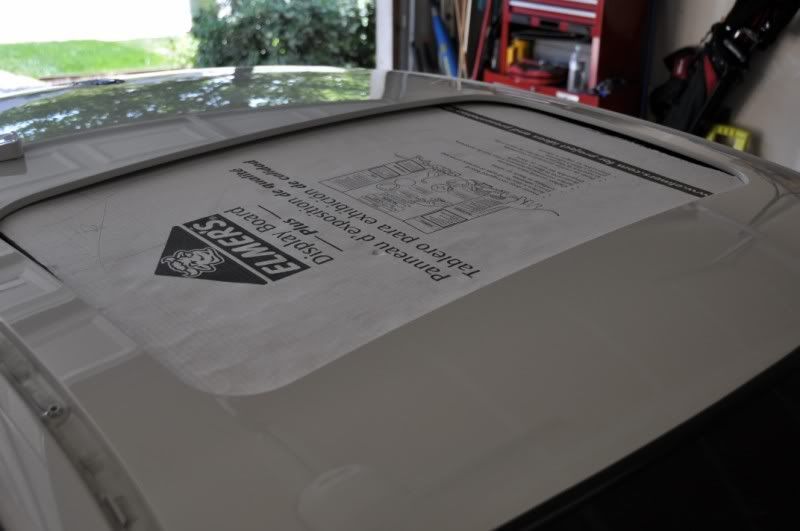 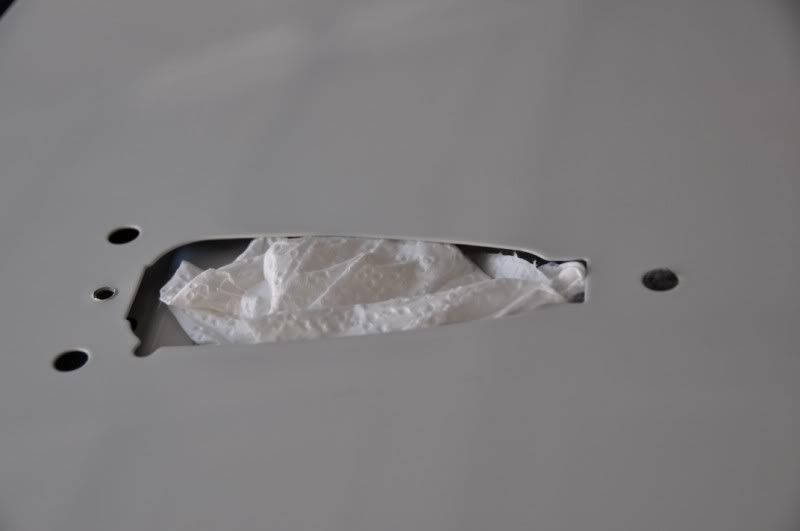 12) Lay down the vinyl and ensure you have sufficient coverage. Now, tape down the front onto the windshield. 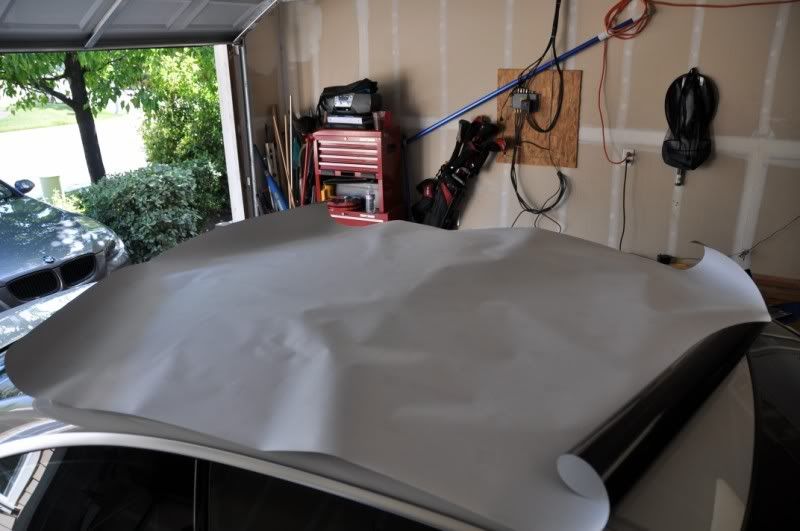 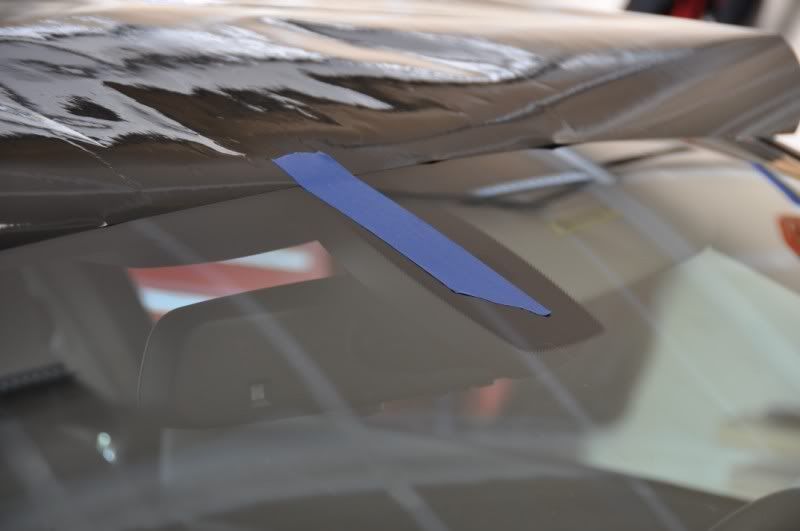 13) With your assistant, peel back the rear half of the vinyl. Do not allow the vinyl to fold as it may cause wrinkles or stick to itself. Mist both the roof and the vinyl. Cut off the vinyl backing. (NOTE: do not wet any vinyl backing as it will be a PIA to remove from the vinyl. There's less pictures here as we were focused on the install. Just be sure to first squeegee the center from center to side. Now, work your way towards the rear with overlapping strokes. Wetting the TOP of the vinyl will keep the squeegee from forming creases in the vinyl. 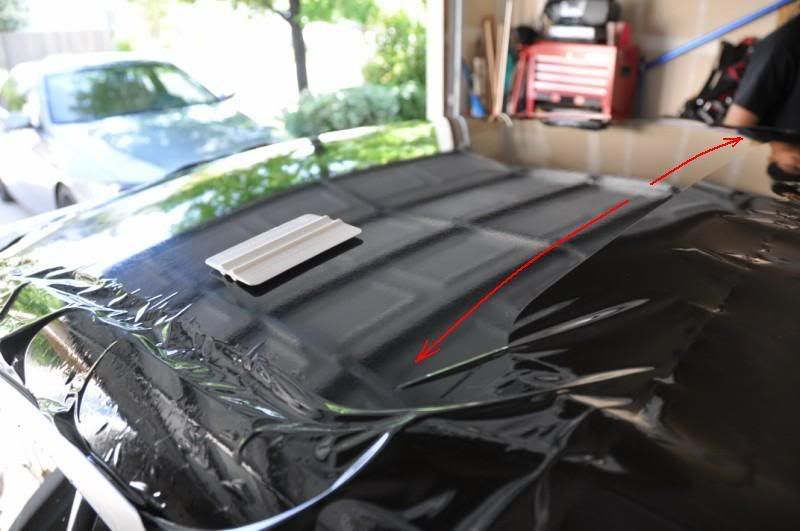 14) Getting closer. 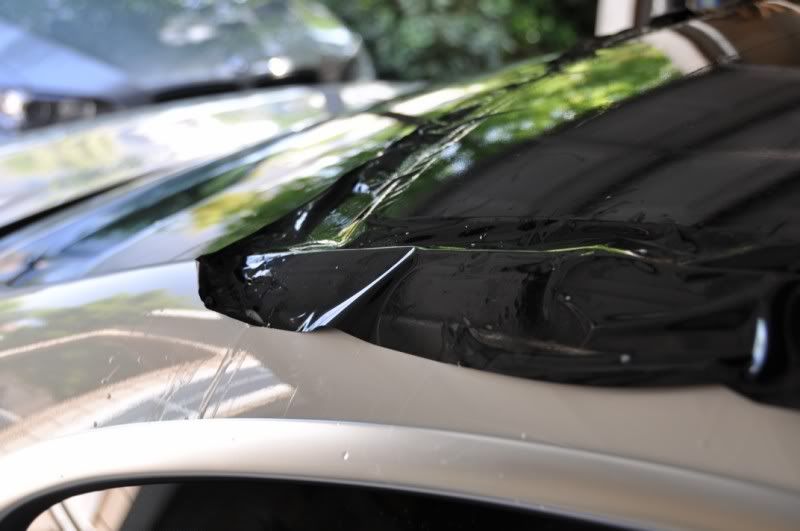 15) Now use your scissors to trim the sides and rear of the vinyl. You should leave about 1/4" excess on the rear and 3/4" excess on the sides. Refrain from using the X-acto knife unless necessary. Otherwise, you have a higher probability of a) not cutting straight and b) slicing the roof / rubber molding. Tuck the rear into the weatherstriping using a credit card. Fold over the sides. Do not cover the roof rail clips or screw openings. 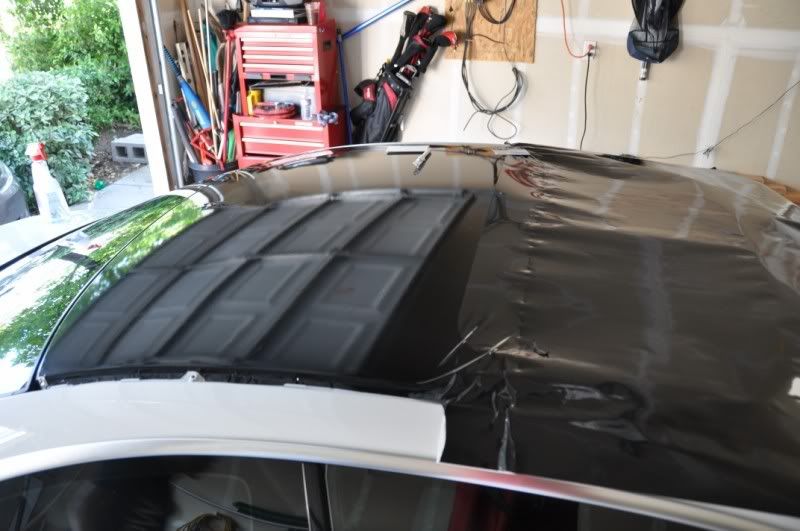 16) Now peel off the remainder of the backing and finish the front. 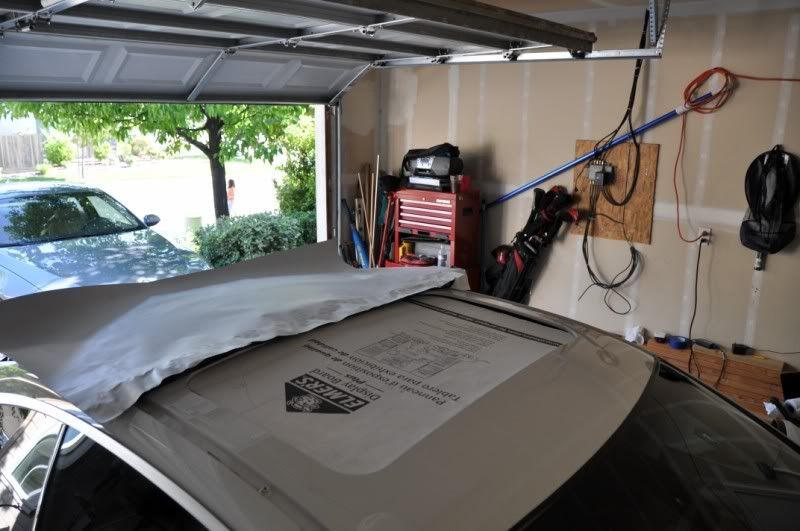 Last edited by dbjb; 05-07-2018 at 07:08 PM.. |
| 04-30-2010, 10:50 PM | #2 |
|
I sweat pheromones
208
Rep 2,103
Posts |
17) Cut out the moon roof leaving about 1" excess all around. Remove the cardboard. Cut radial slits into the vinyl corners. Do not go all the way to the edge.
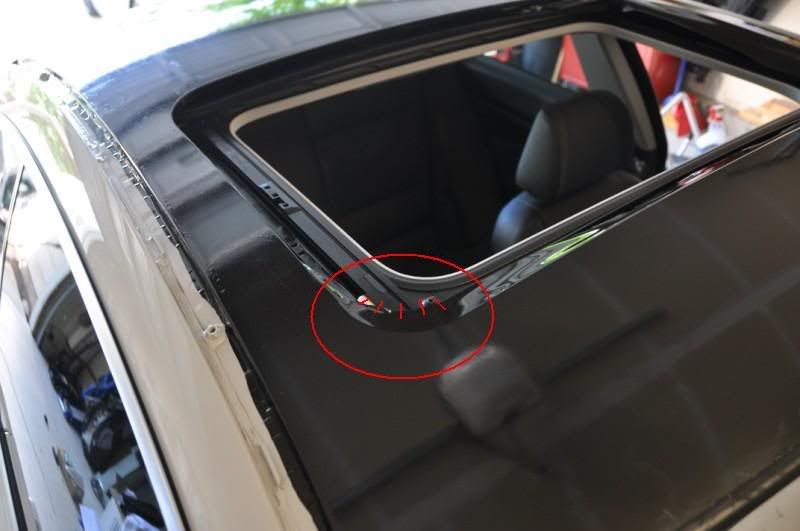 18) Grab the blow dryer and heat up 1 corner at a time. Fold the edges and wrap under the roof top. Let the vinyl dry a couple hours. Then, remove anything holding the wind deflector down and close the moonroof. 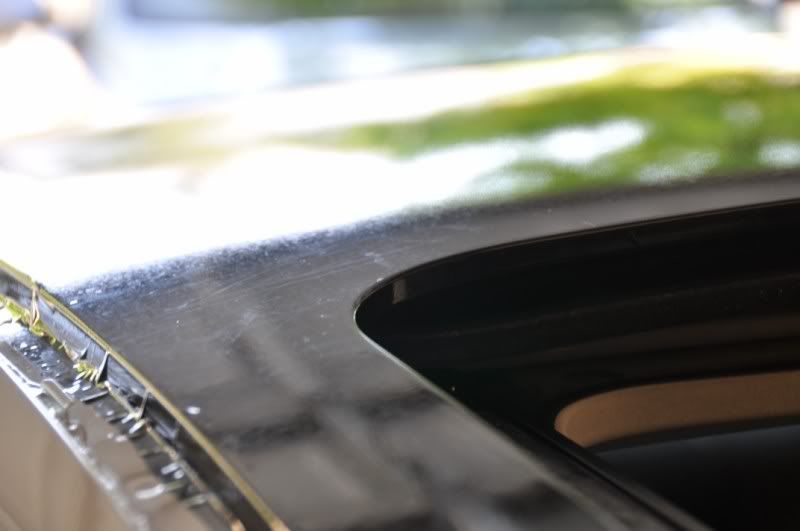 19) Here's the roof completely done. 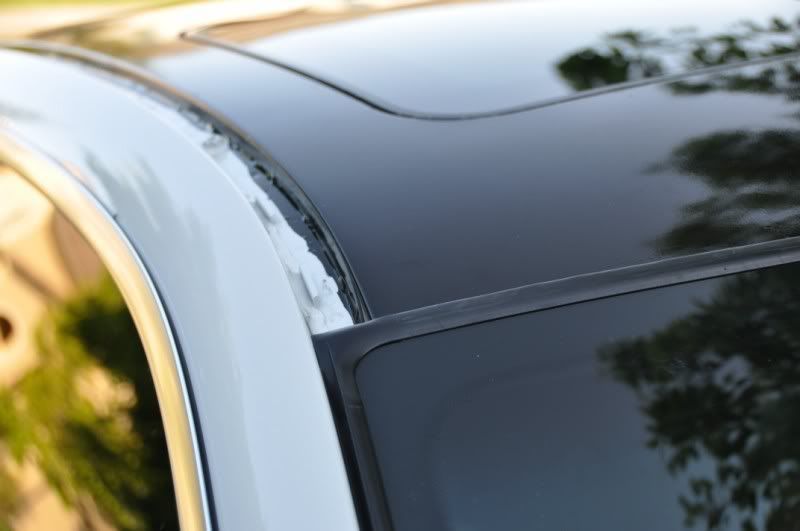 20) Move to the roof rails. Here's a quick look. The vinyl will be trimmed and tucked between the side and the weatherstriping later. 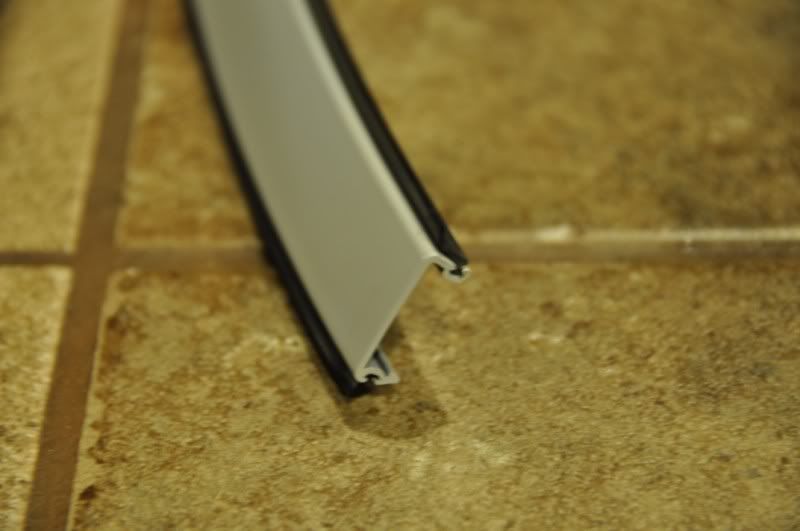 21) The rail is curved so get a piece wide enough to cover it. You can always heat and stretch the vinyl to conform to the curve. 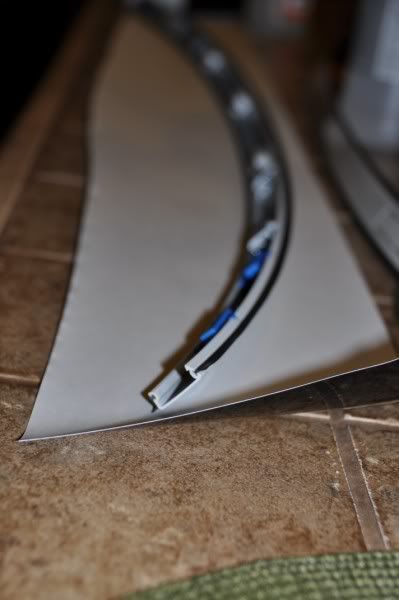 22) I highly recommend using a friend to assist here. Mine went home by now and I had to resort to masking tape being the assistant. 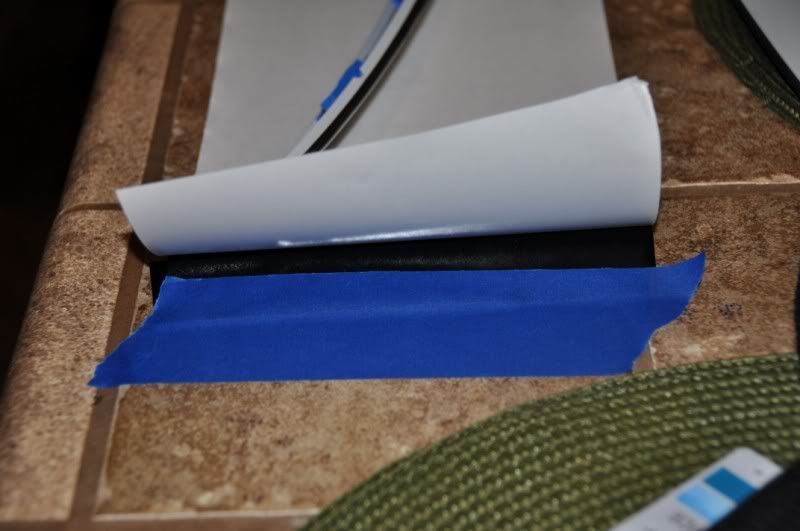 23) Use the same technique to wrap, cut and tuck the vinyl. Snap back onto the roof when done. 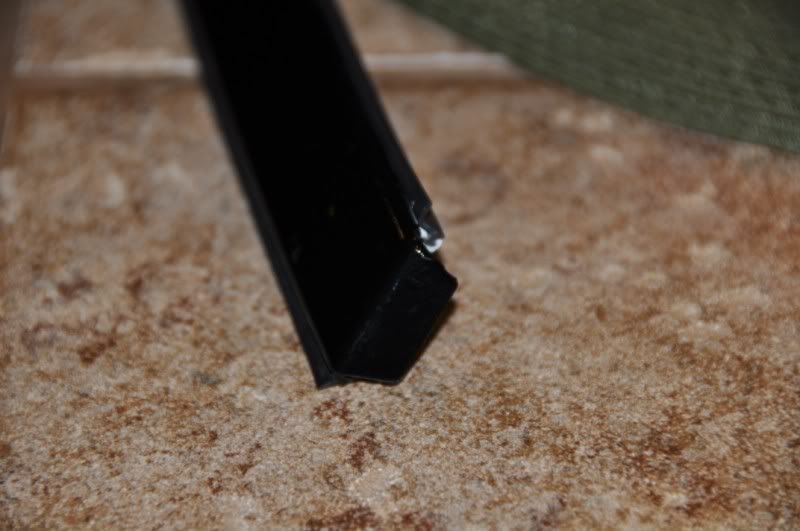 24) Here is the final product. 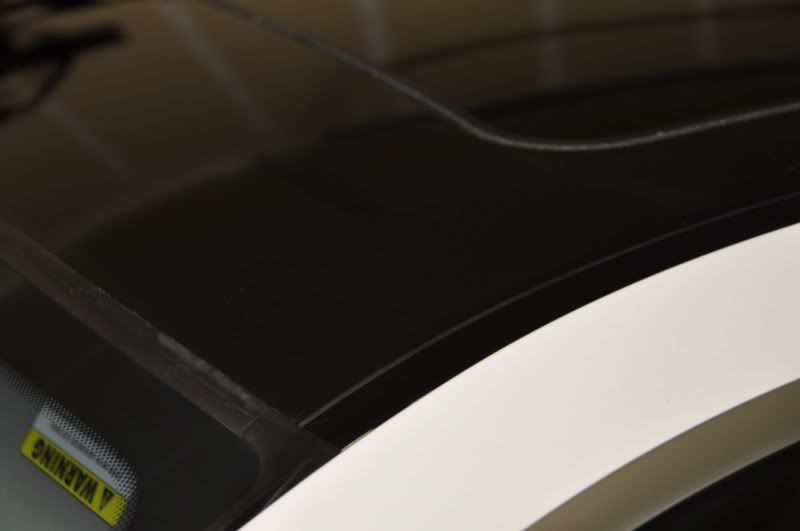 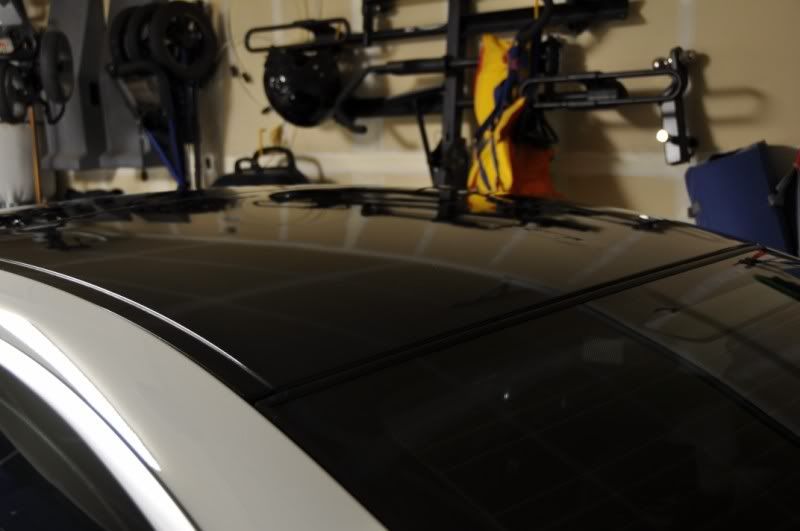 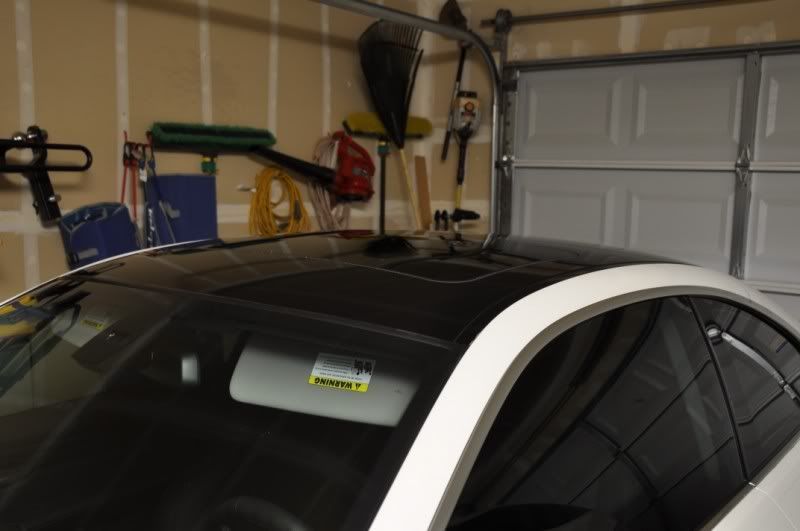 * The only thing left to do is wrap, paint or purchase a new shark fin. I could have used my AW fin but thought it looked goofy. So, I'm going without until I can get a new one. Everything works fine sans the SOS function which will appear as an error on the instrument cluster. You may get a few bubbles. Let the car sit a couple weeks in the hot sun. Most will go away. Any left can be popped with a small pin. Good luck on your install and like always, do this at your own risk. I accept no responsibility for your outcome... unless it looks good. Then you can pay me  EDIT 5/4/10 25) Here's an image of the painted fin with double-side tape applied. You can pick this up at most auto part stores. 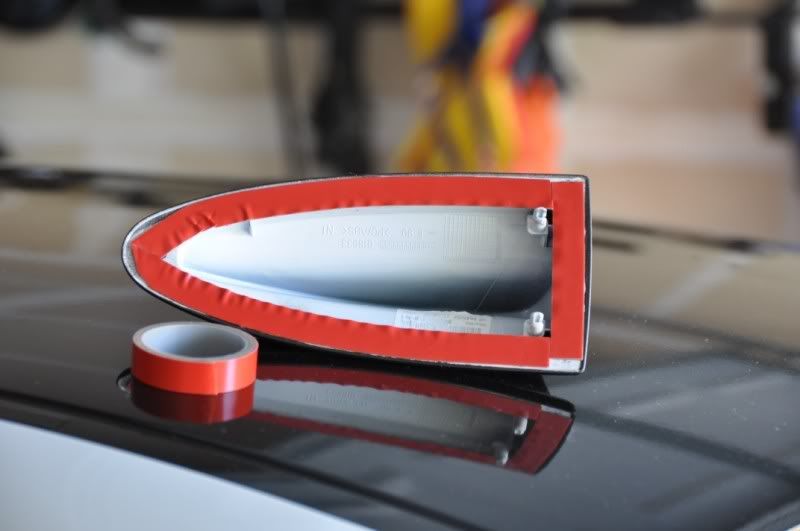 26) Car is all done! 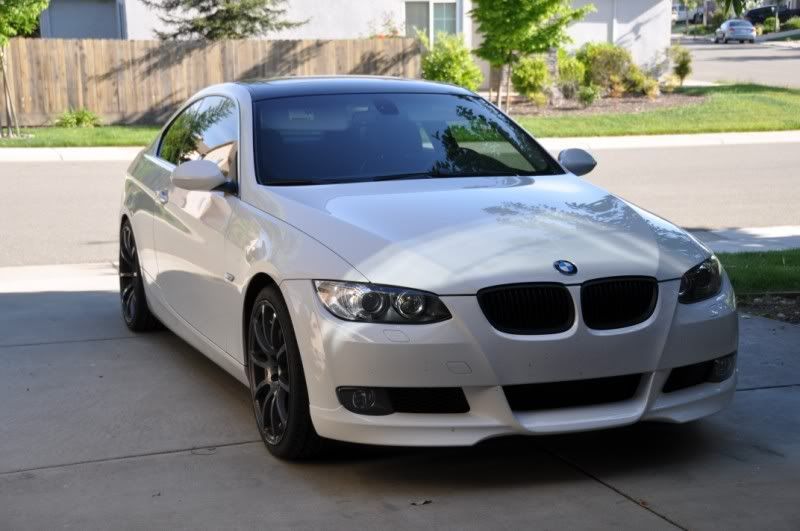 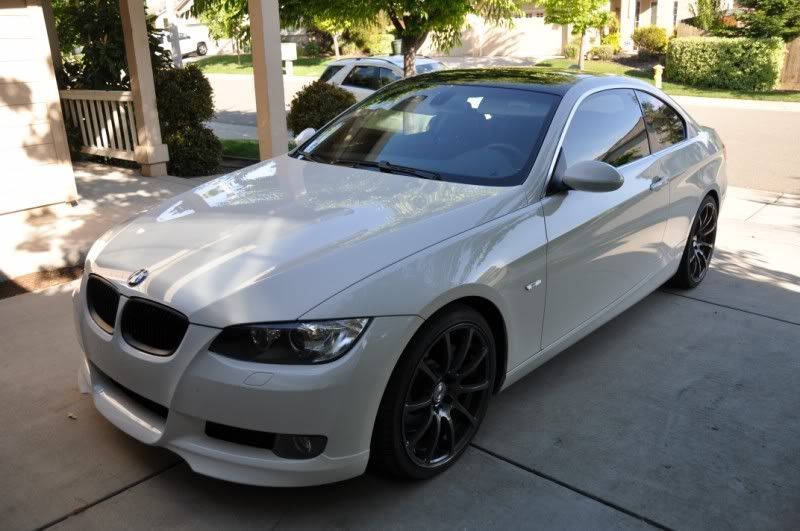 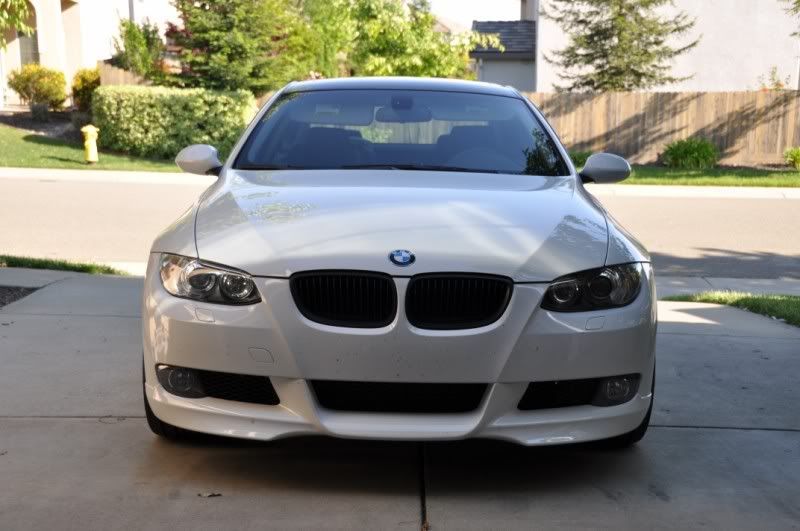 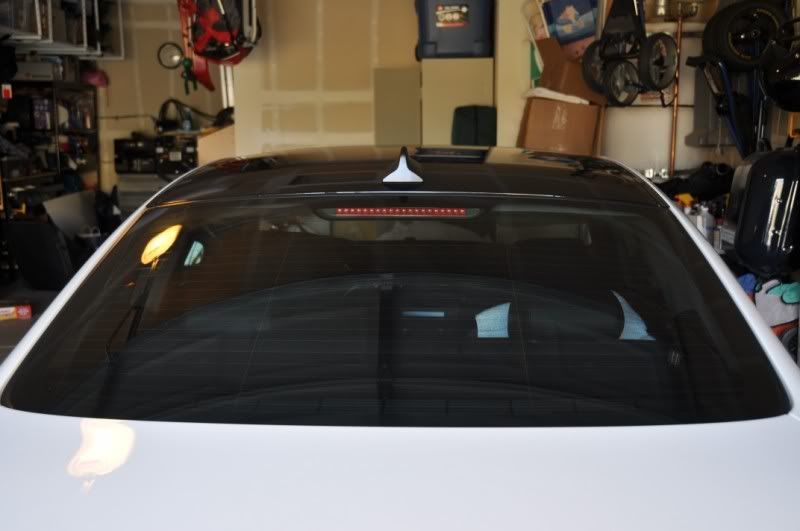 Last edited by dbjb; 05-04-2010 at 08:50 PM.. |
|
Appreciate
5
|
| 05-01-2010, 12:18 PM | #3 |
|
Lieutenant Colonel
 
151
Rep 1,922
Posts
Drives: E90 335i, E70 X5
Join Date: Aug 2009
Location: Sacramento, CA
|
good job Dan!!!!! nice DIY write up!
__________________
-eric
E90 335i TiAg *STOCK*  see my garage for mod list.. see my garage for mod list..E70 X5 SGM *try to stay stock* :/ |
|
Appreciate
0
|
| 05-01-2010, 04:33 PM | #5 |
|
Captain
    
65
Rep 913
Posts
Drives: 2008 E92 335XI
Join Date: May 2009
Location: New Jersey
|
Wow
|
|
Appreciate
0
|
| 05-01-2010, 09:12 PM | #7 |
|
European Editor

10796
Rep 22,992
Posts |
WoW! Really nice DIY!! I would not have thought about removing the rain gutters rails. Couldn't you have just wrapped over them?
IF you don't mind... could you post some close ups of the roof edges outside in the sun. TIA Love your roof!  |
|
Appreciate
0
|
| 05-01-2010, 11:20 PM | #8 |
|
Banned

258
Rep 7,089
Posts
Drives: '06 AW 330xi
Join Date: Mar 2009
Location: North Jersey/Philly/NYC
|
Nice DIY. Wish you wrote this up before I wrapped my roof in Di-Noc though. What did you do about the shark fin? My shark fin is bubbling in the sun because I stretched it too much. I'm getting a cover and either painting it black or getting it professionally wrapped. BTW, you can use quarters to keep the wind deflector down.
This is the driver's side. [IMG]http://i714.photobucket.com/albums/ww146/*********/IMG_0305.jpg[/IMG] |
|
Appreciate
0
|
| 05-01-2010, 11:45 PM | #9 | |||
|
I sweat pheromones
208
Rep 2,103
Posts |
Quote:
 This was my first experience with vinyl so I have no idea which is best. This was my first experience with vinyl so I have no idea which is best.Quote:
 Quote:
|
|||
|
Appreciate
0
|
| 05-02-2010, 12:20 PM | #10 |
|
Banned

258
Rep 7,089
Posts
Drives: '06 AW 330xi
Join Date: Mar 2009
Location: North Jersey/Philly/NYC
|
I know they sell covers somewhere but I can't find it. I don't know if Tischer paints but asking never hurt anybody so give it a shot.
|
|
Appreciate
0
|
| 05-05-2010, 10:54 AM | #11 |
|
Brigadier General
 
164
Rep 3,730
Posts |
Great write up, time to do my roof now if the wife lets me

__________________
2008 BMW 335i e90 - Sold - Rob Beck Turbos / PROcede V5 / Aquamist HFS-4 / AR Downpipes / AE Exhaust / ER Comp FMIC / ER CP / TiAL BOV / Custom Intake / RPI Scoops / Quaife LSD / Swift-Koni Coilovers / DSS HS / Morr VS8.2 Sig Black / Michelin PSS / P3 Boost Guage / M3 body / M3 steering wheel / Adam's Rotors / Hawk HPS / SS lines /
|
|
Appreciate
0
|
| 05-05-2010, 11:21 PM | #13 | |
|
I sweat pheromones
208
Rep 2,103
Posts |
Quote:
I'm not sure how else one would "seal" it down. Trust me, it's not going anywhere and no water will get inside. |
|
|
Appreciate
0
|
| 05-14-2010, 10:38 PM | #15 |
|
I sweat pheromones
208
Rep 2,103
Posts |
|
|
Appreciate
0
|
| 05-14-2010, 11:05 PM | #16 |
|
¡Viva España!
387
Rep 7,803
Posts |
Very nice job.
__________________
24 G20 330i Skyscraper Gray Metallic Black, Open Pore Fine Wood Oak Grain Interior Trim MODS Clear Guard, 15% Ceramic Tint, Floating Caps
|
|
Appreciate
0
|
| 05-24-2010, 08:42 PM | #17 |
|
Lieutenant
   27
Rep 482
Posts |
Nice write up was looking for a diy for applying the vinyl to my chrome door molding when I came across this. Lets see you wrap your chrome moldings next and do a diy for me!
|
|
Appreciate
0
|
| 05-24-2010, 10:26 PM | #18 | |
|
MOAR POWERRRR

29
Rep 823
Posts |
Quote:
doesn't look like your nromal 2bl sided tape. it's black. where'd u get it. |
|
|
Appreciate
0
|
| 05-28-2010, 06:13 PM | #21 |
|
Banned

258
Rep 7,089
Posts
Drives: '06 AW 330xi
Join Date: Mar 2009
Location: North Jersey/Philly/NYC
|
My double sided tape was too thick also white in color so it was very noticable. I jud used black caulk around it to seal it/hide the white.
|
|
Appreciate
0
|
 |
| Bookmarks |
|
|