|
|
|
|
 |

|
 |
BMW Garage | BMW Meets | Register | Today's Posts | Search |
 |

|
BMW 3-Series (E90 E92) Forum
>
Brushed Aluminum M3 iDrive Knob onto E90 retrofit
|
 |
| 12-04-2008, 12:25 AM | #1 |
|
Captain
 60
Rep 629
Posts |
Brushed Aluminum M3 iDrive Knob onto E90 retrofit
Upon getting my 2006 Mystic Blue on Black 330i the first thing that stuck out to me was how cheesy and cheap the iDrive knob looked in comparison to the brushed aluminum trim. As soon as I set my eyes on an M3 aluminum knob I knew this was one cosmetic mod I had to make.
Its pretty simple, most anyone could probably figure it out, but I've documented is the best I can for whoever to duplicate my results. As usual, I take no responsibility for you screwing up your own car in any way. This is just guidance. Materials: 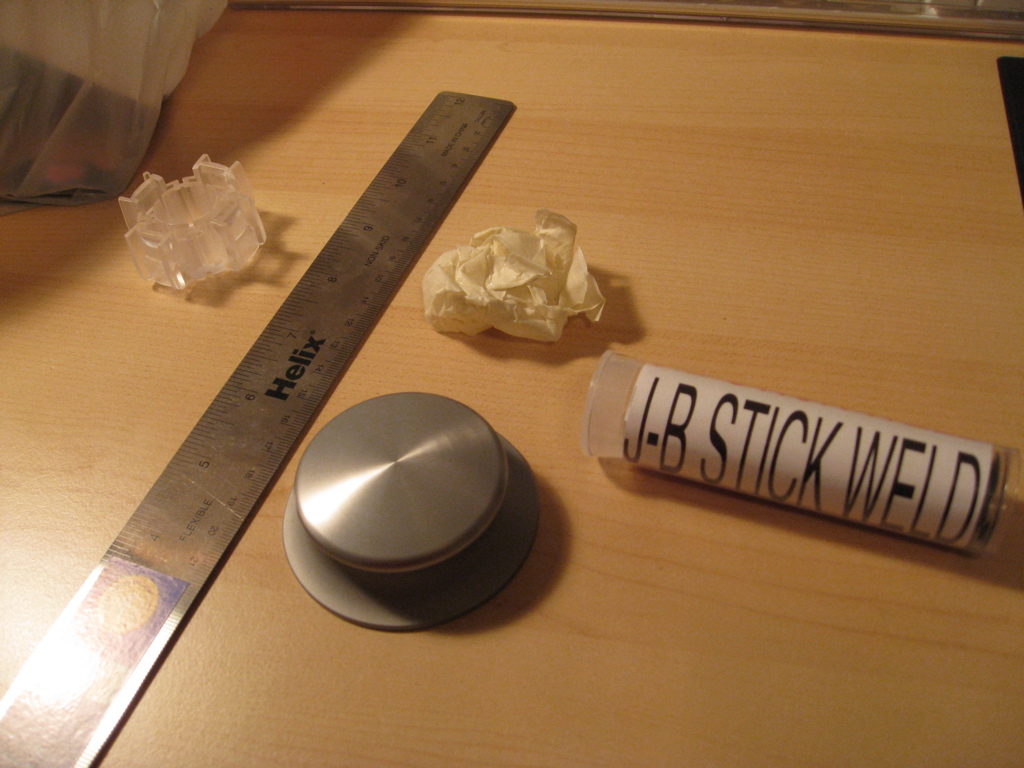 Required: 1x stock E90 iDrive knob (Free with your iDrive equipped BMW) 1x stock M3 aluminum iDrive knob ($60.00 from Tischer BMW http://www.trademotion.com/partlocat...catalogid=4462 ) JB Stick weld ($6.00 from any auto parts store) Needle nost pliers Optional: Dremel with 1/8 in. round metal grinder bit Ruler/level Masking tape The Process: To start off, remove your stock iDrive knob from your car. Simply get your fingers under the edge and pull up. Be careful not to break the plastic tabs like I did. I only broke one and its still fine, so just be cautious. Set the stock knob aside til later. 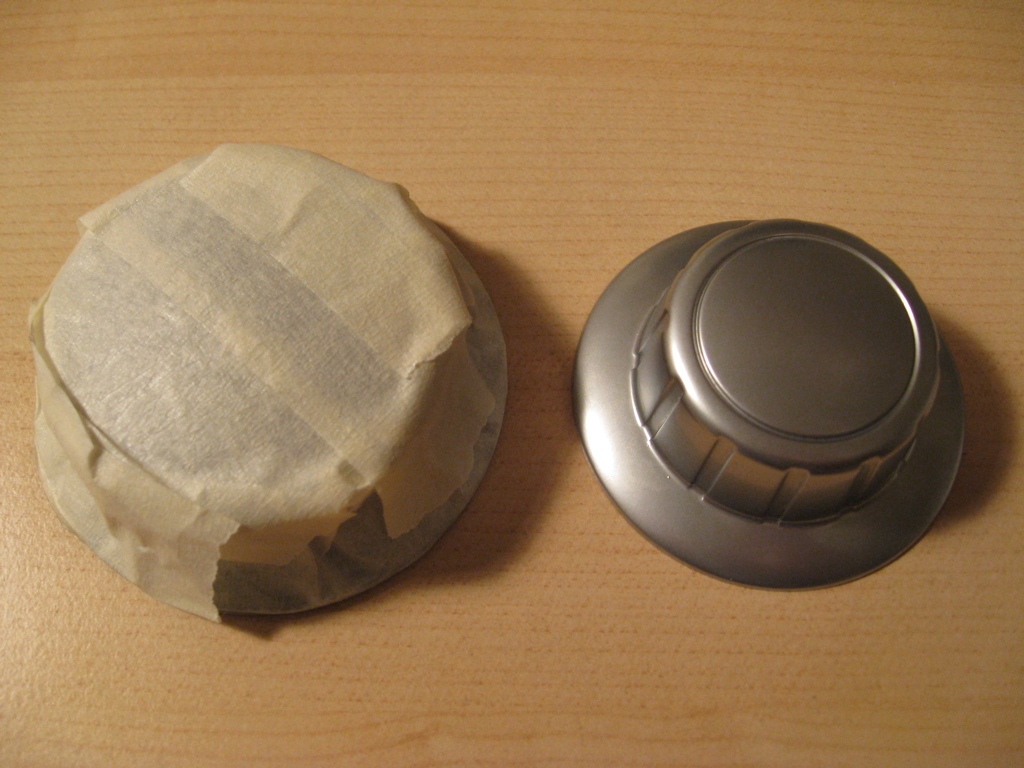 Before I started working on the expensive M3 knob I taped it up on the outside to protect it. Once you're done with that you need to remove the guts from the inside of the M3 knob like so. Use the Needle nose pliers to gently break the glue that holds the plastic piece in there. In case you're still wondering, no, the M3 guts will not allow you to fit up to an E90. 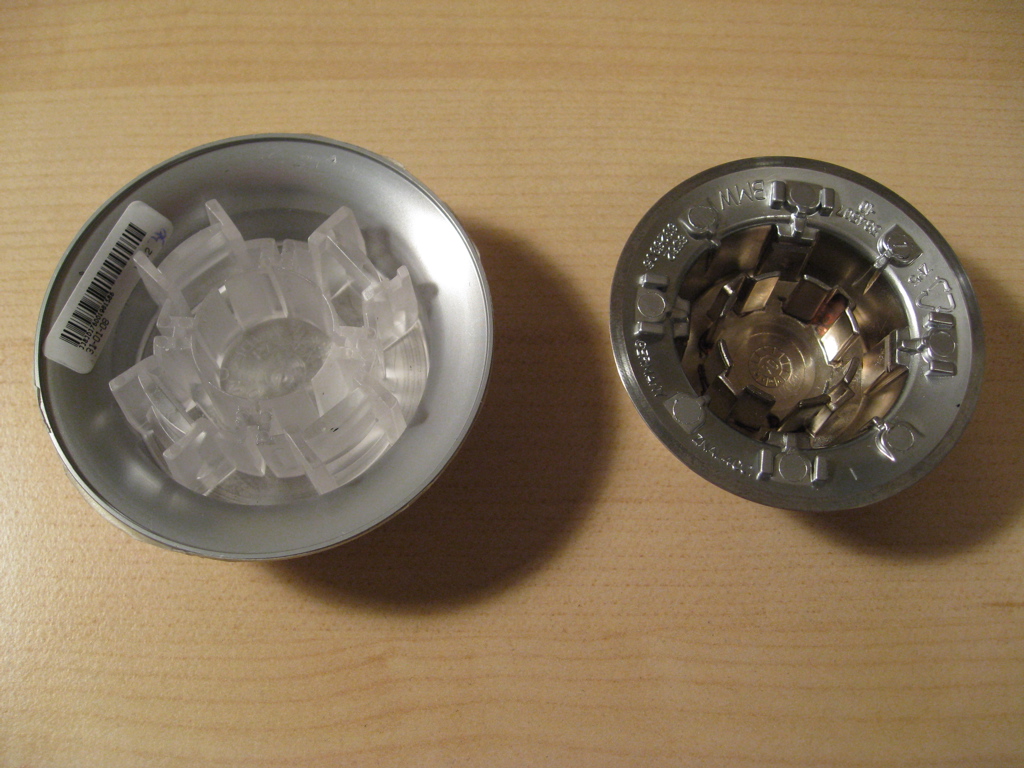 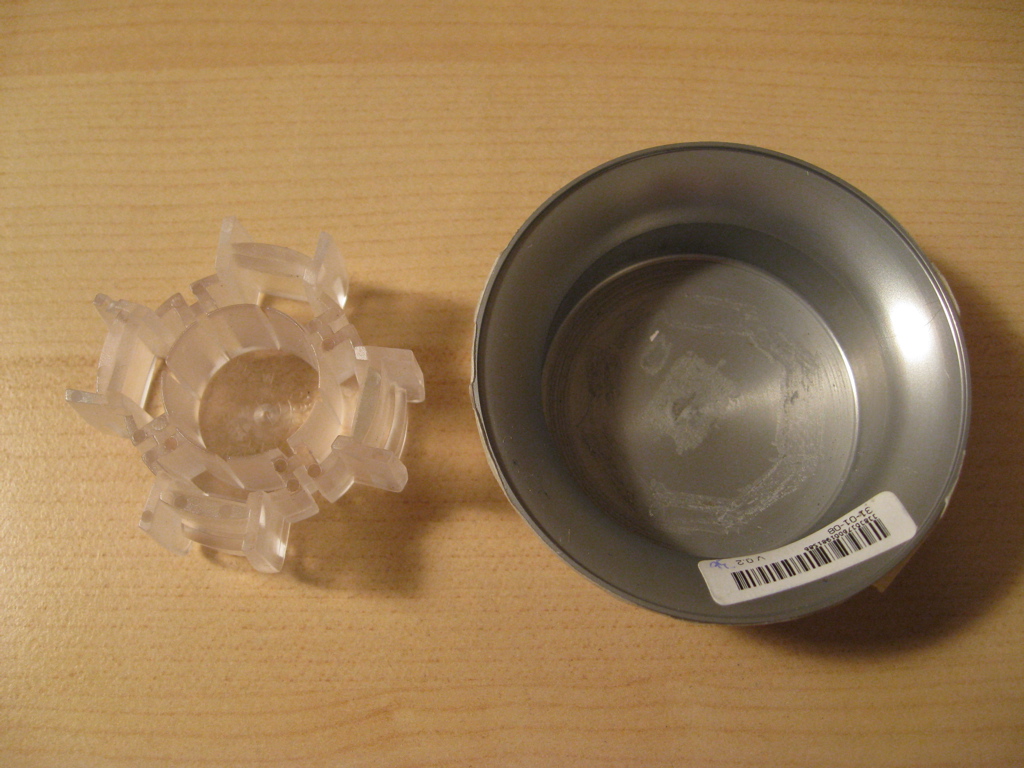 Use the dremel to grind out the excess glue or else the stock knob won't sit flush inside the new M3 knob. You can use any other method you want, but the dremel makes it easy to get everything. Next, I had a machinist mill down the bottom lip of the stock knob so that the bottom would sit flush with the new one. After I finished I realized that the M3 knob wont go flush with the console surface unless you grind the top of the stock knob as well, but since the M3 knob is oversized, its good that it has a little extra space. Anyways, I ended up spending $30 to get the knob machined. It looks nice and lets you level the knobs, but its not totally necessary. Once I got the knob milled, I mocked it up and made sure it would level out, then took the JB stick weld, followed the instructions and molded it into a consistent putty. Then I broke off a small piece, rolled it into a ball, and stuck it to the top of the stock knob. With the leftovers, I rolled it into a snake shape and put it around the edge of the knob. 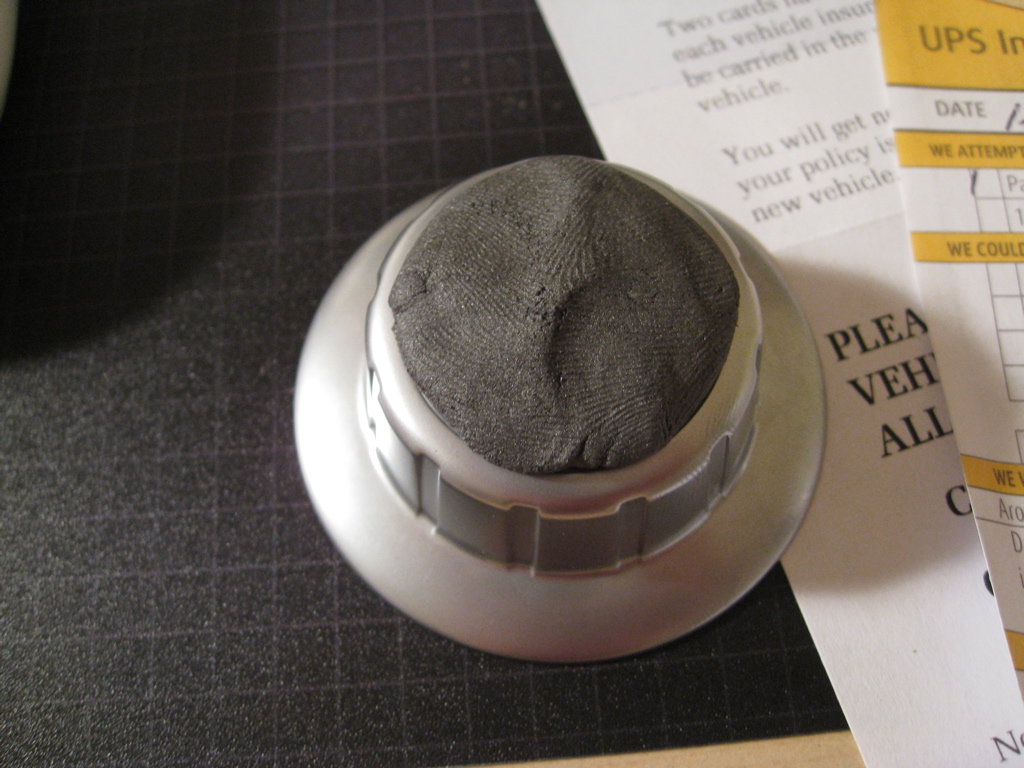 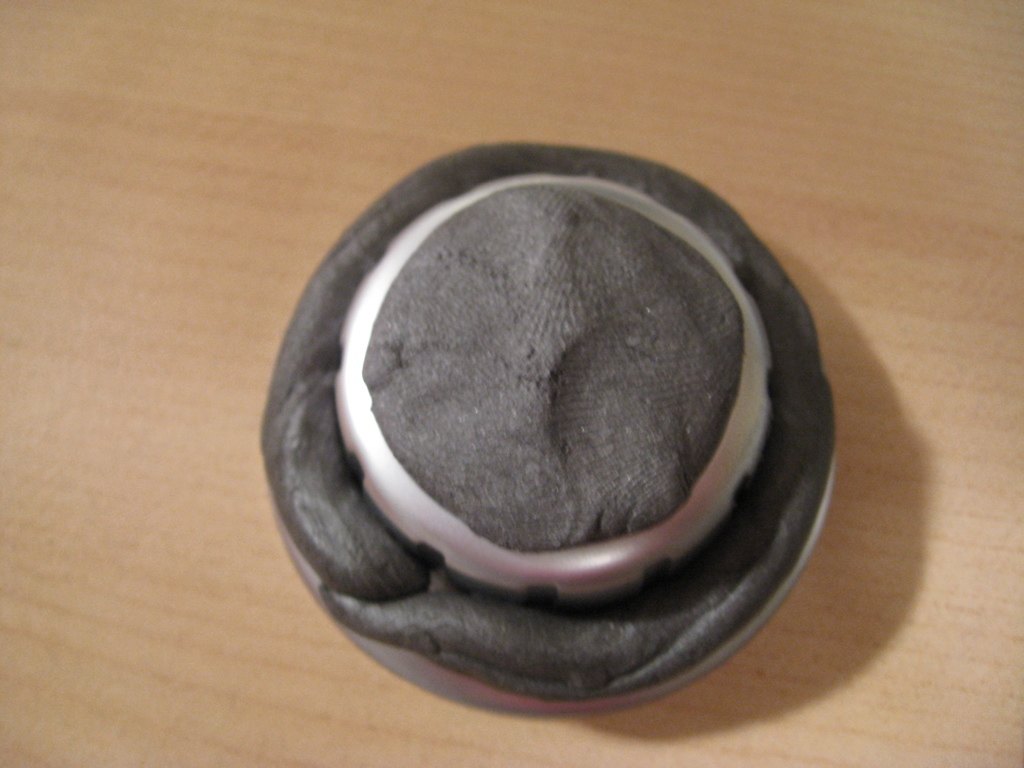 Then, put it in there. If you measure your putty/weld correctly it should be a snug fit and the excess will fill the rest of the gaps when you press it in there. You can sort of see it bulge up inside there between the 2 knobs. This makes it sturdy. 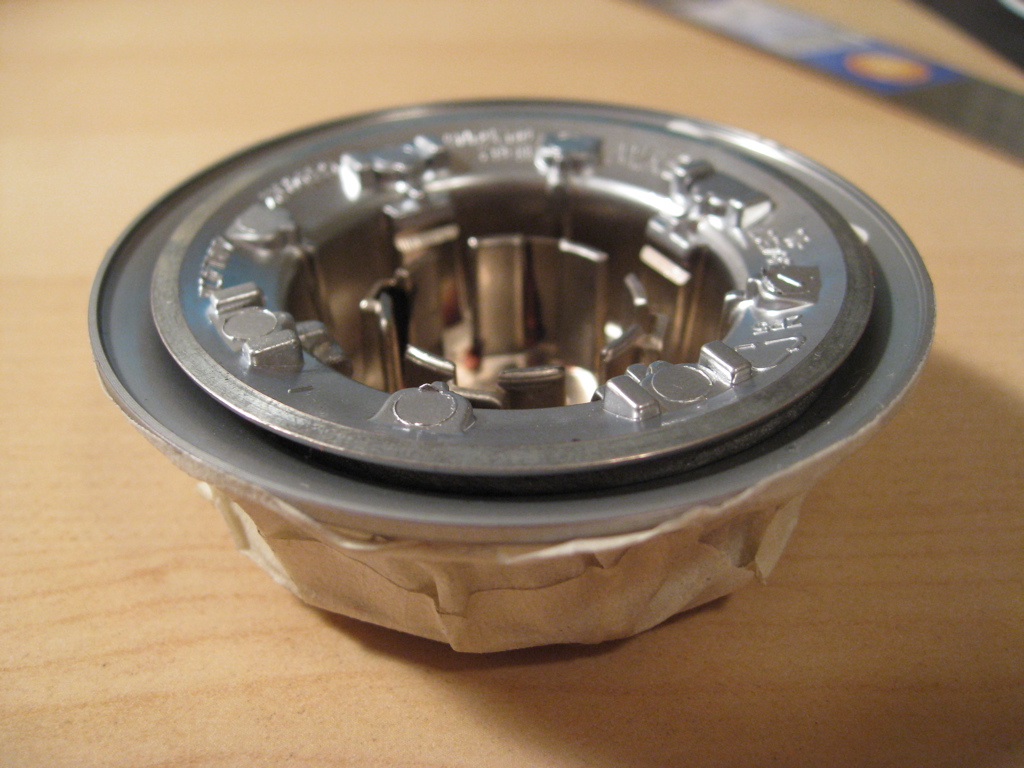 Position the inner knob so its as close to centered within the M3 knob. You don't want a wobbly iDrive knob after this. 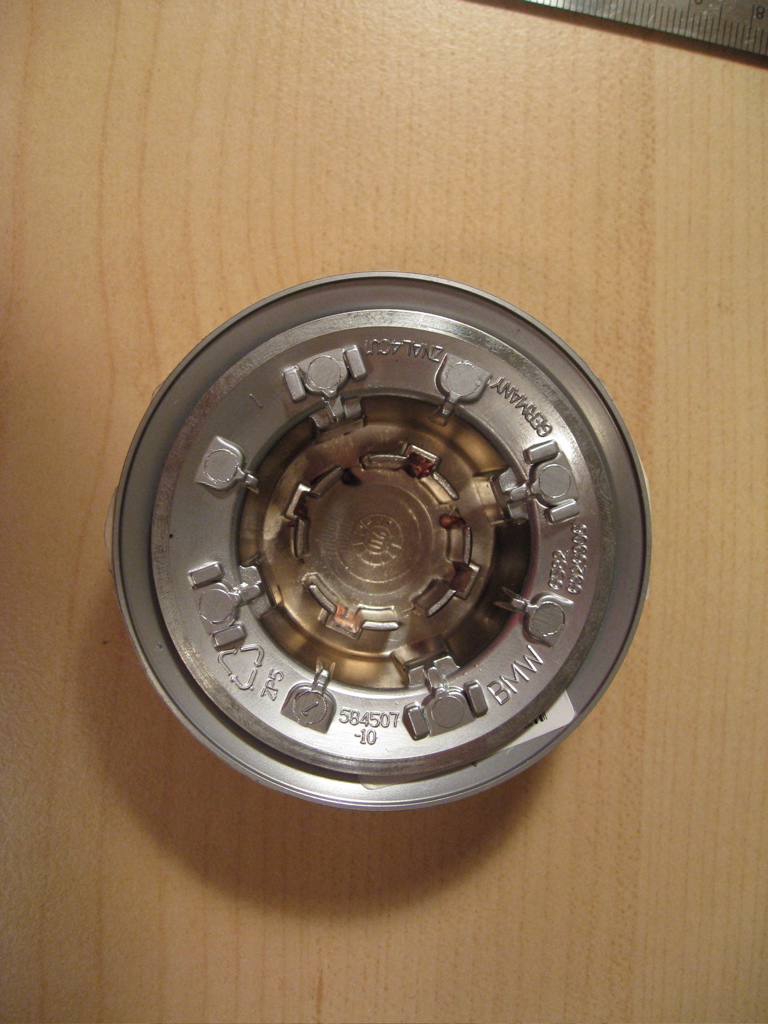 Once it's centered, use the ruler to make sure it is level (this is why I milled it down, otherwise the lip will stick up and you wont be able to truly level it). 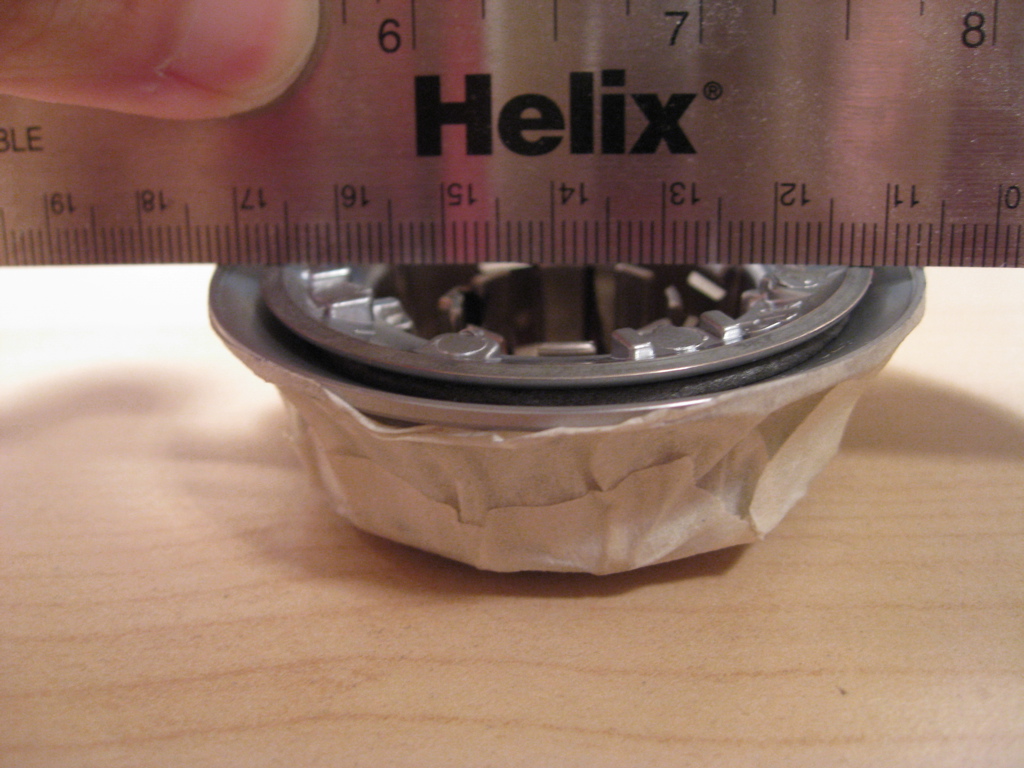 Once it's level, let the putty cure. Instructions say 24 hours til full cure, but it sets enough to re-install in about 30 minutes. When its all done, remove the masking tape and use goo gone to clean up any extra residue from the tape or the putty. 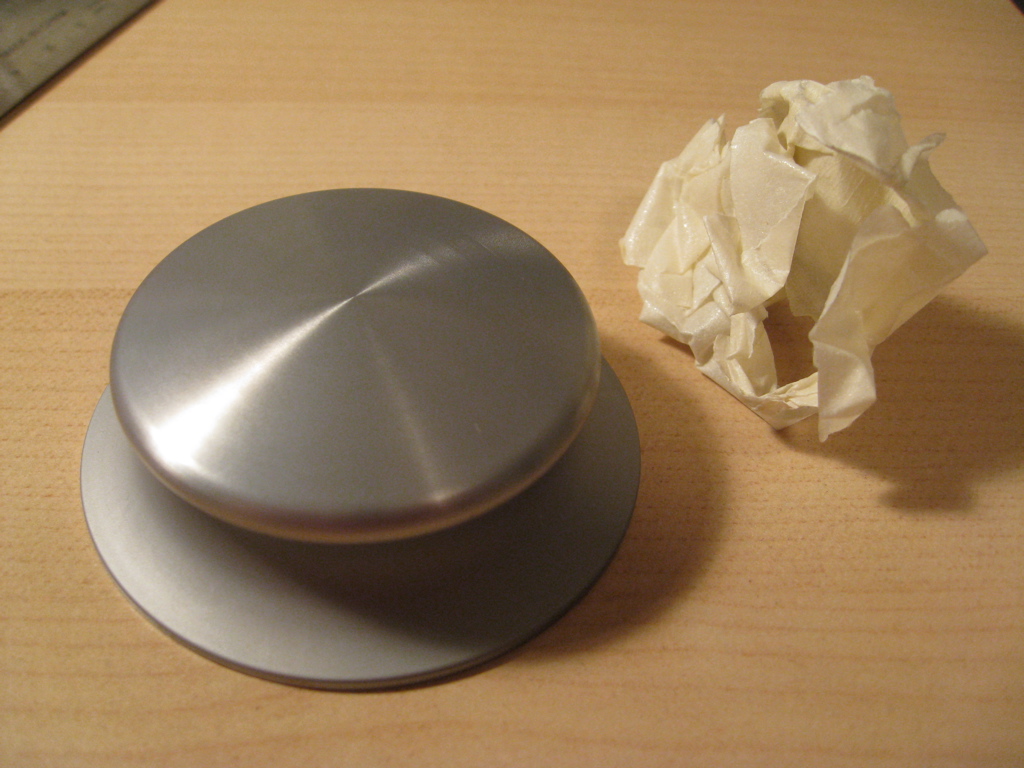 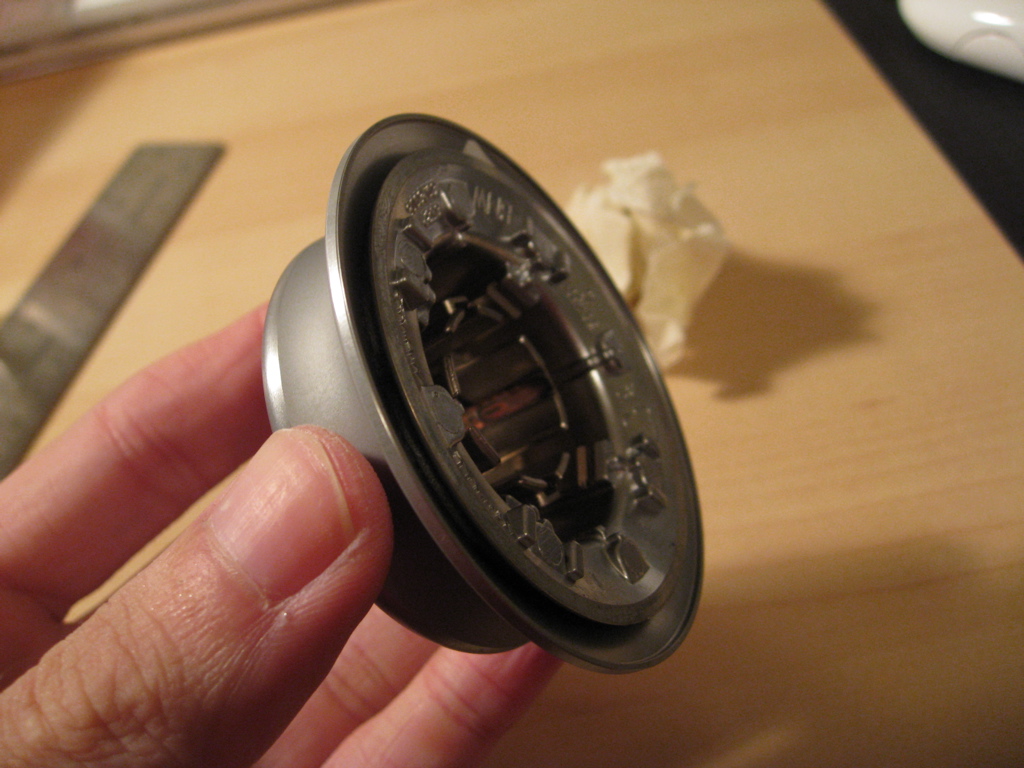 Then take it over to your car and install it. Line it up with the inner pins, and once you know its in the right spot, push it in until it clicks.  Congrats, you've just installed your new M3 Brushed Aluminum iDrive knob! |
| 12-04-2008, 04:06 AM | #3 |
|
¡Viva España!
404
Rep 7,803
Posts |
For mine I gutted the M3 knob like you did, then I gutted the stock E92 knob and used appoxy to glue it in the M3 shell and it came out perfect.
Here is a pic.
__________________
24 G20 330i Skyscraper Gray Metallic Black, Open Pore Fine Wood Oak Grain Interior Trim MODS Clear Guard, 15% Ceramic Tint, Floating Caps
|
|
Appreciate
0
|
 |
| Bookmarks |
|
|